I am very much looking forward to my February 2015 Death Valley Photo Workshop with Hal Schmitt - and the workshop participants who have signed up for this awesome workshop.
Here are some quick tips for shooting on and in the dunes, just one of our locations:
• Work with shadows and highlights to create dynamic images.
• Expose for the highlights.
• Think HDR in high contrast situations
• We need to get up early to get on site before the dunes are filled with fresh footprints and other photographers. We'll car pool from the ranch.
• Yes, we will be on the dunes before sunrise, but the light will be very flat. As soon as the sun comes up, the contrast, light and colors are awesome. You may not want to lug a tripod into the dunes, which are about a 20-minute or longer walk from the road. If you do bring a tripod, be very careful not to get the joints packed with fine sand. I've been to the dunes for sunrise three times and have not used a tripod . . . but it's up to you.
• Bring your head-mounted flashlights (and extra batteries) on our sunrise shoots.
• It can get windy on the dunes. Bring plastic bags or camera covers to protect your gear.
• Bring water! Don't forget your water bottle.
• Be very, very careful when changing lenses on the dunes. Sand is your enemy.
• Travel light on the dunes. Maybe just bring a wide-angle and tele-zoom. Fish-eye, too.
• If you put your backpack down in the sand, be very careful about . . . that's right - the sand!
• Plan to shoot panos. The long image above is a four-shot, hand-held pano.
• Pack your polarizing filter.
• Be ready to have your hiking boots and shoes filled with fine sand.
• Wear a hat and sunsceen.
* Getting to the top of some of the sand dunes is not easy. You need to run up fast in the sand. Hal and I will be there to help. But to get to the top of the dunes, you need to be in good shape.
For tips on sand dune shooting, see my on-line class that was shot in the Great Sand Dunes National Park.
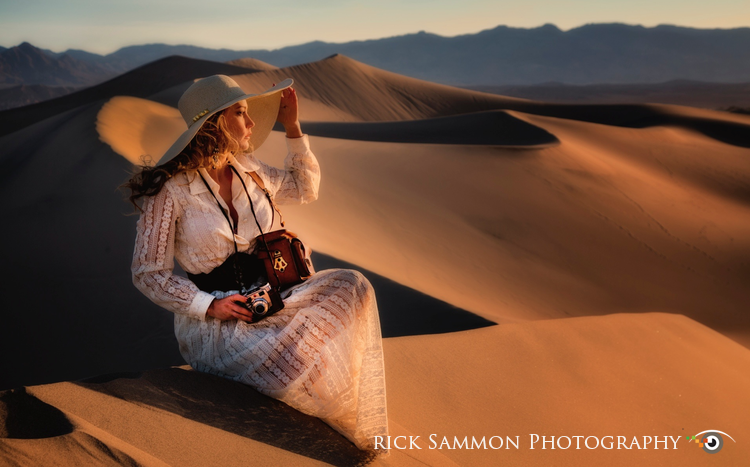
Above: We will have an awesome model for our early morning and late afternoon shoots.

Above: Hal and I will teach HDR. If you are new to HDR, download Photomatix from my Play & Save on Plug-ins page.
Here is my gear reco list for the workshop:
Canon 5D Mark III
Canon 15mm lens (my lens) or Canon 8-15mm lens (getting it soon) - for fun fish-eye shots.
Canon 14mm lens - for an extremely wide view.
Canon 17-40mm lens - my basic landscape lens.
Canon 24-105mm lens - for closer views in landscape photography.
Canon 70-200mm f/4 lens - to isolate elements in a landscape.
Canon battery chargers - so I have power.
Arctic Butterfly - for cleaning my sensor.
Tiffen Polarizing filter - to darken the sky and to whiten clouds.
Lexar 16GB cards - for recording your memories.
Induro CT 214 tripod
Induro BHD1 ball head
MacbookPro loaded with Photoshop, Lightroom and all my plug-ins.
Head-mounted flashlight and hand-held flashlights - for seeing in the dark.
Lexar card reader - for fast downloading.
Lacie 500GB portable hard drive - for storing my images.

Above: We'll shoot this cool, old and colorful car in HDR, too!

Above: There are good photo ops at Badwater. We'll shoot sunset there.

Above: Hal and I will also talk about light and composition during our sunset shoot at Artists Palette. As a preview, check out my KelbyOne on-line classes.
We hope to see you in Death Valley!
Explore the light,
Rick