

I’m honored to be Rick’s guest blogger once again. My previous post here was all about light. This time around I’d like to share some tips and photos of one of my favorite local subjects: The Golden Gate Bridge. This coincides with the publication of my new ebook which just happens to be all about photographing the bridge.
Of course you can apply these tips to any subject, not just bridges. Which brings me to my first tip:
Find a Subject and photograph it 100 times or more over the course of a year.
Have you ever visited a location for a second time and seen things that you didn’t notice on the first visit? This happens to most of us. When you photograph something at different times of the day and year, you see how it looks in various conditions and the multitude of photographic possibilities that are available.
Even if you don’t live near a beautiful natural or historical landmark, there is always something to photograph. Pick a subject, it could be a place or a person (it’s probably best to get their permission first), or a more general subject: Flowers, leaves, rocks, dogs, etc.., as long as it’s something easily accessible. Photograph this subject at least twice a week for a year at different times of the day and in different weather.
When you do this, several things will happen: You will find many ways to photograph that subject that you hadn’t previously considered. After you do the obvious shots, you’ll look for other ways to shoot it and that’s when you get creative. You will also become much more knowledgeable about your subject, maybe even an expert. As your knowledge of a subject grows, the quality of your photographs of that subject improves. Don’t expect to get a great shot every time, but the growth in your photography will be more than worth the effort.

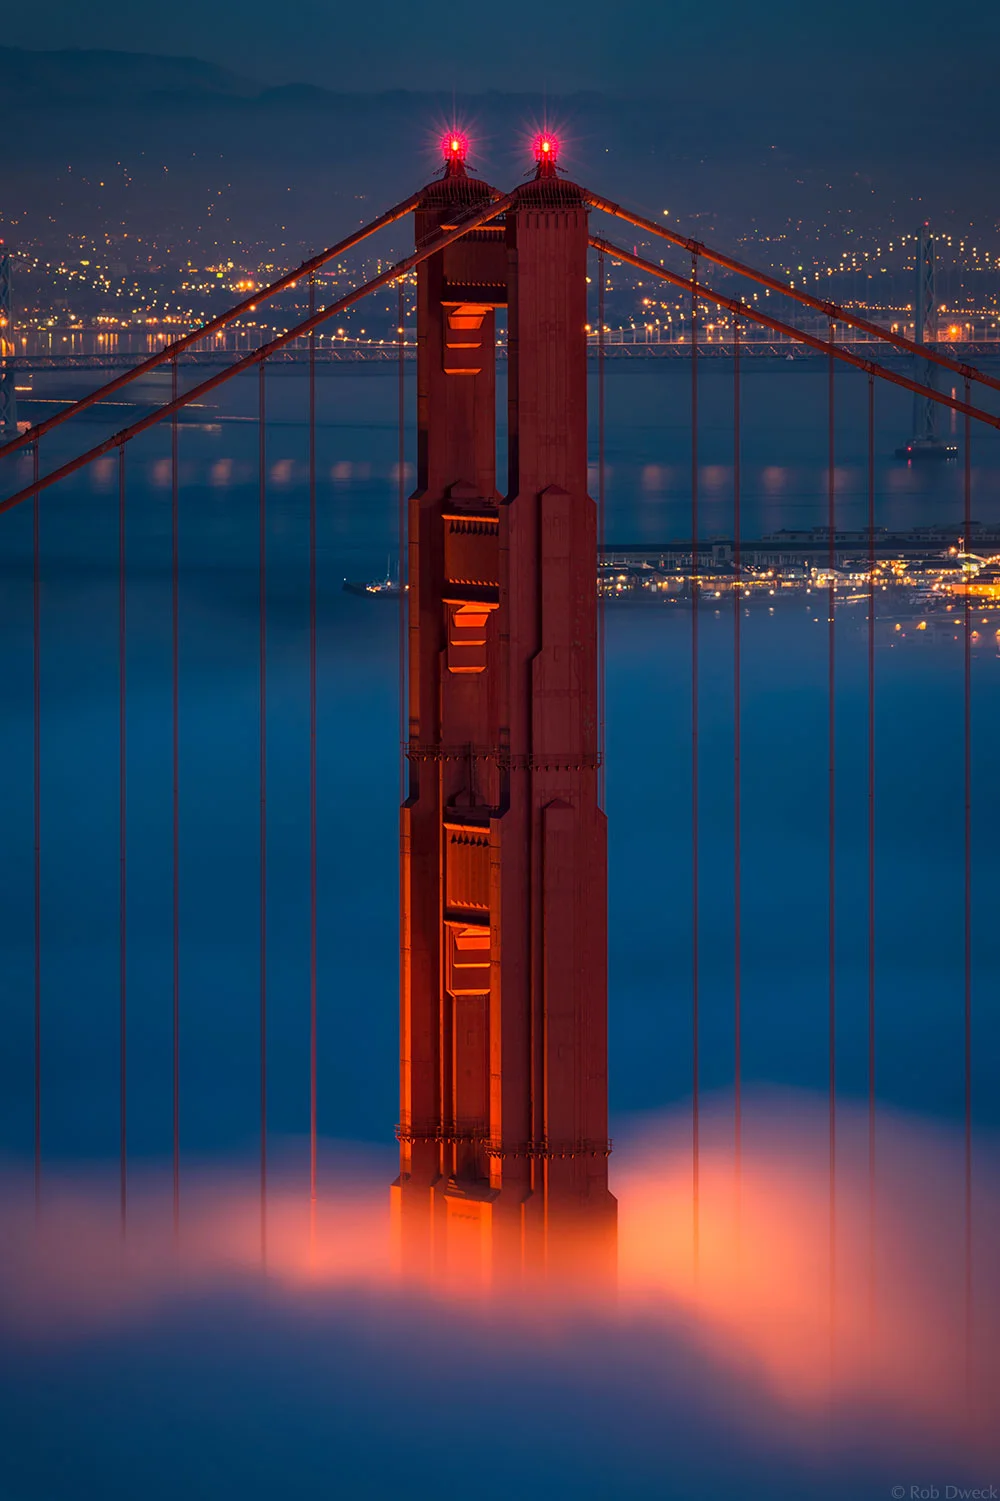
Move your camera.
It sounds obvious, but how many times do you see somebody walk up to something, place the camera in front of their face and shoot at eye level? Have you done this before? I know I have.
Pay careful attention to how the position of your camera affects the image and you’ll find that small changes make big differences. When making this image of the Golden Gate Bridge I positioned the camera close to the ground above the foreground rocks to make the viewer feel like they were standing right there with me.
I was also careful to keep the camera at a 90 degree angle to the ground to keep lines of the bridge towers and cables perfectly straight. When you tilt your camera, vertical lines become diagonal lines. Tilting the camera up or down would give the towers and cables the appearance of leaning, which might be fine in Pisa, but this is San Francisco. Tilt the camera more and the effect becomes even more dramatic. Sometimes you want that type of distortion, but when you don’t, keep your camera straight. (Using a tilt/shift lens can also eliminate this effect.)

Place your subject in between an interesting foreground and background.
The classic landscape formula of foreground, subject and background has been used for ages and isn’t going away anytime soon. When you find a foreground and background that complements your subject it creates context and depth.
In this case, a three second exposure made the waves that lapped the beach appear as streaks that mimic the patterns of the clouds. This creates a harmony that complements the bridge and makes it stand out at the same time.
Be watchful of cluttered foregrounds and backgrounds that distract from the subject rather than enhance it. You want the foreground to lead the eye to the subject, not take it away.
Keep shooting after the sun goes down.
I see this scene play out regularly when I’m in a popular location: A slew of photographers are shooting a beautiful sunset and as soon as the sun disappears, most of them pack up and leave.
As tempting as it may be to head off to a cold beer or dinner, hang around for a little while and see what opportunities open up after dark. The blue hour that immediately follows sunset and precedes sunrise can offer some outstanding colors and creative possibilities that aren’t possible during daylight hours. In fact, every photograph in this post was done after sunset or before sunrise.
I hope you find these tips helpful the next time you are shooting. So what are you waiting for? Go out and make some great photographs!
If you like my tips and photographs, please visit my web site.
• • • • •
Thank you Rob for a super post.
Explore the light,
Rick
P.S. One of the reasons why I switched my site to Squarespace: the ability to vary the layout of blog posts, as you see here. Use one-click to get started with your own awesome Squarespace site today.
This post sponsored by X-Rite - take control of your color with the colormunki.
