
Click to enlarge images.
My friends know me as the "shoot and scoot" photographer. At home and around the world, I like to shoot fast - and then move on to the next location or project.
This past weekend I had two, two-hour Westcott shoot-and-scoot photo sessions: One on Saturday and one on Sunday.
Saturday: For the first hour we shot at my house. For the second hour we shot at a local bed and breakfast.
The concept: to illustrate that you don't need a ton of expensive lighting gear and an expensive studio to get great shots – if you have the right gear and a bit of photo know-how.

Above: I shot tethered to Lightroom, so I could check my shots. My lighting set-up: Three Westcott SpiderLites (daylight-balanced constant lights) and the relatively new Westcott Eyelighter.
The background: Westcott soft cloth white background on a Westcott lighting sand.
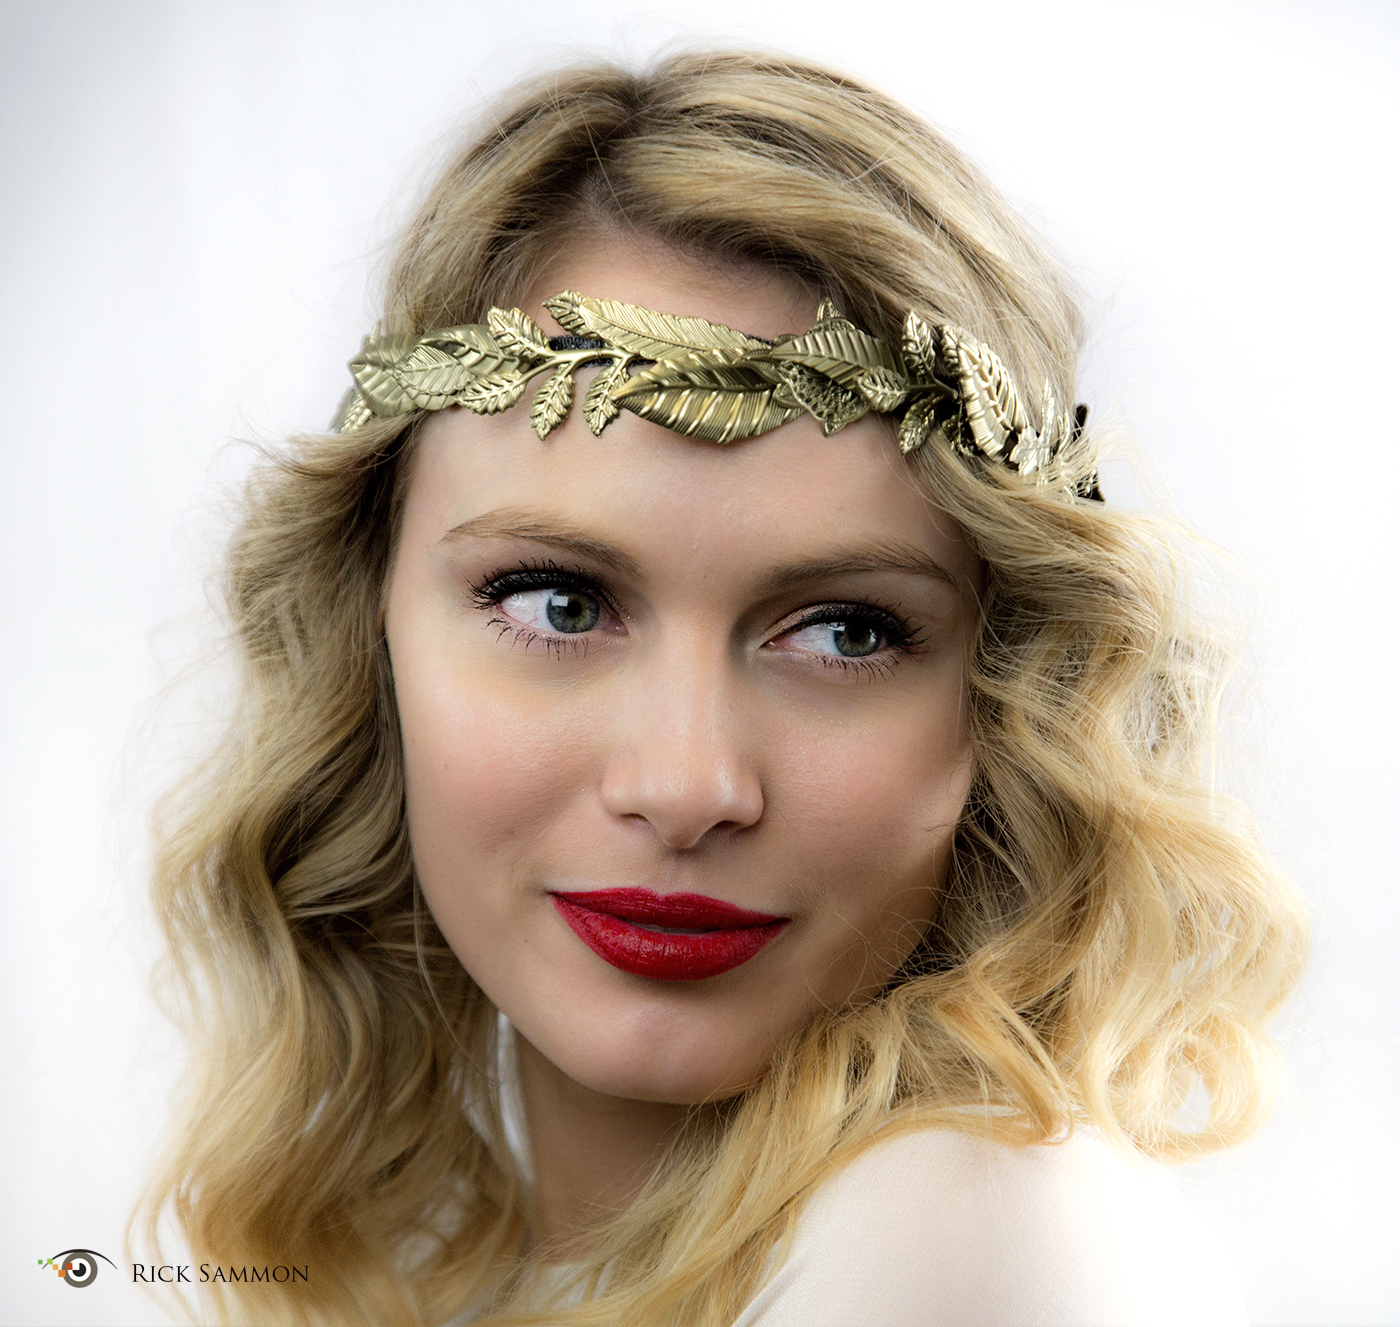
I like the Eyelighter because it adds a beautiful catch light to a subject's eyes – and because it can reduce/eliminate shadows on a subject's face.
My camera gear for all the shots: Canon 5D Mark III and Canon 24-105mm IS lens. All my camera gear is listed here.
Above: I took this shot with the same lighting set-up minus the Eyelighter. Of course, it's not fair to compare apples to oranges (as in a different pose, which changes the mood, as well as where shadows fall). I just wanted to share this photograph with you to show you the effects of the Eyelighter. What's more, I like this shot, too. It has a different feel than the Eyelighter photograph.
Above: Here are two more with-and-without the Eyelighter images. Guess which one illustrates the benefits of the Eyelighter?
Again, I know its not fair to compare apples to oranges. Of course, I could have created more flattering light in the photo on the right – by repositioning the lights.
The background: a piece of red fabric that I picked up at local arts and craft store.

Above: It's always good to show the model your shots on the back of your camera. It makes the session more personal.

Above: Another Eyelighter shot. This image illustrates how the model's outfit and background can change the mood of a photograph – as did the red background.

Above: Here's my favorite shot from my Saturday bed and breakfast shoot.

Above: My lighting set up: One Canon 600EX- RT speedlite in a Westcott Rapid Box. I triggered my speedlite – wirelessly – with my Canon ST-E3 speedlite transmitter. I shot on the Manual exposure mode and adjusted my , ISO shutter speed and aperture so that I was able to capture some of the ambient light in the room and background.
All my lighting and camera gear is listed here.
A note about processing my model images: To soften the her skin, I reduced the Clarity in Lighroom.
So you may be asking, "Why only a two-hour shoot?" Well, I only had the model for two hours. I did, however, set up the gear in my house before the model arrived, but that took only 15 minutes.
Above: My favorite shot from my Sunday session: a one-light shot of my nephew and his girlfriend. For this awesome couple, I wanted more dramatic lighting with strong shadows. So using only one light was the answer.
My background: Westcott soft cloth black background on a Westcott background stand.
Above: Here's a behind-the-scenes shot, with all the Spiderlites turned on. For my shot, the Spiderlight on camera left was turned on.
Want to learn more about lighting, check out:
- my on-line classes
- my apps
- join a photo workshop.
Explore the light,
Rick Sammon - the shoot-and-shoot photographer :-)


