
My Latest and Most Popular KelbyOne Classes

Finally, after photographing in more than 100 countries, publishing 43 books and recording more than 50 KelbyOne classes... I have a portfolio - thanks to my dear friend Scott Kelby. Check out our latest class to see how we picked the images. Click here to watch the class.

The iPhone is an amazing camera for travel photography. Learn all about it in my Travel Photography Using Only Your iPhone KelbyOne class.

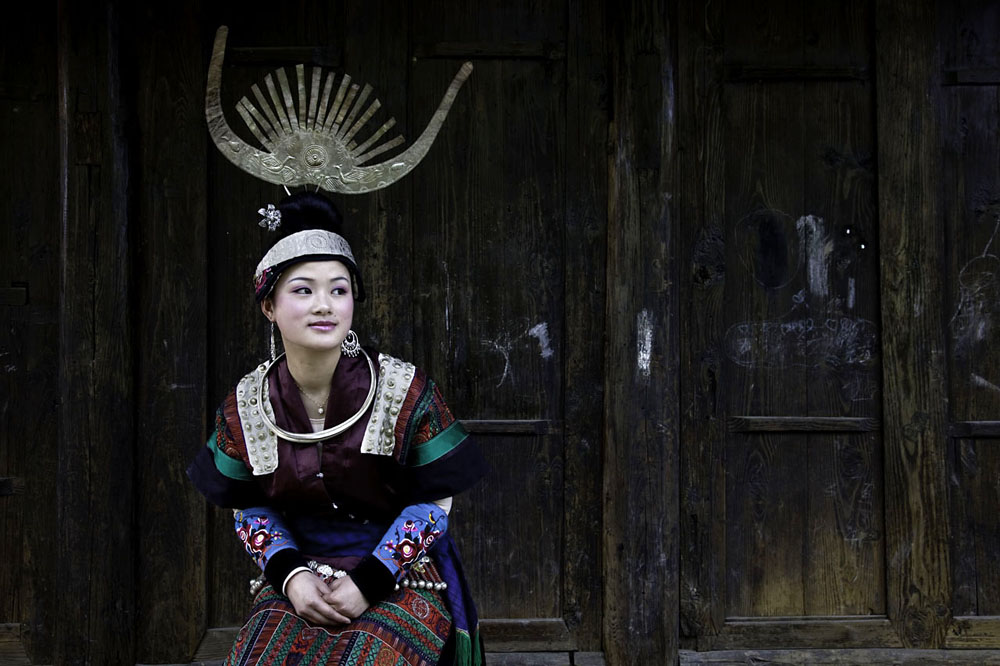
I put my heart into this class. 180 slides, 1 hour and 20 minutes. 18 countries. Everything I know about photographing strangers in strange lands. Click here to start your journey.

Like the great outdoors? Check out my latest KelbyOne class, Capturing the Great Outdoors.

Planning a photo safari to Africa? The best place to practice is in a wildlife park. In this class I share all I have learned on my nine African photo safaris. And hey, if you are going to a wildlife park and want to make great photos, you have come to the right place. Click here to watch this comprehensive class.
The iPhone is an amazing camera for travel photography. Learn all about it in my Travel Photography Using Only Your iPhone KelbyOne class.

If you like action photography, you’ve come to the right place! Click here to get started!
Want to have some great photo fun in your own backyard - and in nearby locations? Check out my latest on-line class, Backyard Bird Photography and Beyond.

Where do great travel photographs start? In your own hometown, of course. In this class I’ll give your a tour of Croton on Hudson, New York… sharing lots of photo tips along the way.

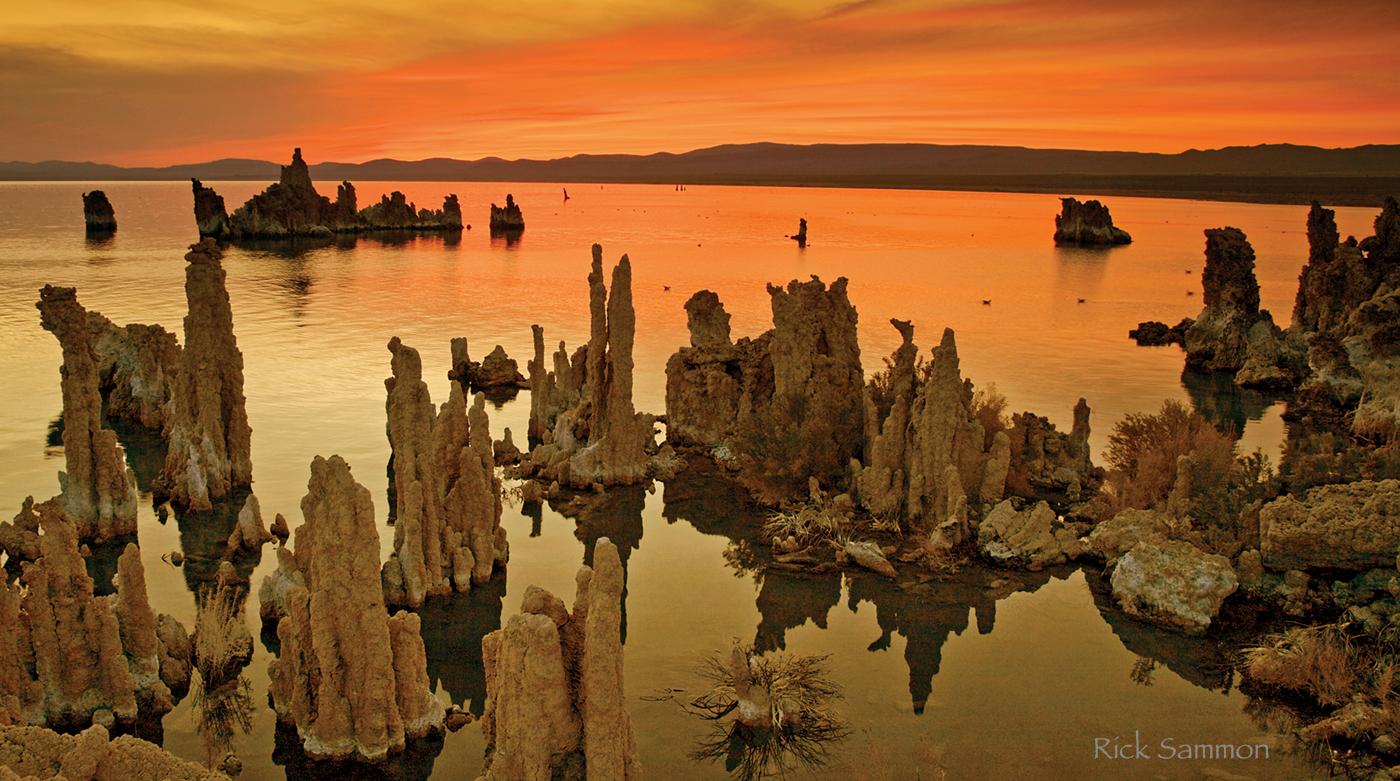
Have more fun making pictures (which is different than taking pictures) during the golden hours, in this fast-paced class. Photographing at sunrise, sunset and the blue hours are also covered!

Are you in a creative slump? Check out my latest course, Unlock Your Photography Creativity. I know you have it in you, and I am rooting for you!

If you want to make photography your business, you have come to the right place. As a KelbyOne member who watched the class said, “The Sammons condensed decades of experience into one hour. Enjoy!
Need some easy-to-remember advice for making awesome images? You’ve come to the right place. After viewing the class, don’t forget to download the PDF as a reminder of my 52 Sammonisms.

I don’t make a lot of promises, but I promise you, my KelbyOne class - Improving Your Creative Vision by Getting It Right In Camera – is the most comprehensive on-line class on exposure out there. It’s 2 hours and 29 mins long and features more than 330 slides. Check it out. Learn and enjoy! Want a preview? Click here to see the trailer.

Please join me and my dear friend Scott Kelby as we discuss how to get the best – the very best – on location travel portraits. Good fun and good learning in this Travel Photography class.

Sure, there are lots of on-line composition classes, but I promise you, none are as comprehensive as my new KelbyOne class: 20 Time-Proven Rules of Composition.
My new 1.5 hour class includes 253 slides from more than 20 worldwide/US destinations. All the major rules, as well as some of my composition philosophies, are included. Now that is comprehensive!
Not a KelbyOne member: Click here to start the photography/Photoshop/Lightroom learning.
Got a mind to travel - around the United States or around the world? My travel class offers tons of tips on safe and practical traveling, as well as advice on making great travel photographs.
If you love wildlife and nature photography, I think you will love this class. We had a ton of fun producing it! Our home base for this class was Crocodile Bay Resort in Costa Rica. Check out the trailer for the class!
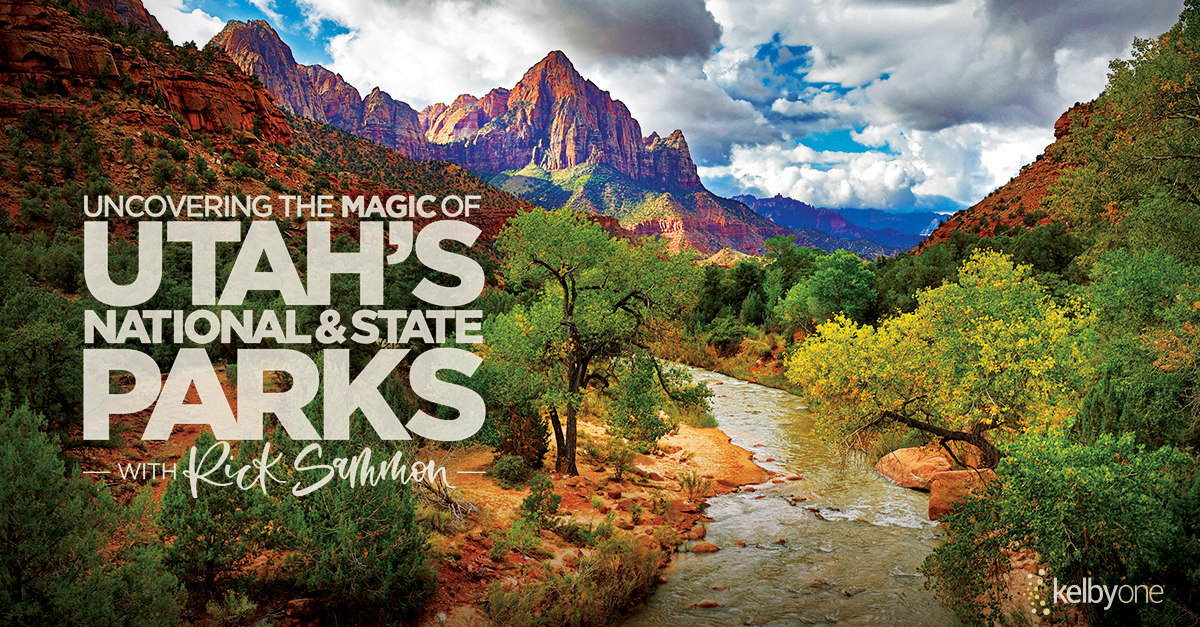
Zion National Park is sensational. Bryce National Park is breathtaking. Arches National Park is awe-inspiring. Let me be your photo and travel guide to these – and other spectacular – locations in the Utah. Click here to see the class. Click here to see the class promo.
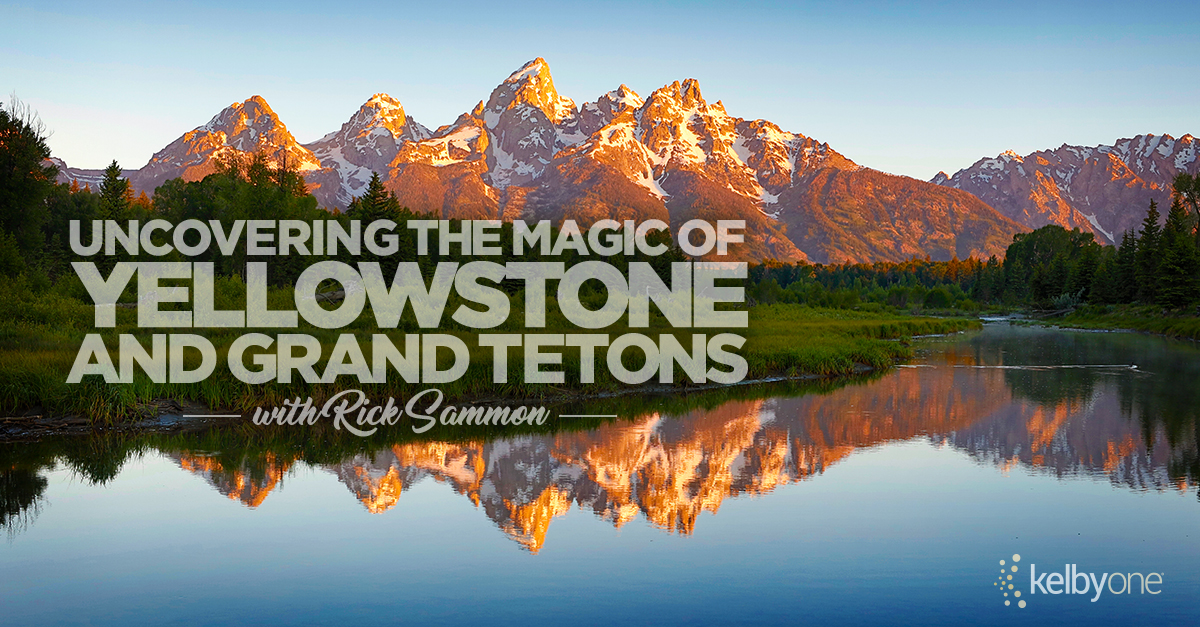
Are you planning a trip to Yellowstone and Grand Tetons? Know someone who is? Well my friends, you've come to the right place. This class – Uncovering the magic of Yellowstone and Grand Tetons – is for you!
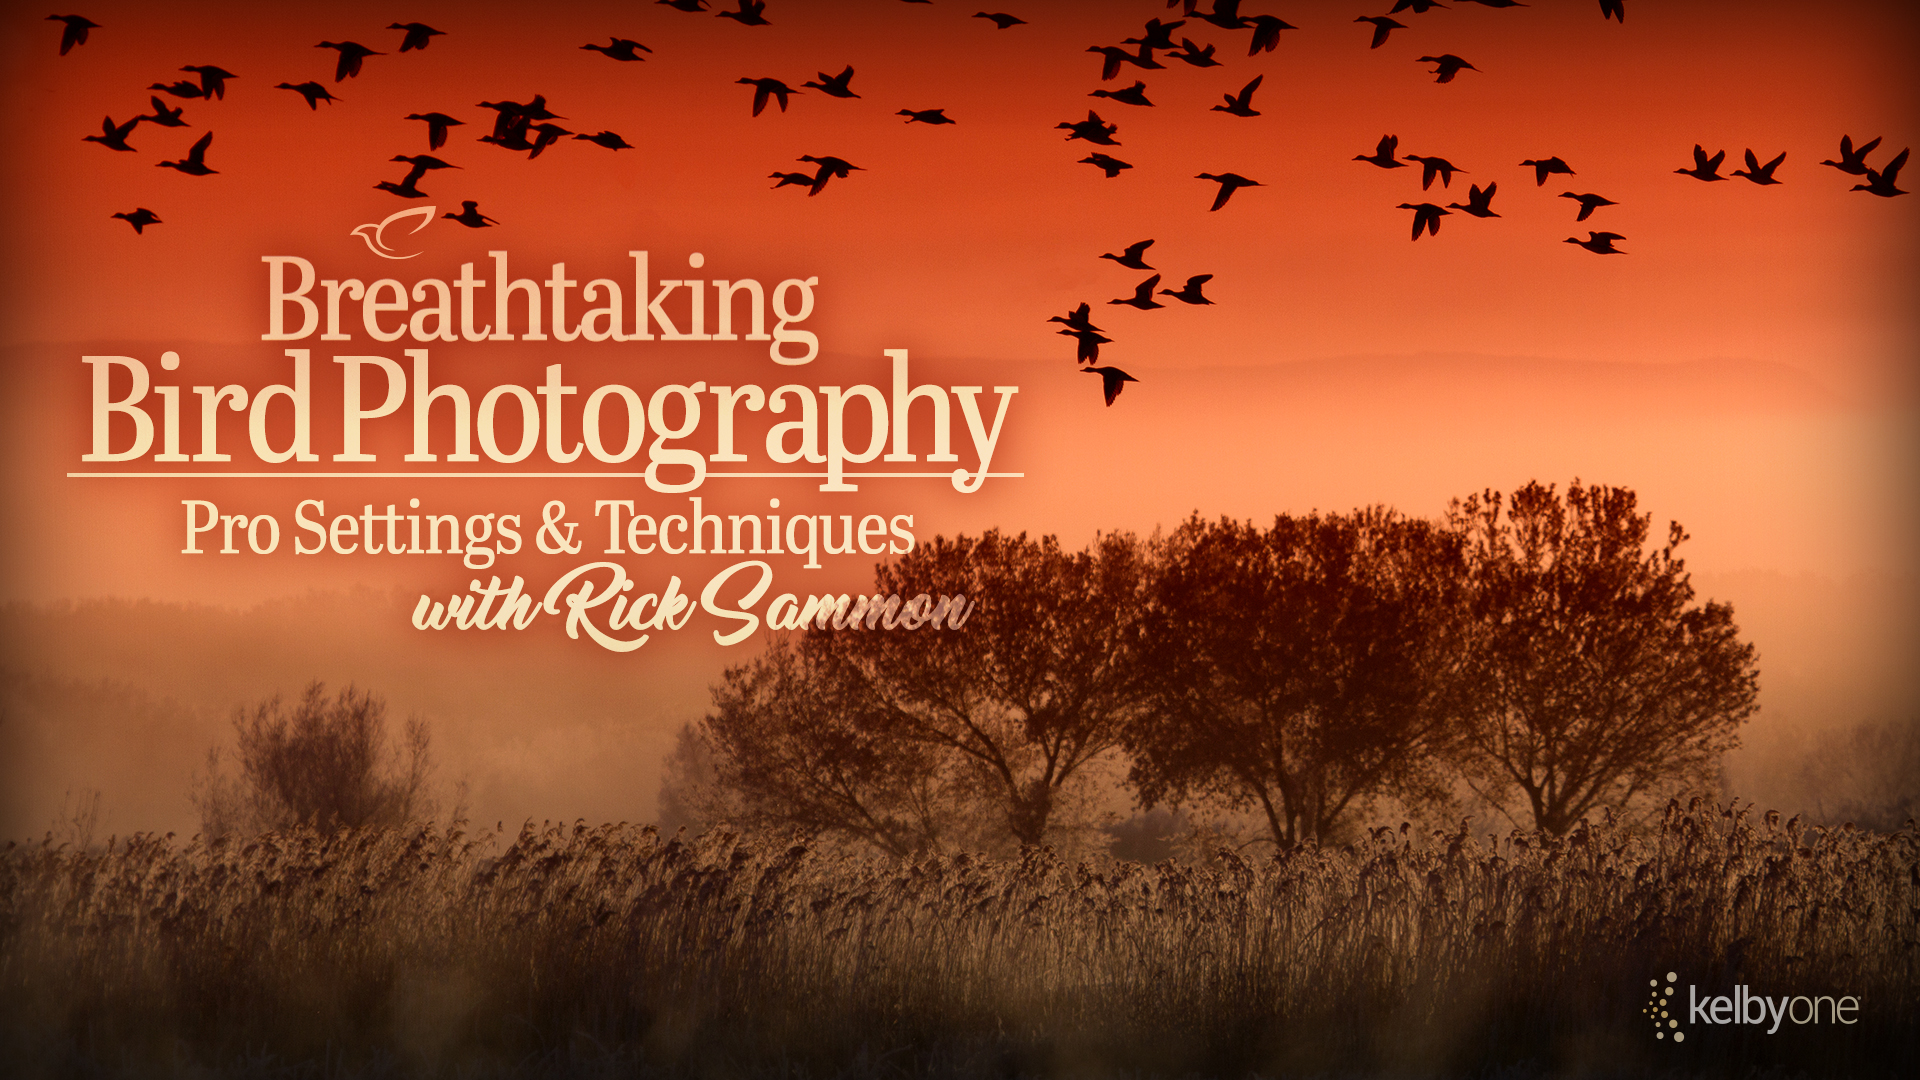
Master the art and craft of bird photography with my one hour+ class featuring more than 160 images. Fly with me from Alaska to Antarctica where I share my best tips, tricks and techniques for bird photography in my class: Breathtaking Bird Photography - Pro Settings and Techniques.

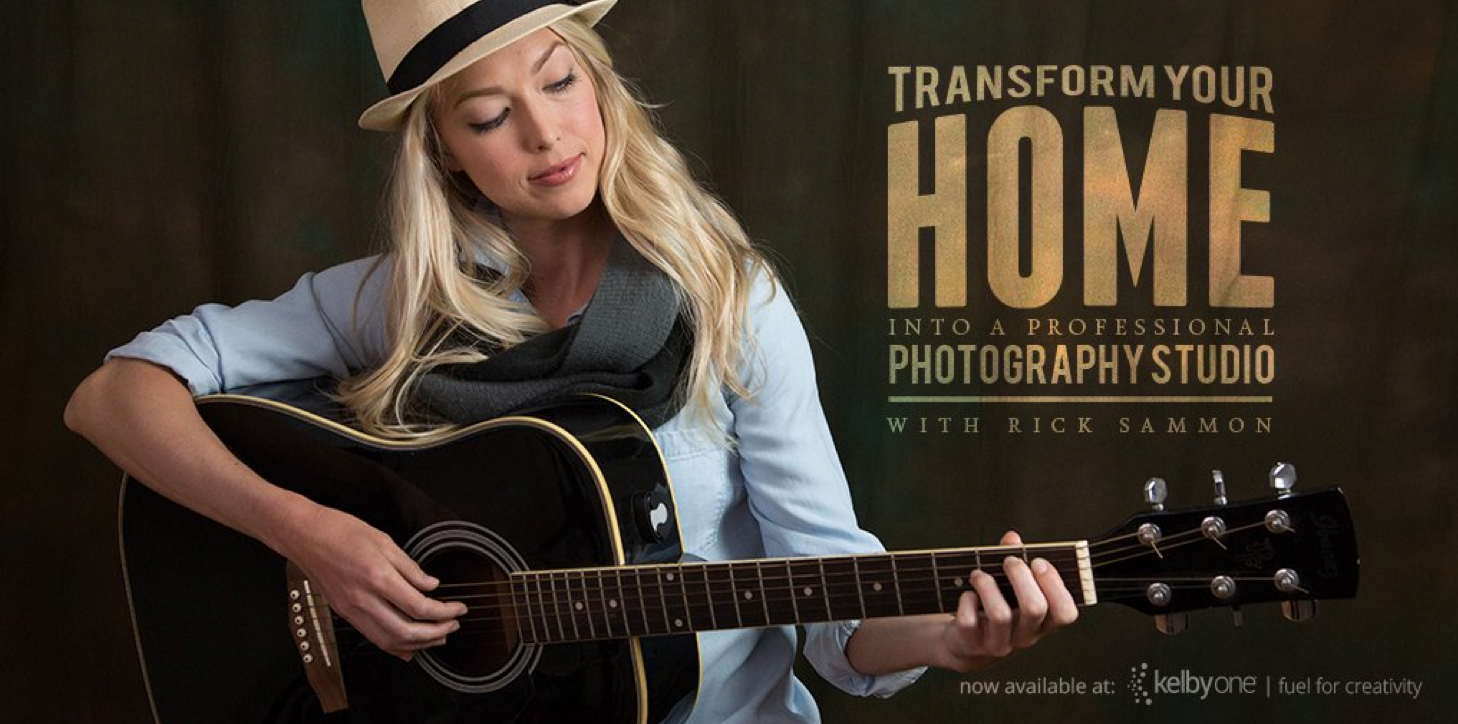
Turn Your Home Into a Professional Quality Studio. In this class I show you how you can use some basic lighting equipment and affordable accessories to get professional quality image – all in the comfort of your own home.
Composition - the strongest way of seeing. Composition – What is it? Learn to compose technically and emotionally. Take a trip around the world to explore what works and what doesn’t. From leading lines and rules of thirds, to patterns, contrast and viewpoint, you’ll learn the rules before you break them with amazing tips, tricks and techniques for composing photos that tell stories with feeling!
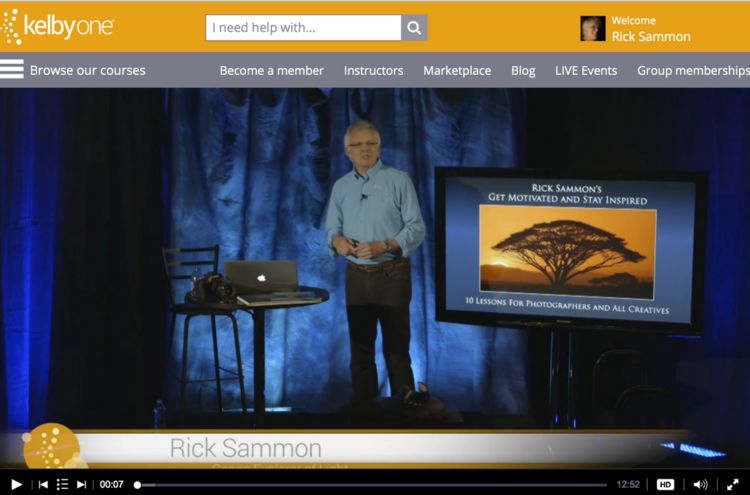
Need some motivation and inspiration? Check out my class on How to Get Motivated and Stay Inspired.
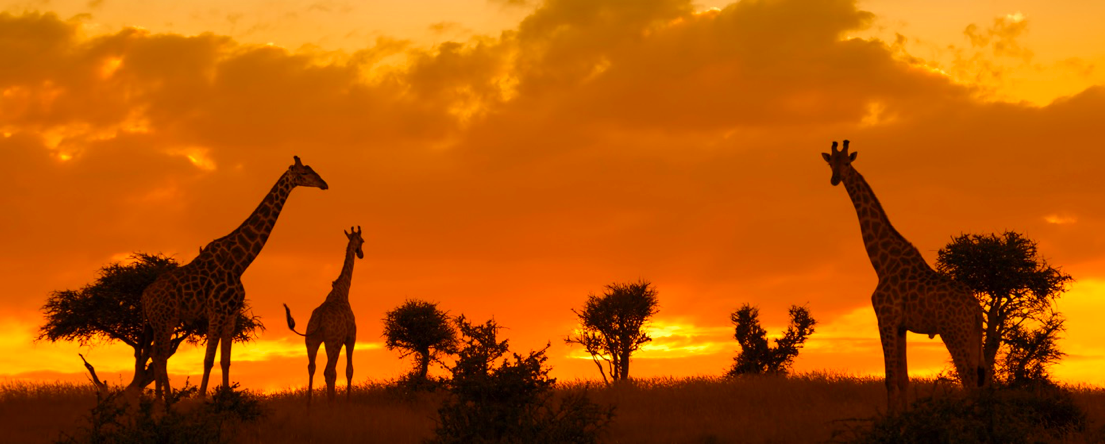
My KelbyOne on-line class, Capturing the Wild: Safari Photography, is a live, in-studio narrated Keynote slide show that will help you "tell the whole story" of your photo adventure. In addition, you can use many of the same tips when photographing at a wildlife park, nature center, on a photo workshop, and while traveling. Animal, people and landscape photography are covered, as well as planning and packing for a trip. Basic digital enhancements are also illustrated.
Exploring Digital Photography was recorded a few years ago, but the principles are still the same. This class is a live recording of one of my presentations. Since the recording, I have added lots of new material and photographs to my seminars.
Light - the main element in every photograph. No matter what kind of photography you are into, it’s all about the light. Join me and learn just how important light is to every photograph. You’ll learn about the importance of envisioning the end result, different ways you can control the light, and more.
Check out my YouTube channel. Lots of quick how-to videos. Just click on the clouds.