

First, I would like to thank Rick for the opportunity to share my “Zootography” tips on his blog.
Traveling to remote parts of the world to capture dramatic wildlife images is not within the reach of many photographers. However, that does not mean getting high impact images of wildlife is also out of reach. Most photographers live within easy driving distance of a Zoo or animal park. By using solid photography techniques in the field and post processing it is possible to get dramatic wildlife shots. Below is my list of tips and examples of how to get the shot at the Zoo.
All photos in this article were taken at various exhibits in the world class Memphis Zoo.
Backgrounds

Modern Zoos have open natural exhibits which allow photographers, with careful attention to composition and/or cropping to create images that look as if they were made in the wild. Watch your backgrounds as you are composing your shots and try several different angles so you have plenty to work with in the digital darkroom. If you can’t get all the way there with in-camera composition, then crop the image in post.
Here is a post processing tip to get a nice, creamy bokeh on the background: besides using the largest aperture for the lens, try the Nik Color Efex Pro tonal contrast filter using the “softening” preset. In Photoshop use a mask to paint the softening effect onto the background only.
Portraits
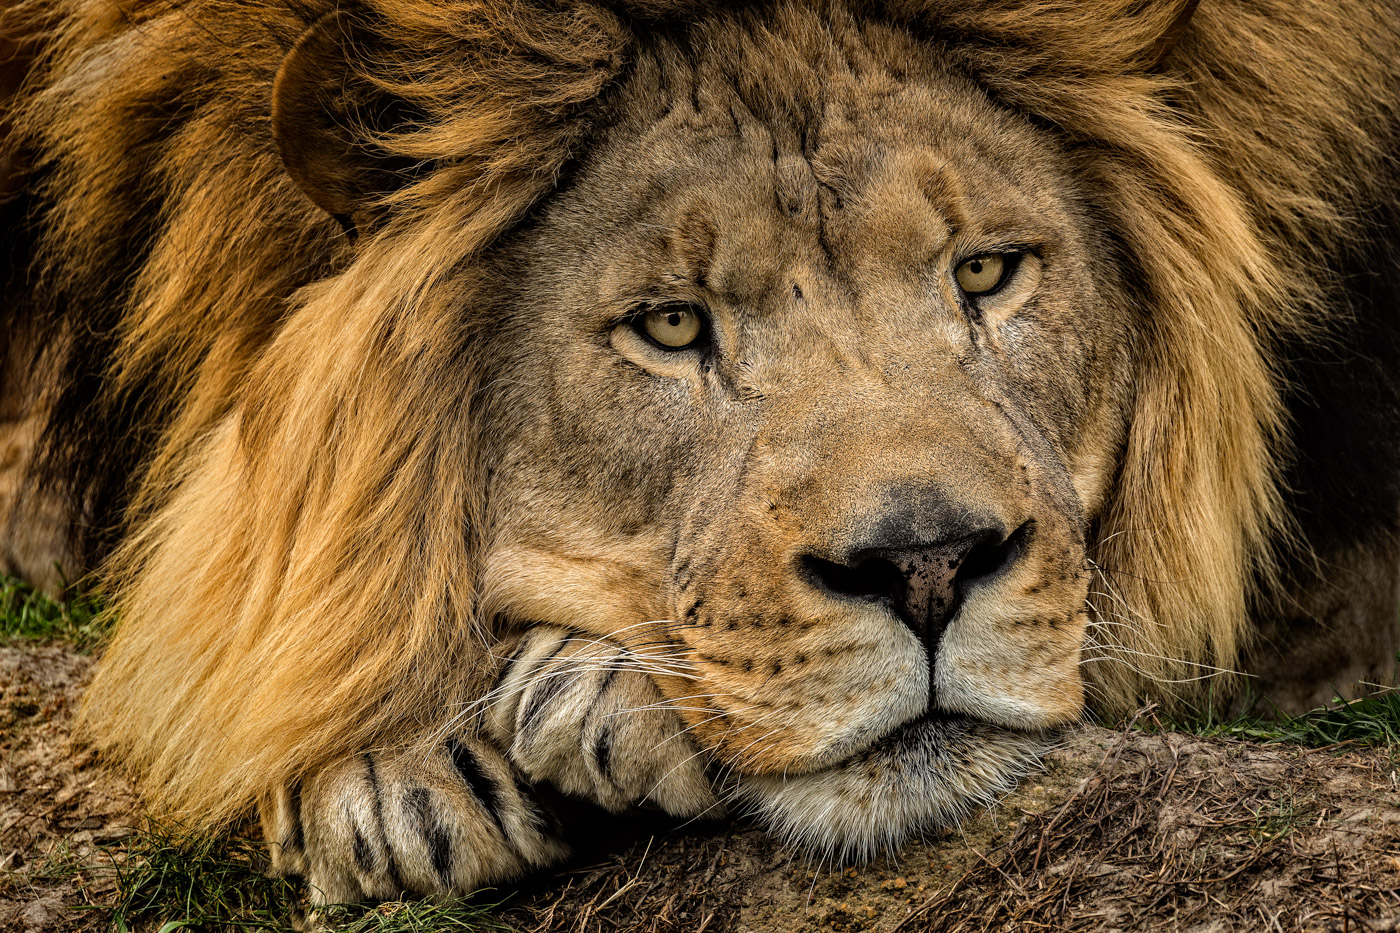
Getting in tight and creating a portrait of an animal is a great alternative to an environmental image. Use the same sensibilities you would for a human portrait, pay attention to the eyes! Most animals have natural “sunglasses” that cast shadows on the eyes. Use Photoshop to lighten the eyes and remove shadows. Add sharpening and some clarity to enhance any natural catch light and make the eyes pop. The pupils may take on a gray cast after post processing so as last step use Photoshop to make sure the pupils are black. The viewer will relate to an animal portrait with engaging eyes.
Gesture

Just like capturing the “gesture” of human subjects, touching or humorous animal behavior can make for high impact photos. These are random moments, but you can increase your odds of capturing a special moment by knowing your camera intimately so you are not fumbling with settings in the field. Also take some time at an exhibit to observe animal behavior, which will allow you to anticipate a moment. I knew from the Zoo’s website that a baby Giraffe was put on exhibit and the mother would be highly attentive to her new born. After about an hour of waiting I was able to capture the above moment between them.
Enclosures
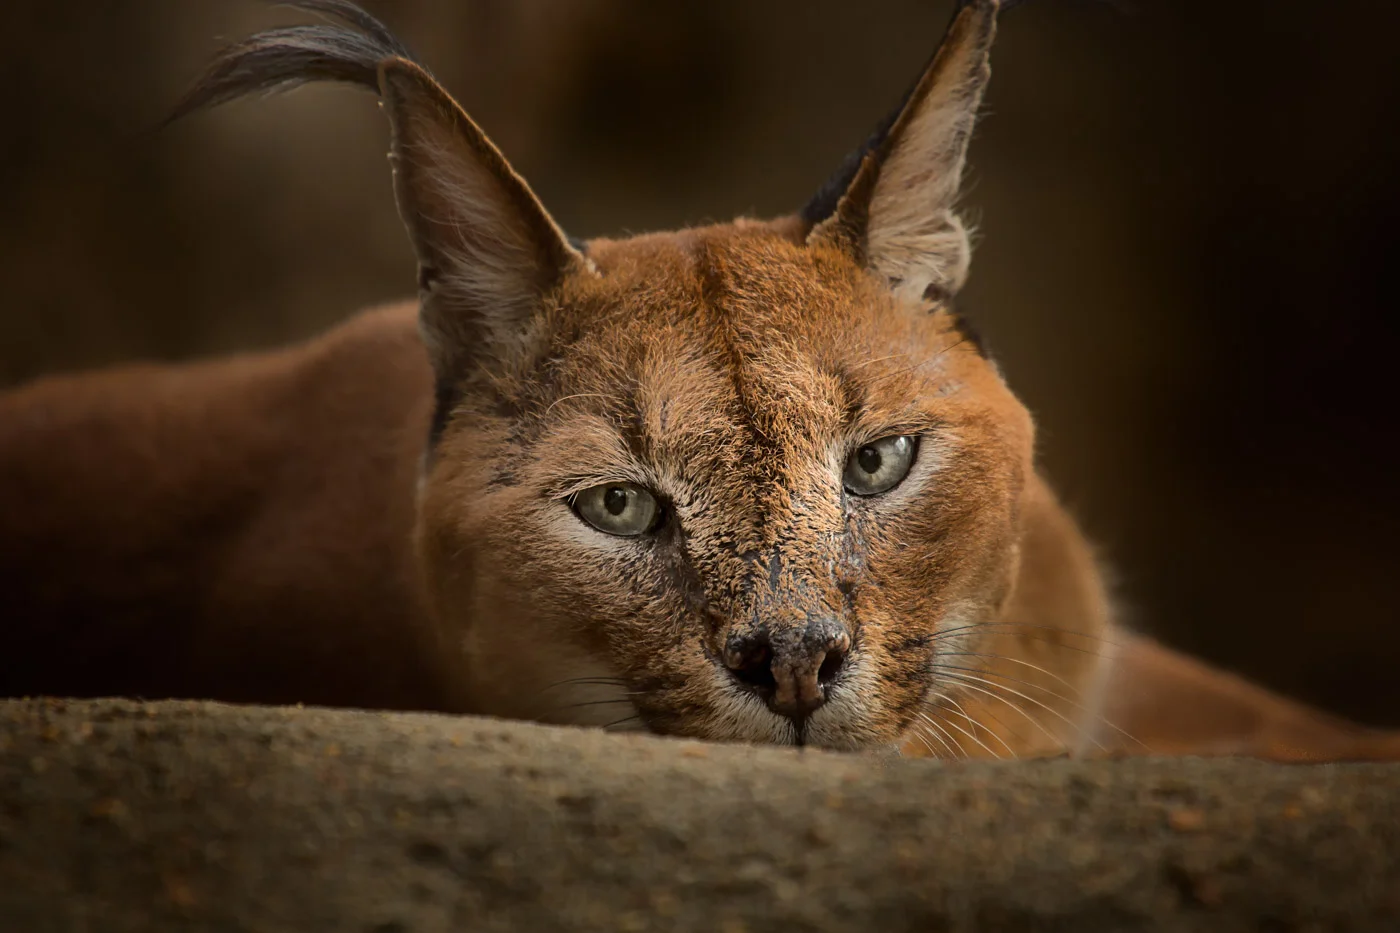
Zoos have more open exhibits than ever before, however you will still encounter enclosures. Such as mesh, bars, glass, etc. The photo of the Caracal above was taken through a barrier known as a “piano wire” cage. These thin bars can be melted away in the photograph with proper control of depth of field (DOF). Depth of field is the area in front and behind the focus point that will be in focus. If the obstruction of the enclosure is in the out of focus area it will appear as if the animal was not behind an enclosure.
The DOF is affected by the aperture and lens focal length. The largest aperture (smallest f-stop number) will give the smallest area that is in focus. Also the focal length of your lens will change the size of the area that is in focus. The longer the focal length (larger numbers) the smaller the area in focus. Finally, where the animal is located relative to the obstruction will determine if you will be able to blur out the enclosure. It may take patience for the animal to move into the optimum position. I tried to capture the Caracal many times, however this one time he jumped up on the rock and stayed in position for about minute. He was far enough into the exhibit to appear as if we were face to face in the open!
Black and White
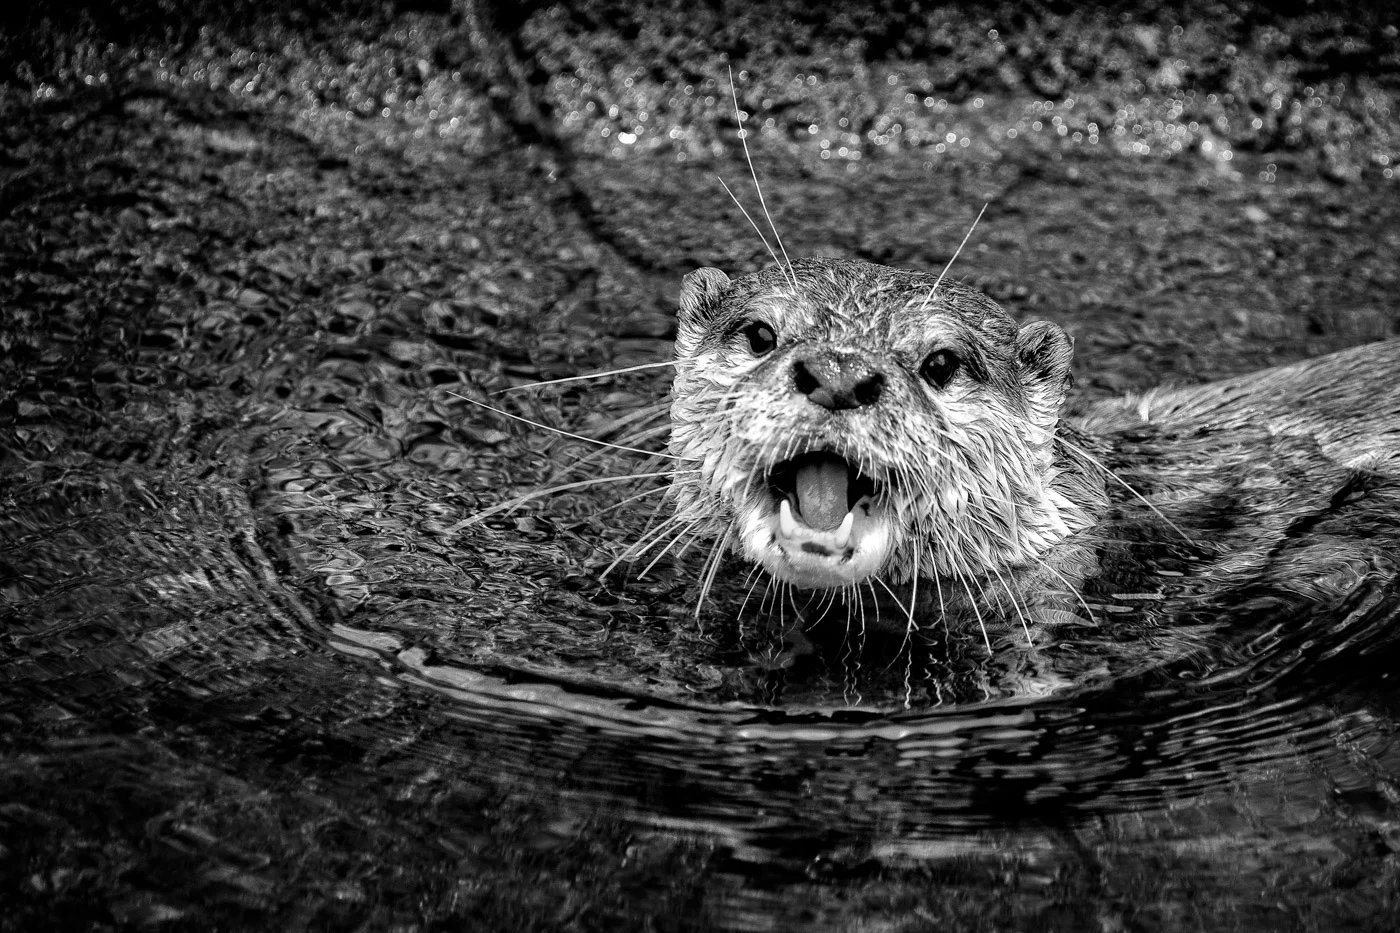
I convert many of my Zoo photos to black and white using Nik Silver Efex Pro. I find that photos without color can add to the drama of the shot and can conceal some of the unnatural aspects of a Zoo environment. Monochrome emphasizes texture and light which highlights the fur/feathers and markings of animals. In the above image of the Otter the texture of the ripple in the water is more prominent than it would be in a color image, which acts as a composition element that frames the animal.
Zoos have made use of stucco and concrete “rocks” to create natural elements within exhibits. However, they are usually unconvincingly painted, but in black and white the texture is all that remains which is enough to trick the eye and brain into thinking you are looking at real rock.
Conclusion
My final tip is sign up for a Zoo membership so you can head to the Zoo as often as you want. To get the shot it takes many trips to the Zoo to become familiar with the layout, the light at different times of the day, and to increase your odds of capturing an engaging animal behavior, such as the Eagle photo at the top of this post
If you would like to see more of my work hit my website. You can also follow me on Instagram @mpachis_photo, where I post my latest work.