Day 1 Battle of the Close-up Photography Tips: Pons vs. Sammon

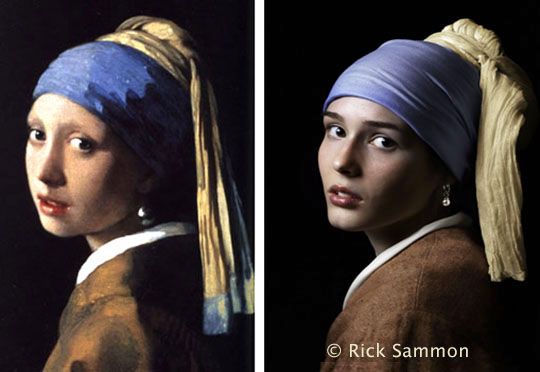
Photographs by Rick Sammon
All this week: the Battle of the Close-up Photography Tips: Juan Pons vs. me! 

Hey, this is all in good fun!

Away we go:

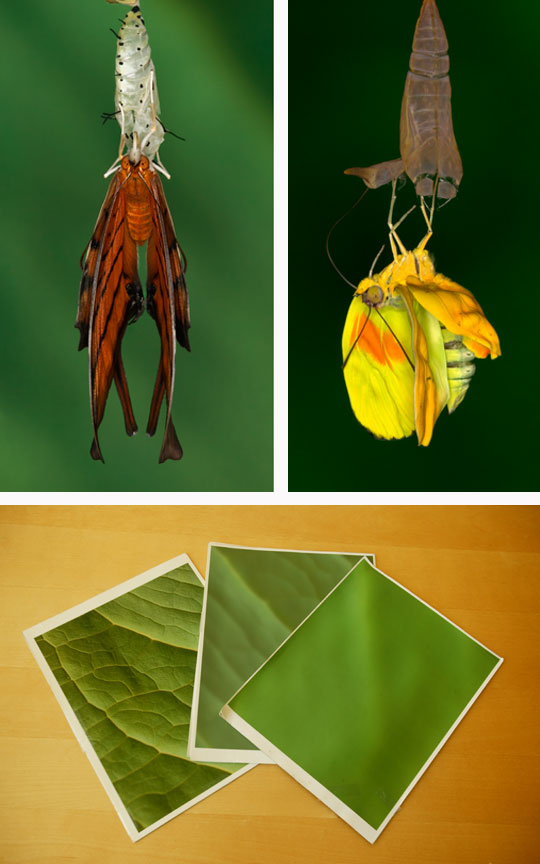
Me: Make your own backgrounds. The background can make or break a shot. For the top two photographs, I placed an inkjet print of a photograph that I took of a leaf behind the cute critters, which were hanging out in our kitchen.

To simulate different aperture settings (wide and small), I blurred my original photo in Photoshop using the Gaussian Blur filter.

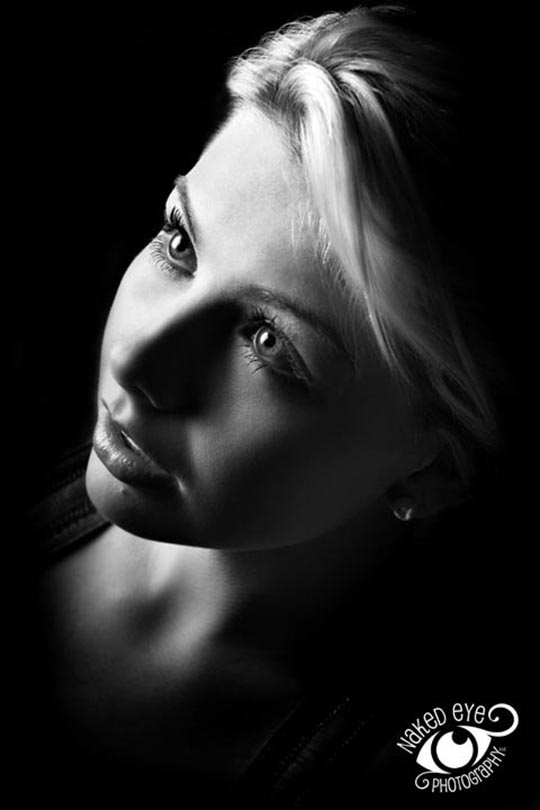
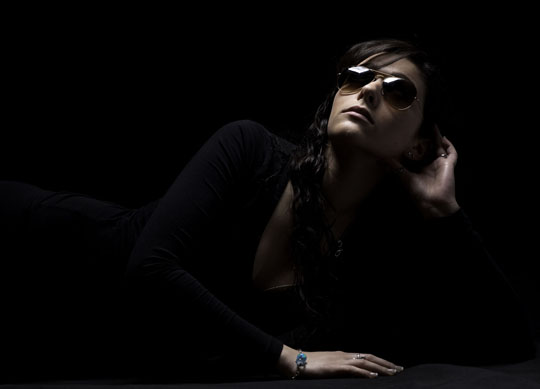
I have also been known to use black and green t-shirts as backgrounds. Yes! I have given the shirt off my back for a photo.

And speaking of the background, use the depth-of-field preview button on your camera to make sure background elements add to or detracts from the main subject.

Both pictures were taken with my Canon 100mm macro lens (set at f/16 for good depth of field):

and

Canon MR 14-EX Macro Ring Lite (for shadowless lighting):

Juan:

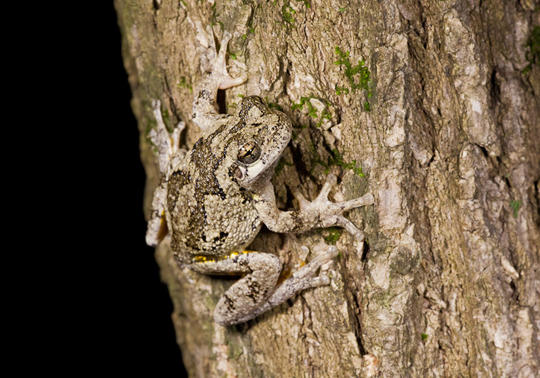
Photograph by Juan Pons
Just because you are taking a close-up shot, it does not mean that you must exclude everything but your subject. I believe the most interesting images are those that tell a story or at least tell you a bit about your main subject. Take the example of this image of a Grey treefrog. These little, feisty frogs are nocturnal, and they come out at night on rainy spring evenings to mate and lay eggs in vernal pools. While they may occasionally hop around on the ground, as they move from tree to tree, they spend most of their time up in trees. For protection, these small treefrogs depend on their camouflage to escape a predators notice.

By including the frogs habitat and environment, you "get" that they are nocturnal, and you can see first-hand their awesome concealment technique. If I had just taken a super tight headshot I would have passed on this great opportunity to convey these two aspects of my subject. Sometimes is pays not to get "too" close with your close-up shots.

I took this image right in my front yard where I have built a habitat for these frogs. The image was taken at 1:14am with a Canon EOS 5D MarkII and a Canon EF 180mm Macro lens at f/16 and 1/30th of a second at ISO 1600.
• • •
Explore the light, 
Rick

P.S. For more info on close-up photography, and photography in general, check out my apps. Click here to start the photo fun!

Juan and I developed Butterfly Wonders together.

Guest Blogger: Kathie Austin

Photograph by Kathie Austin
I meet many talented people on my workshops, at my seminars and on the web. During my recent lighting demo at Unique Photo in New Jersey, one of the attendees, Kathie Austin, suggested a cool lighting technique: positioning the soft box directly above the subject.

I liked her idea, and tried it when I returned home. Below is my shot using this technique.

Photograph by Rick Sammon
I asked Kathie to be a guest blogger here on my blog. So away we go!

Kathie Austin – This "low light" shoot was done in the studio with a black backdrop, short black stool, and a 24" x 32" strobe soft box. The key to the lighting effect was having my assistant stand on top of a ladder, holding the softbox parallel to the ground, as if it were the sun beating down on the model. Having the model look up into the light ensures smooth lighting across her face and body as well as nice catch lights. The model was about 3' from the backdrop. The bottom of the photos were vignetted in Photoshop.  (1/250, f/8, ISO100, 50mm).

This is a great lighting effect for First Communion shots, as the lighting is very "Godly," coming from above. 

Kathie Austin
NAKED EYE PHOTOGRAPHY, LLC
Capturing the Creativity in Life 

Click here to learn more about Kathie.
• • • 

Thank you Kathie!

For more on the Unique Photo shoot, click here.

More guest bloggers to come.

Explore the light,
Rick

P.S. Here is the info on the softbox (in which I placed my Canon 580 EX II) that I used:

Have Some Plug-in Fun This Weekend – and Save a Few Bucks, Too!

Topaz Adjust/Portrait Smooth
Plug-ins expand the capabilities of Photoshop, Lightroom, Aperture, etc. They also expand your creative horizons.

Plug-ins are relatively inexpensive - and you can even save a few bucks by using my special codes below.

Here are my favorite plug-ins, favorite plug-in images, and favorite plug-in tips. 

For my picture, "Girl with a Pearl Earring," I applied Topaz Adjust/Portrait Smooth on the top layer (the original was on the bottom layer) and then I faded the Opacity to reduce the effect.

Photomatix Plus Topaz Adjust

HDR Efex Pro

My latest, favorite plug-in: Nik Software’s HDR Efex Pro. Save 15% if you use this code: RSAMMON upon check-out on the Nik web site. Actually, you can save 15% on all Nik plug-ins - including Color Efex Pro! Just use the same code. 

HDR Efex Pro tip: Use the Control Points and Curves to fine-tune your image – and to save time touching up your images in Photoshop, Lightroom or Aperture.

 Photomatix Plus Topaz Adjust
The image above was created with Photomatix - with a touch of Topaz Adjust. You can save 15% when you order Photomatix by using this code: ricksammon. 


Photomatix tip: Adjust the White Point and Black Point sliders first. If your highlights are washed out with even with the White Point slider moved all the way to the left, you missed capturing the entire dynamic range of the scene with your original HDR sequence. 

Topaz Adjust

Topaz Adjust is just too cool. Above I used the Spicify Effect. Below I used the same effect, but greatly reduced the noise. Click here to order Topaz Adjust. Hey, save a bundle when you order a Topaz bundle.


Topaz Adjust tip:  Press the Reset tab each time you work on an image - unless you want your previous effect applied to your current image. 
 
Topaz InFocus

Topaz InFocus is a relatively new plug-in from Topaz Labs. Click here to read about InFocus.


InFocus tip: Don't over-sharpen your images. The more you sharpen, the more noise you'll get in your images.


Bokeh
Check this out. Want to turn a picture like the one on the left into a picture like the one on the right? See below.

It's fast and easy with Alien Skin's Bokeh 2. You can save 15% when you order any AlienSkin plug-in by using this code upon checkout: RSA0901.

Bokeh tip: Spend the time in Photoshop making a VERY careful selection.

 Aline Skin makes more cool plug-ins. Click here for info.


Nik Silver Efex Pro
Hands down, the coolest way to create a black and white digital images is with Nik Silver Efex Pro. Save 15% off if you use this code: RSAMMON upon check-out on the Nik web site.


Silver Efex Pro tip: Experiment with the different color filters to see how they can enhance the tones in your images.

Explore the light,
Rick

P.S. If you like HDR, check out my latest app:


Rick Sammon's HDR Portfolio


My newest how-to app for the iPad is now available: Rick Sammon's HDR Portfolio - featuring HDR Dissolve™. This app is packed with photos (my latest), info and movies. A great way to learn HDR.