70-200mm f/2.8 Lens vs. 70-200mm f/4 Lens

Note: This is not a technical review. Just some food for thought.

When it comes to choosing a 70-200mm lens, Canon shooters have two IS (Image Stabilization) choices:

Canon 70-200mm f/2.8 (over $2,000) and Canon 70-200mm f/4 (around $1,000). Both lenses are super sharp and offer fast focusing.

The f/2.8 lens is more expensive, heavier and takes up more room in a camera bag than the f/4 lens. If you shoot indoors and in low light, the f/2.8 lens is a good choice because you can shoot at a lower ISO and faster shutter speed. What's more, you can add a Canon 1.4x converter (my converter of choice) and still have low-light shooting flexibility.

However, f/4 shooters don't really need to worry about shooting at a slightly higher ISO settings because they can reduce the noise in Lightroom and Adobe Camera Raw and with plug-ins like Topaz DeNoise.

The f/2.8 lens beautifully blurs the background when set at f/2.8. However, f/4 shooters can blur the background using plug-ins like Focus Pro 2.

All my plug-ins are listed on my Save on Plug-ins Courses page.

I have both lenses. The image above was taken with the f/4 – my current favorite 70-200mm lens. Check out the sharpness of the eagle's eye.

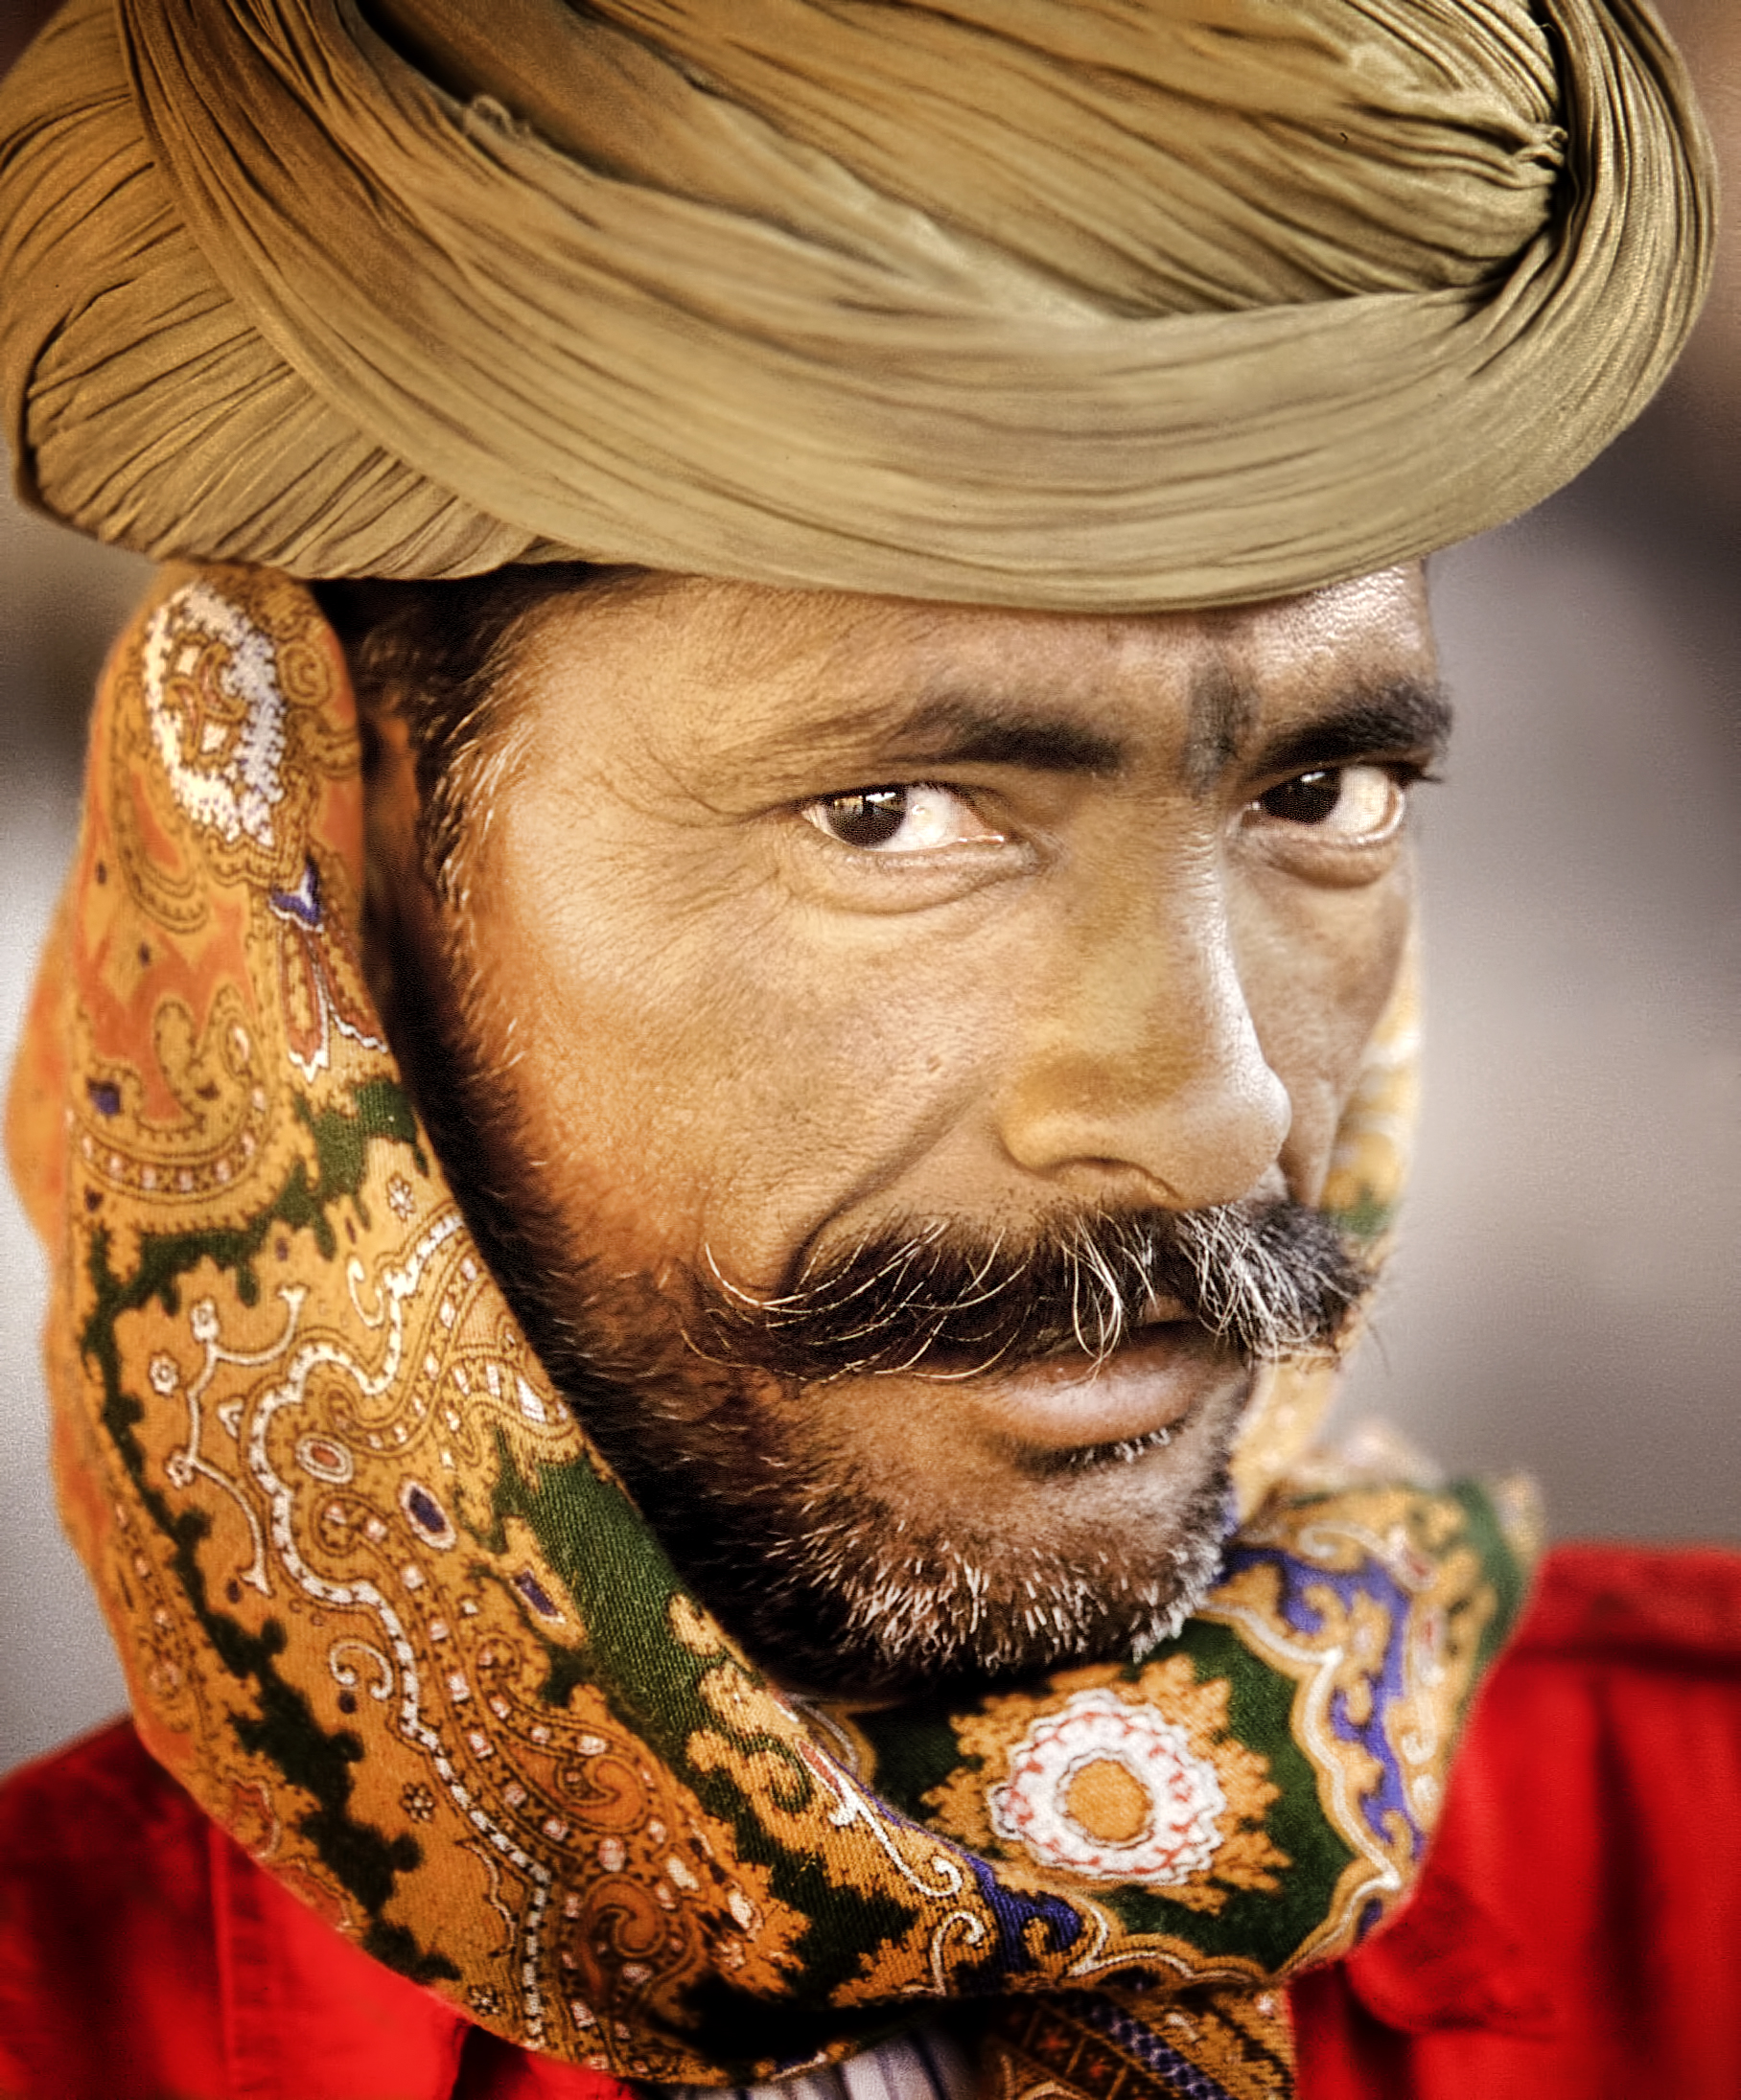
I took this photograph of a very cool looking dude in a train station in India with an older 70-200 f/2.8 lens - when I was shooting film!

I am waiting for a photo op to use the newer 70-200mm f/2.8, as 90 percent of my shooting is done outdoors. :-)

All my gear is listed here.

Explore the light,
Rick


12.12.14 Rick's Quick Fix Friday: I teach HDR the "Right Way"

HDR is a quick fix to shooting in high contrast situations.

So get this: I go to a HDR (High Dynamic Range) photography seminar and the instructor says, "I teach HDR the right way."

Well, he had a good way of teaching, but I thought to myself, "There really is no one right way"to teach HDR.

Here are the suggestions I offer when I teach HDR on my photo workshops:

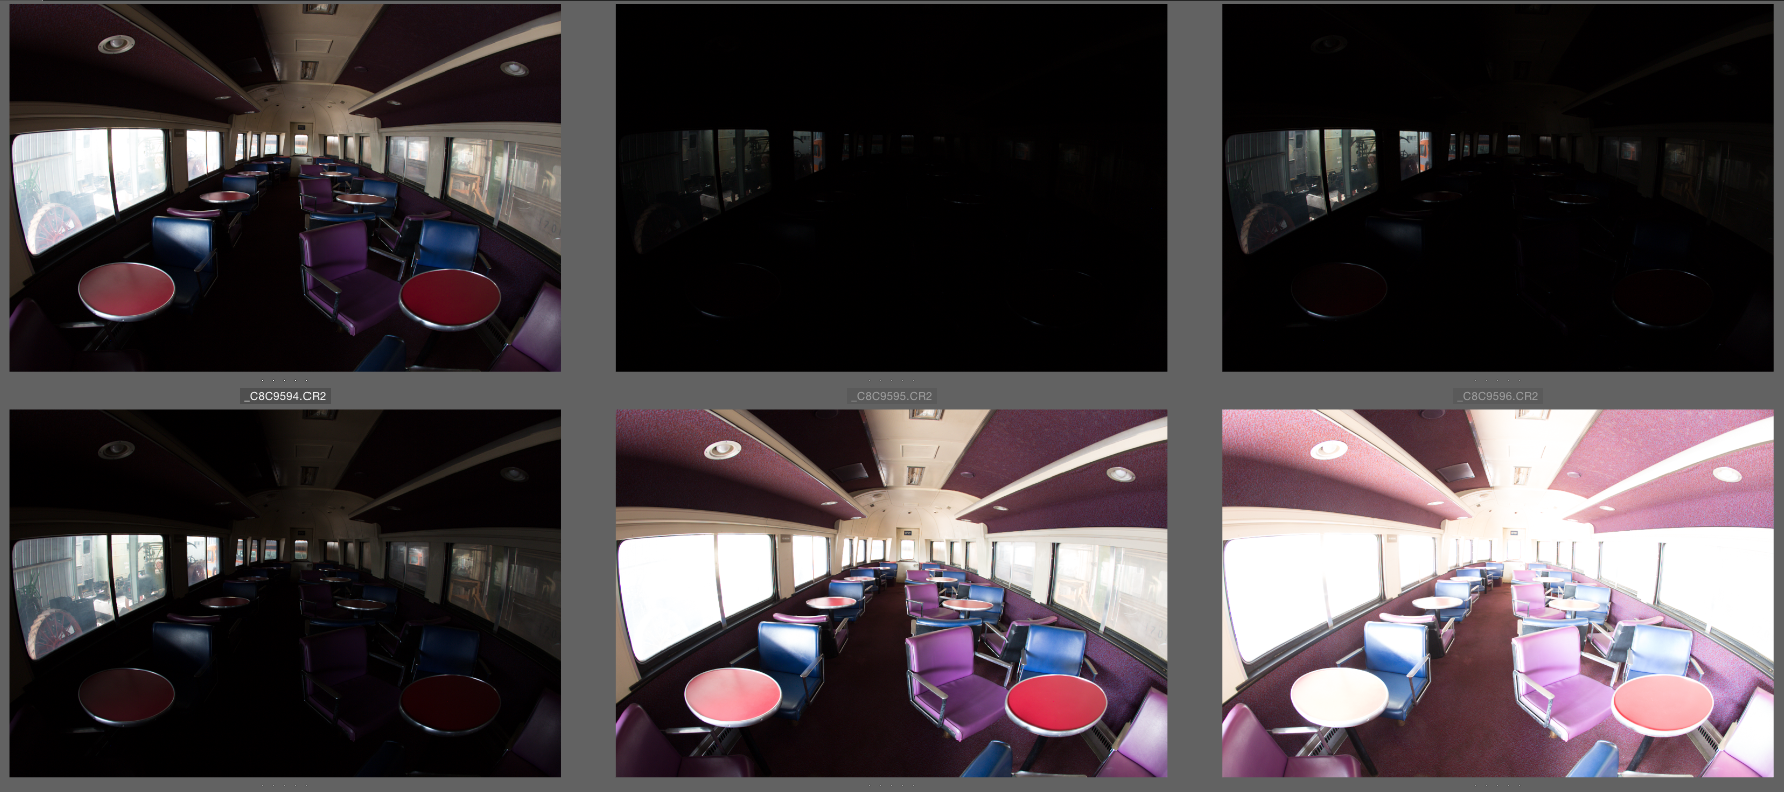
1) Capture the entire dynamic range of the scene (above). Best to use a tripod. Don't change the aperture. Bracket with your shutter speed.

2) Process your images in Photomatix. (Click here to get a 15% discount on Photomatix.)

3) In Photomatix: Move the White Point slider, Black Point slider and Lighting Adjustments sliders to the left. Then . . .

Move the White Point slider to the right until the highlights are washed out, and then move the slider back a bit - to preserve the highlights.

Move the Black Point slider to the right until the shadows are blocked up, and then move it back a bit – until you are pleased with the shadows.

To check White Point and Black Point clipping, activate the Histogram in Photomatix.

Next, move the Lighting Adjustment slider to the right until you are pleased with the image.

Keep in mind that by opening up the shadows and by toning down the highlights in HDR, your picture will look a bit flat.

As a next step (even though there are many creative adjustments in Photomatix) move your image to Lightroom or Photoshop – and do what you usually do to create artistic images. Quick tip: Adding a bit of contrast can help.

A basic photography tip: Use your camera like a spaceship. Move it up and down for creative angles. My camera was about two feet above eye level when I took the opening image for this post.

It's the colorful table tops (not vividly seen when shooting at eye level) that add to the impact of this image.

I took the railway car photograph at the South East Railway Museum – outside of Atlanta, GA during one of my workshops. Shoot me an email to get on the mailing list for my November 2015 workshop at this awesome location.

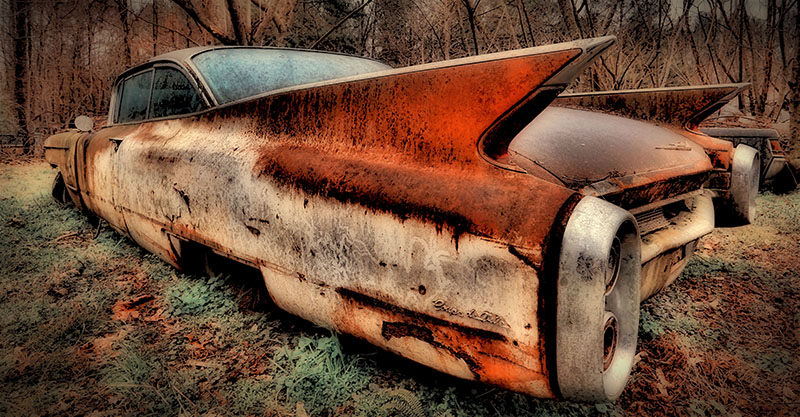
During the workshop we'll also be shooting at Old Car City - another awesome place to teach HDR "the right way."

My next HDR photography workshops are in Florida in January 2015.

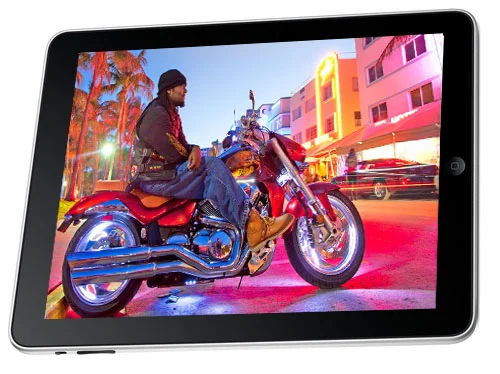
I also teach HDR the "right way" in my app: Rick Sammon's iHDR. The app is packed with my favorite HDR images and lots of quick tips for making cool HDR images – indoors and outdoors.

Explore the light,
Rick

12.5.14 Rick's Quick Fix Friday: HDR to the Rescue in Extreme Contrast Situations

Lightroom and Photoshop are powerful programs that let you pull out date from the shadows and tone down highlights. But in extreme contrast situations, it's HDR to the rescue.

The key to getting a cool HDR image is to take enough bracketed images to capture the entire dynamic range of the scene. You need to underexpose to the point where the highlights are not blown out, and you need to overexpose until you can see into the shadows.

As you can see from this Adobe Bridge screen grab, it took me six shots to capture the entire dynamic range of this very high contrast scene of my friend Spike hanging out in an old truck in a junkyard. The point: simply setting your camera on HDR (some camera models offer that feature) or shooting at 0EV, +2EV and -2EV does not always do the trick.

I process my HDR sequences in Photomatix. Click here to get a 15% discount on Photomatix.

I also teach HDR on my workshops. Want more HDR info? I also have an HDR app.

Like the starburst in this image? The key: Use a wide angle lens, the wider the better; set your aperture at f/22 and shoot when the sun is low in the sky. For my red truck image, I used my Canon 15mm lens. It's discontinued. Now I'd use the Canon 8-15mm lens.

Also, if you have the sun just peaking out from behind an object, the starburst will be more dramatic in your shot. Important: don’t look directly into the sun: your camera’s Live View is a big benefit for this type of shot. Sunglasses help protect your eyes, too.

Explore the light,
Rick