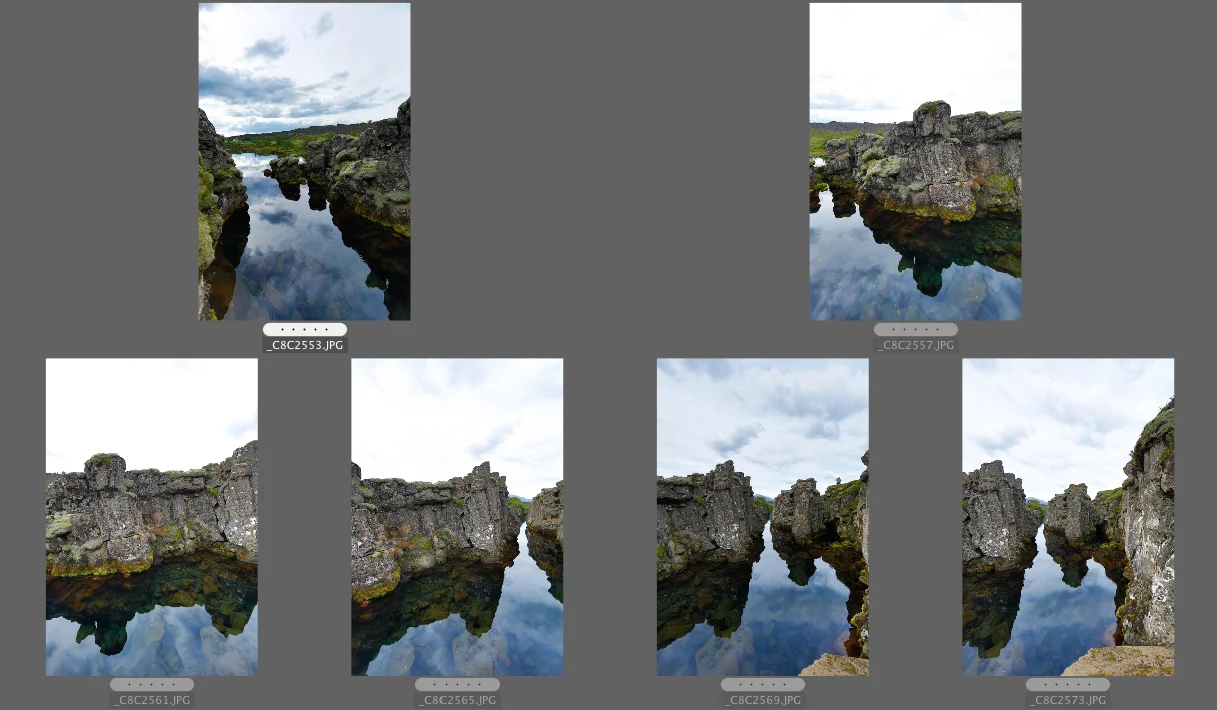
This post wraps up my blog series: A week of excerpts from my latest book, Creative Visualization for Photographers.
Scroll down for posts 1 -5 in this series. Thank you for following along.
Excerpt #6
When you are taking panos, set your camera to the Manual exposure mode, set the white balance to the existing conditions (sunny, cloudy, etc.), focus – and then set the focus to manual.
In metering the scene, set your exposure to the brightest part of the scene. If you meter the darkest part of the scene, the highlights may be blown out in bright areas of your pano.
If you set your camera on any of the auto exposure modes, and/or if you use a polarizing filter, the exposure will change throughout your panorama, and you will get visible/annoying bands of dark areas in your image, most visible in the sky. Because these bands blend gradually between the images, it’s virtually impossible to remove them, even for a skilled Photoshop expert.
You need to hold, or set your camera on a tripod, vertically. The pano in this post is a hand-held pano that I took in Iceland on one of my photo workshops.
The vertical position is important because when you stitch the images together, you lose a portion of the top and bottom of the frame, as well as a little bit of the frame on the left and right. Knowing that, you need to shoot a little wider than you may think – so important parts of your photograph will not be cut off in your final panorama.
As you move from left to right or right to left, you need to overlap your images by about 1/3. Keep the horizon line level.
I cover processing my Iceland pano, and have more pano examples, in my book.


