
 |
After being away for the winter, the birds are starting to return to my yard. It's great to see and hear them again.
With birds on my mind, I thought I'd share some of my bird photographs (not from my yard, ironically) and a few tips on photographing these wonderful animals.
Above: Behavior shots are often more impressive than portraits. To get behavior shots, you need to be patient and lucky. I was lucky to get this shot, but the dove was not that lucky . . . .

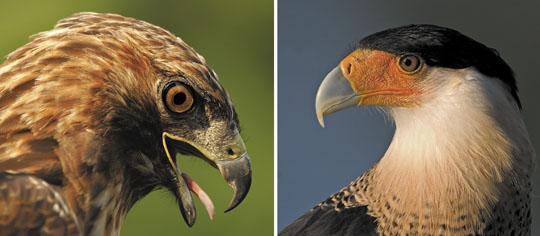
Above: These portraits are okay. However, the background is distracting in one shot and boring in the other. Remember: the background can make or break a shot. Maybe the one good thing about both pictures is that I shot at eye level.
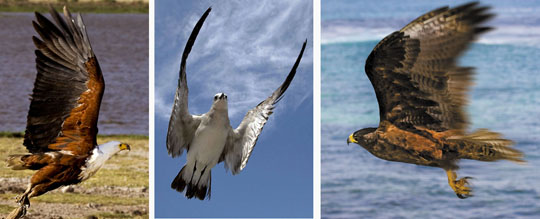
Above: Birds-in-flight shots are cool. To stop the action, use a shutter speed of at least 1/1000 sec. In Photoshop, selectively blur part of the wings to add a sense of motion to your still shot.
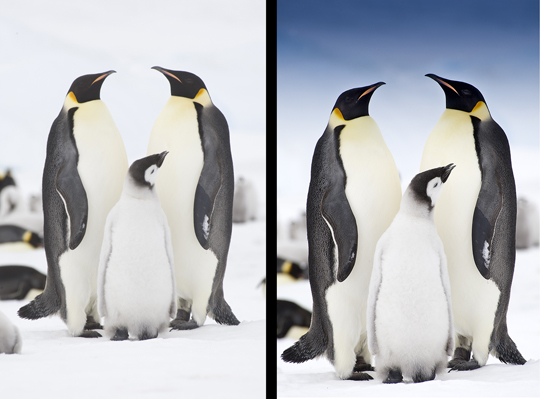
Above: And speaking of Photoshop, always envision the possibilities that await you in the digital darkroom.
Above: And speaking of Photoshop, always envision the possibilities that await you in the digital darkroom.
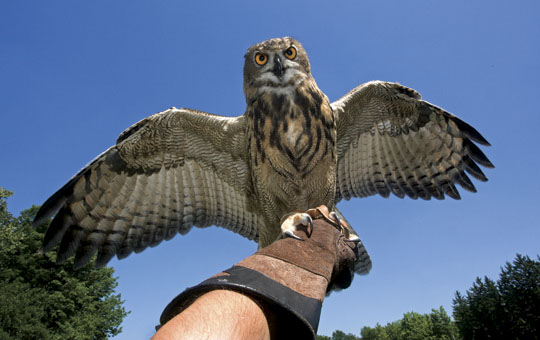
Above: Try to get some light in the bird's eye. Select a good shooting position or use a flash. To extend the range of your flash, use a Better Beamer. I use one on my Canon Speedlite 580EX.
Info:
Above: When choosing a tele-extender, go with one that is made by your camera manufacturer. Also, 1.4x tele-extenders are usually sharper than 2x tele-extenders. I use a Canon 1.4X tele-extender on my Canon 100-400mm lens and Canon 70-200mm lens.
Info:
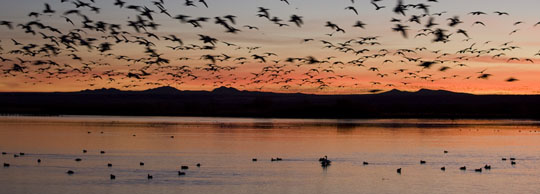
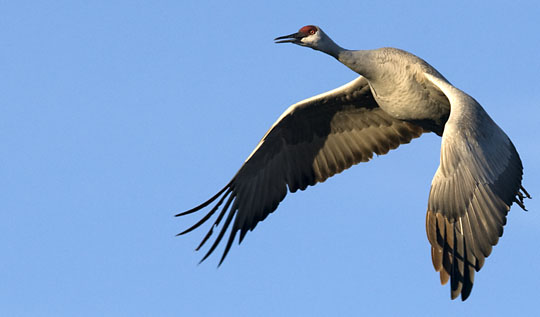
Above: Go where birds hang out. I took this picture in Bosque del Apache in New Mexico in early December. I used a shutter speed of 1/30th of a second to slightly blur the action.
Juan Pons and I will be leading a photo workshop to Bosque in early December 2011. Shoot me an email if you are interested in joining the photo and Photoshop fun.
Speaking of hanging out with birds, we have two spaces open on my Alaska eagle workshop with Hal Schmitt.
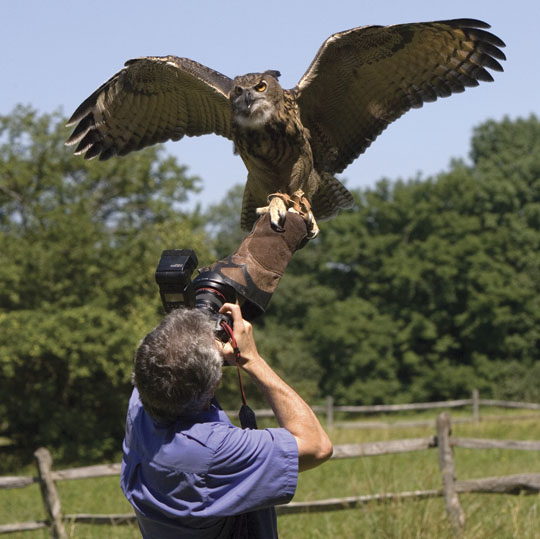
Above: Know everything about your camera - so you can shoot even with one hand. Also master your flash and daylight fill-in flash, so your pictures do not look like harsh flash pictures. The key is learning how to balance the light from the flash to the daylight.
Above: Have fun!
Explore the light,
Rick