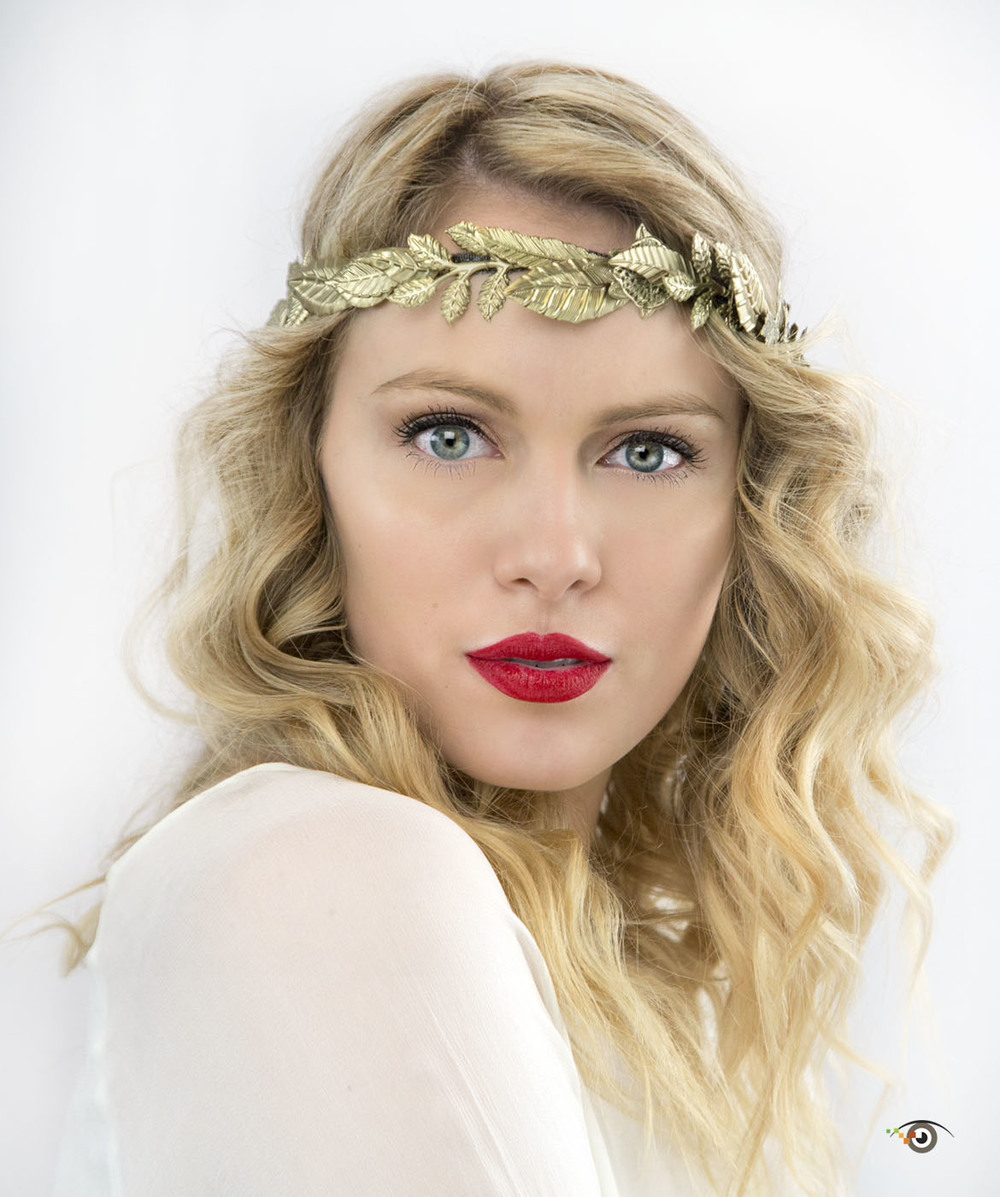
In this blog series I will share with you my goal and camera settings for some of my favorite recent photographs, which will be featured in my 37th book, Evolution of an Image .
Read More"Hey Rick, What's your f-stop?"

portraits
In this blog series I will share with you my goal and camera settings for some of my favorite recent photographs, which will be featured in my 37th book, Evolution of an Image .
Read MoreThank you all for your nice comments about my on-location China portraits, taken on my recent photo workshop with Ken Koskela. (We're going back in 2018 in you want to join the photo fun.)
Several people asked about my lighting, so I thought I'd do a post. Here goes.
Read MoreClick images to enlarge.
From time to time here on my blog I run a post: Photo Failed It Photo To Nailed It! The concept is twofold:
1) I'll share a pair of pictures, along with tips, that illustrate how you can nail a shot;
2) You'll see that pros don't always get it right the first time. :-)
This post: Controlling Natural Light with a Reflector
I took these photographs last year in a Maasai village in Kenya. The photo on the left is a failure for a few reasons:
• subject looks bored;
• lens flare (caused by sunlight hitting the front element of the lens) makes the image look flat;
• not the greatest composition.
To nail the shot, I asked our guide, Simon, to hold a reflector so that it bounced the light onto the subject's upper body. The bounced/reflected light added contrast and intensified color.
I shaded my lens with my hat to prevent direct sunlight from falling on the front element of my lens. Yes, I was using a lens hood, but the sun was very low in the sky – and more shade was needed.
I talked with the subject, Alex, and together we created a more interesting and more natural pose.
Finally, I moved in closer to give the portrait a greater sense of intimacy.
Moral of the story: When photographing people, consider the pose and see/control the light. And: don't leave home without a reflector/diffuser kit.
My gear:
Westcott Rick Sammon Light Controller and Tote
Canon 5D Mark III
Canon 24-105mm IS lens.
Use the Search feature in the right-hand column to see other (3 to date) Photo Failed It Photo To Nailed It! posts.
Explore the light,
Rick
I like to keep portrait lighting simple. Very simple. For example, for this portrait, inspired by Vermeer's paining, Girl With a Pearl Earring, I used only one Canon Speedlite in a Westcott Apollo soft box.
I used that softbox because it has a recessed front panel that lets me (and you) direct the light and shape the light on the subject.
I used the black side of a Westcott light modifier to darken the shadow on the shadow side of the model's face.
Careful lighting made the subject stand out from the black background.
My friends at Adorama have put together a cool speedlite accessory kit at a cool price that you can use to make dramatic portraits in the comfort of your own home - and on location. It includes the softbox, light modifiers and light modifier stand that I used - plus a sturdy background stand and larger background (which is way better than the piece of black material that I pined to my bookshelf. Just add your speedlite.
Here are two quick portrait tips: One - If you want an interesting portrait, don't light the entire face. Two - Keep in mind that the camera looks both ways. When you are shooting, know that the mood, energy and feeling that you project will be reflected in your subject's face - and eyes.
Above: See, you don't need a pro studio to get professional looking portrait. I took my Girl with a Pearl Earring image in my home office.
Here's a quick tip on all lighting: Shadows are the soul of the photograph.
Explore the light,
Rick
