| Photograph by Trey Ratcliff |
It's Round 6 of the week-long Battle of the HDR Photo Tips: Trey Ratcliff vs. Rick Sammon. Only one more round to go after today! :-(
Trey Ratcliff is some dude on the internet that runs Stuck in Customs. His mom visits his blog every day. If people leave bad comments, then his mom gets 'em.
Rick Sammon was at Woodstock and still tries to maintain the PLJ feeling of the '60s. He also scuba dived in Lake Baikal, Sibera, where he photographed the nerpa - the only fresh water seal species in the world.
Here we go:
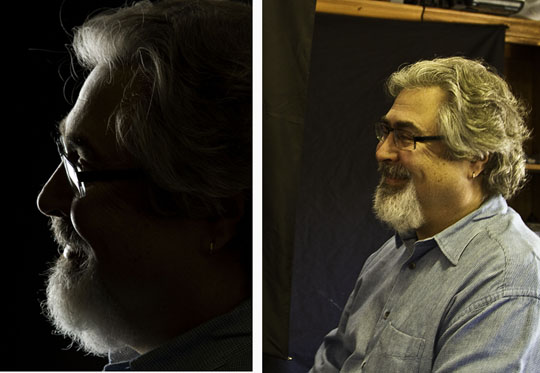
Ratcliff: Resist the temptation to carry HDR techniques over to people. They just never look good. This is a big reason HDR Video will never take off until there are algorithms to find people’s faces and skin tones to remove the HDR processing.
There is something about the human mind that does drink in the rich texture and colors of objects, clothes, skies, trees, etc — but that does not carry over to faces. Our anthropological wiring enables us to apply a different standard to faces… and this is one of many reasons not to HDR people!
The best way to ensure people don’t have HDR effects is to create two layers — the HDR layer and the original RAW layer. Create a masking layer and slowly mix in the appropriate skin tones.
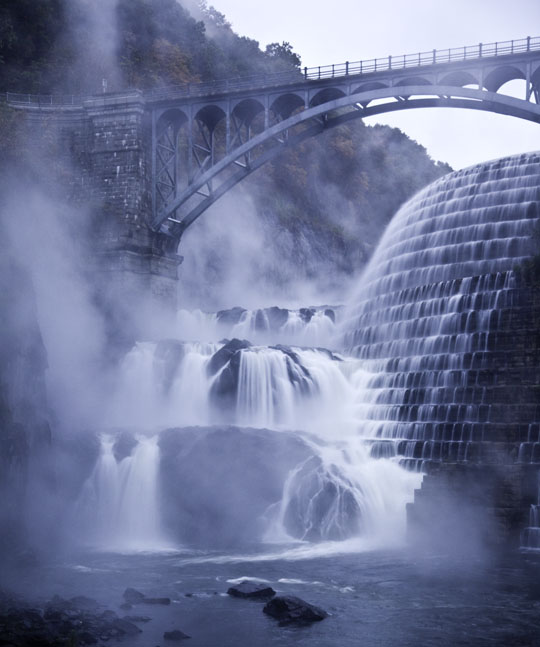
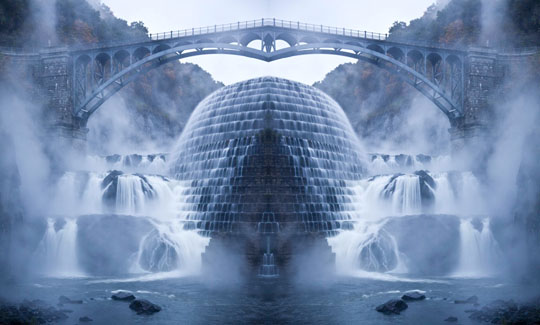
| Photograph by Rick Sammon |
I took this shot in Miami's South Beach, which is filled with cool art-deco hotels, great music and cool dudes. Great nightlife, but also great sunrises - to the east, behind the dude. In the early morning, sunlight illuminates the hotels. Great light. (We shoot here on my Florida Photo Caravan.)
Making HDR images at night is cool, just like this cool dude. Be sure to capture the entire dynamic range of the scene. Use slow shutter speeds to blur moving lights, but make sure the main subject holds as still as possible.
Use ghost-reducing features in HDR programs and plug-ins to avoid or reduce unwanted subject movement. Shoot at the lowest ISO possible.
Keep in mind that the best time to take nighttime pictures is not at night, but rather at dusk, when there is still a bit of light in sky. A black sky equals a noise-filled sky.
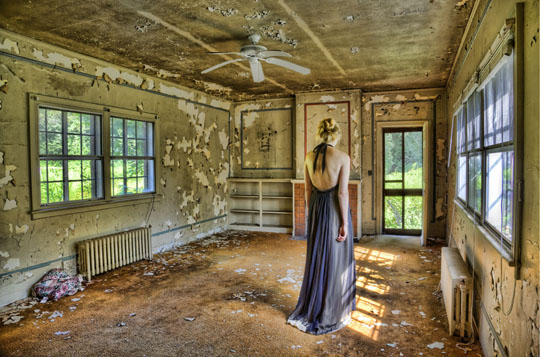 |
| Photograph by Rick Sammon |
For the HDR image above, which I call the "Girl in the Black Dress," I used the technique that Trey describes. Click here to see a movie I made in the old building. It's about HDR!
• • •
To learn more about Trey's HDR work, click here.
To learn more about my latest HDR project, Rick Sammon's HDR Portfolio iPad app - a how-to app packed with tips, click here.
Explore the light,
Rick