
From time to time here on my blog I'll run a post: "Photo Failed It Photo To Nailed It!" The concept is twofold:
1) I'll share a pair of pictures, along with tips, that illustrate how you can nail a shot;
2) You'll see that pros don't always get it right the first time. :-)
This post: Seeing, Directing and Enhancing
I took the opening photograph for this post on a Death Valley workshop that I was leading with my friend Hal Schmitt.
My gear:
Canon 5D Mark III
Canon 24-105mm IS lens.
The photograph below is the first shot I took during the shoot. Basically, it's a snapshot - a failed shot.
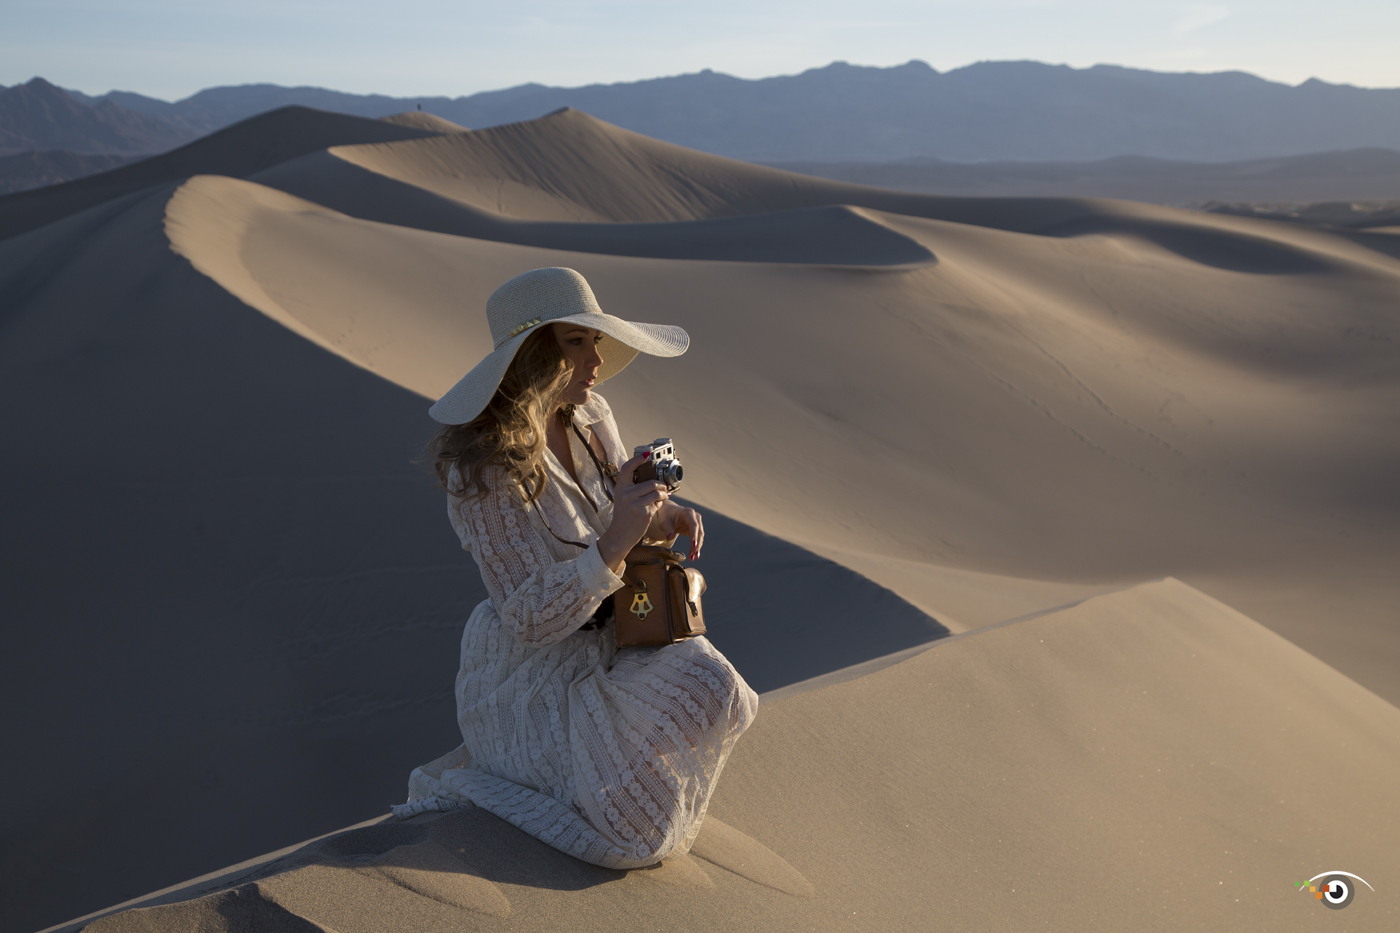
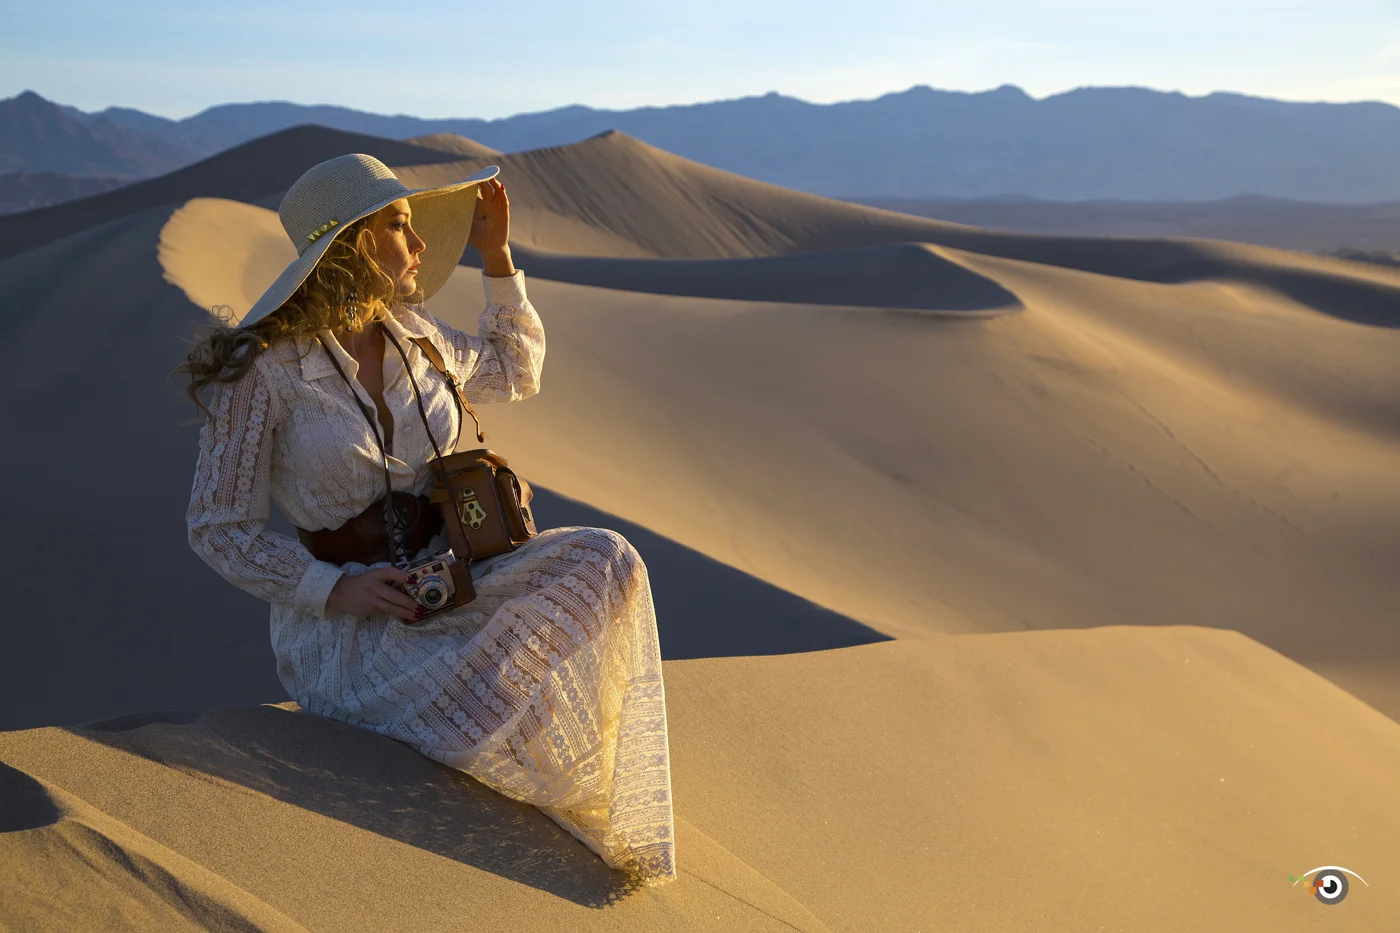
Here's what I did to nail the shot:
• Got down on the model's eye level and shot eye-to-eye – making more of a connection (for the viewer of the photograph) than in the failed shot. So the tip here: see eye-to-eye and shoot eye-to-eye.
• Directed the model to look more toward the sunrise - with the goal of having more light on her face.
• Asked the model to rearrange the props, so the scene looked more natural.
• Directed the model to hold her hat so that her face was perfectly separated from the background.
• Enhanced the color and contrast in Lightroom. I also cropped the photograph so the model was more off center.
As you can see, it does not take much to turn a failed shot into a nailed shot.
I hope to see you someday on one of my photo workshops . . . where I help the workshop participants nail the shots.
If you can't make a workshop, I have several on-line courses.
Explore the Light,
Rick