models

20 Tips for Home Studio Portraits

rick for web.jpg

Guest Post by Ann Marie DiLorenzo

 At the Canon booth at the 2018 Photo Plus show in NYC, Rick Sammon promised the audience that he’d give at least 10 tips during his presentation. Well, Rick actually gave 20 tips. Here they are!

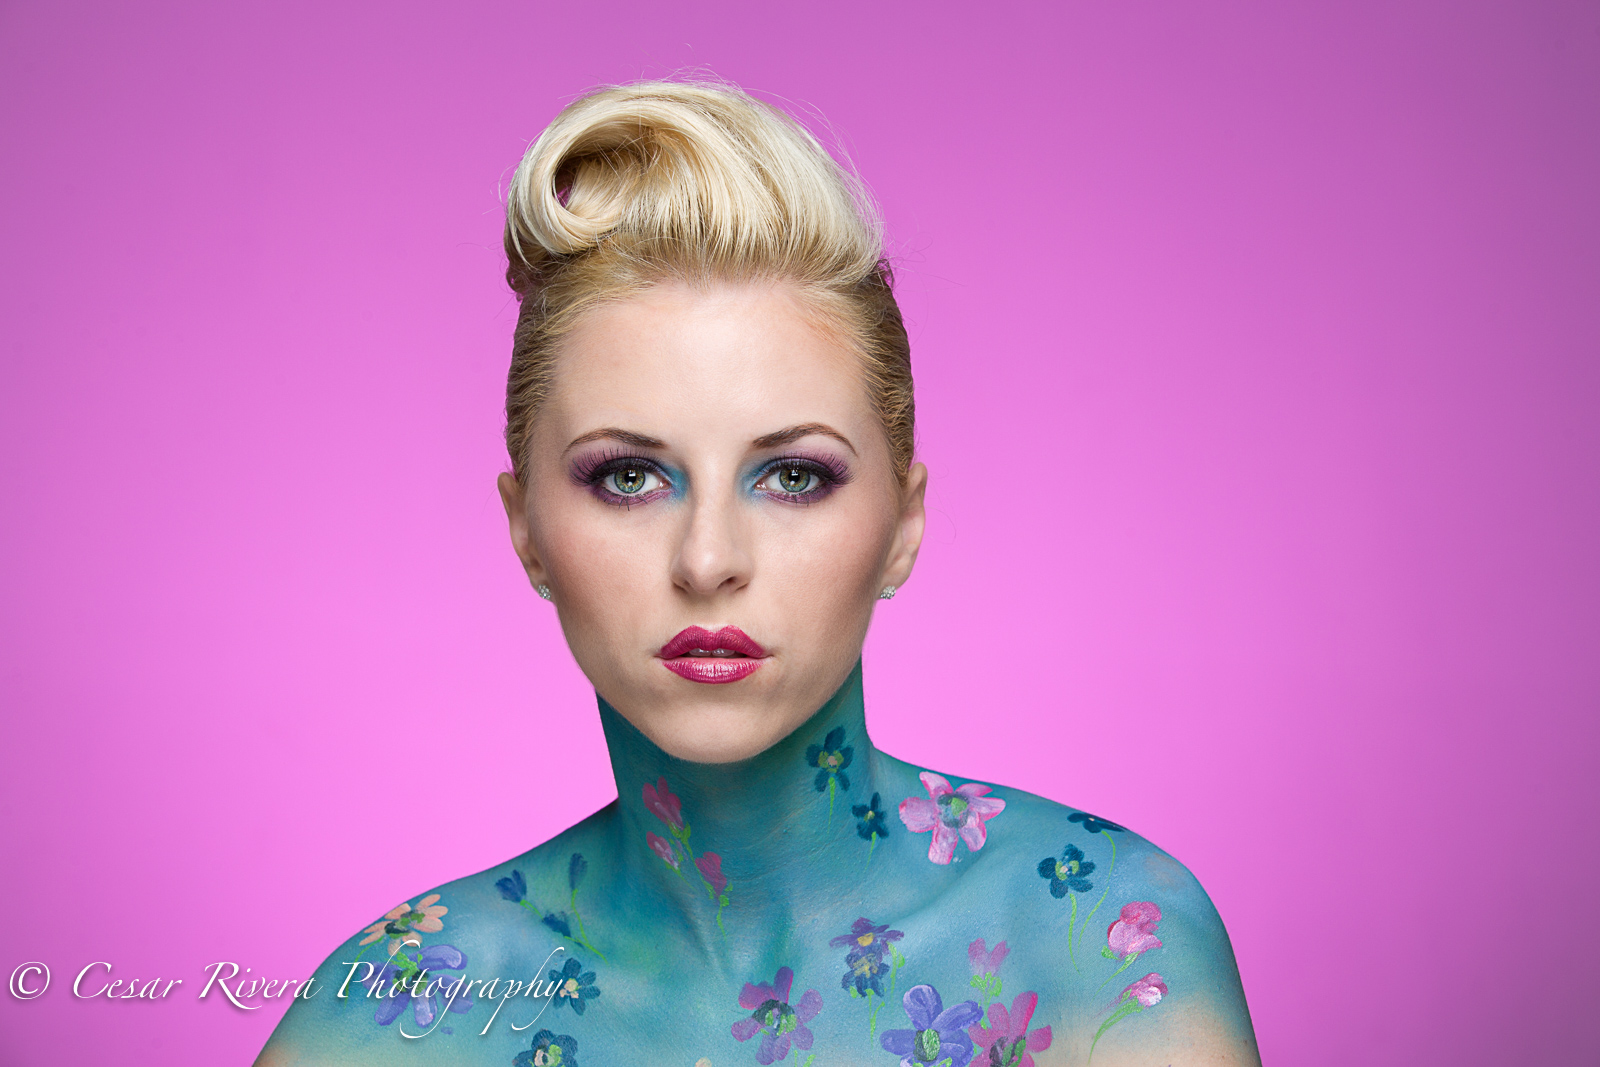
Note: For the portraits in this post, Rick used a Canon speedlite in a Westcott Apollo Soft Box.

1) When you think you need 2 lights, use 1 light. When you think you need 3, use 2. (A Frank Doorhof quote)

Shadows.jpg

2) Be aware of other lighting in the room; you want your speedites lights to be the main source of light.


3) Umbrella spreads light evenly; soft box allows you to control and shape the light. 

4) If you want an interesting portrait, don’t light the subject’s entire face. 

5) For a portrait with few shadows on your subject’s face, you want the subject’s nose to follow the light; have their nose face the lighting source.  

6) The size of a subject’s pupils affects our impression of the subject. The advantage of using a speed light is that the pupil doesn’t have time to close down, making the photo more inviting. 

7) Never touch the model. 

8) The larger the light source, the softer the light. The closer the light source is to the subject, the softer the light.  For a soft constant light source, check out this Westcott lighting kit.

9) In lighting, inches matter. 

10) Shadows are the souls of the picture. 

11) Never underestimate the value of a good model.  

12) Use your camera like a drone - move the camera up and down to effect the viewer’s perception of the subject. If you move the camera down lower, the model has you get a greater sense of power. 

13) When looking through the viewfinder or at your LCD monitor, use border patrol - look at the boundaries of the photo and make sure what you want is in, or not in, the 
frame. 

14) Don’t amputate the subjects at the joints.  

15) Name of the game is to fill the frame. Fill the frame with the subject.

Rick for Web 2.jpg

16) The background can make or break the shot. 

17) Most important thing in a photo is the mood/feeling. Backgrounds create moods. 

18) Dead center is deadly. If you place the subject in the center of the frame, the viewer’s eye gets stuck on the subject and doesn’t look at other things in the photo. 

19) Use gels over the light source (speed light)  - red or blue to create an effect. 

20) Focus on the subject’s eyes in a portrait.

• • • • •

Want more tips on home studio portraits? Check out Rick’s KelbyOne on-line classes.

"Photo Failed It to Photo Nailed It!" #2: Add lights to add drama to a scene

model car.jpg

From time to time here on my blog I'll run a post: "Photo Failed It Photo To Nailed It!" The concept is twofold:

1) I'll share a pair of pictures, along with tips, that illustrate how you can nail a shot;

2) You'll see that with a little effort - and sometimes by using accessories - you can turn a snapshot into a great shot.

This post: Add lights to add drama to a photograph.

Above is a failed shot from the shoot. The picture is flat and boring for two main reasons: boring and flat light and a boring pose. What's more, the background is overexposed.

To nail the shot, I . . .
• took an exposure of the background (a painted background) and then set the exposure exposure compensation to -1.
• used two Westcott Ice Lights – one positioned near the windshield and one positioned over the sunroof - to add shadows to the scene. Shadows are the soul of the photograph.
• directed the model and then moved in closer. The closer you are to the subject, the more intimate the photograph becomes.
• added props (sunglasses and cell phone).
• tilted my camera for the "dutch" effect.
• applied the Duplex filter in Nik Color Efex Pro. (All the plug-ins I use are listed on my Save on Plug-ins page.)

My camera/lens: Canon 5D Mark III and Canon 24-105mm IS lens.

As you can see, it did not take a lot of effort to nail the shot.

If you like model/people photography, I have a few 2015 photo workshops that you may enjoy.

Explore the light,
Rick

Model/Lighting Workshop Added to My 2015 Florida Workshop List

I just added another workshop to my January 2015 workshop list. Here's the info:

South Florida Studio Model Shoot

What

• Learn speedlite lighting and model photography with me and my good friend Cesar Rivera. We'll have some studio lights, too!
• Shoot in a real photo studio.
• Use Westcott softboxes, reflectors and diffusers. Gels, backgrounds and grids, too.

• We’ll have Canon speedlites. If you use Nikon, bring them along.
• 14 photographers, two instructors, two models.
• Door prizes: Four 128GB Lexar Compact Flash cards, 8 Honl speedlite accessories.

When

• January 24, 2015 from 10:30 AM to 5 PM .
• AM: lighting demos by Rick and Cesar. Tethered shooting so all can see.
• Lunch (with group if you like, but not included)
• PM: photograph the models!

Where
F2F STUDIOS
3001 Alhambra St.
Fort Lauderdale, Fl 33304
Parking in front of the studio $5 charge.

How to Register
Register here, and pay through my PayPal account: ricksammon@mac.com.

You can use the photographs for your web site, but need to make arrangements with the models if you intend to sell an image.

Cost: One-time payment of $200. 50% refund up to 30 days in advance. Sorry, no refund after that.

For more info, shoot me an email.

Cesar and I hope to see you in the studio.

Explore the light,
Rick

P.S. If you live in the NY area, I have a similar workshop on November 4th, 2014.