plugins

Removing Reality Adds a Touch of Artistry to an Image

Rick Sammon 1.jpeg

When we remove some of the true color from an image, we remove some of the reality. When we remove some of the reality, our images can, but not always, look more creative and artistic.

For artistic photographers, my friends at Macphun software have just released Tonality Pro – a plug-in/stand-along program that, as the company's president, Paul Muzok, says, For many photographers, crafting dramatic black and white images is their favorite form of creative expression, yet presents uniquely difficult and time-consuming challenges. We designed Tonality Pro to overcome those challenges, and be not only the best app for those passionate about monochrome image making, but also appeal to the casual photographer who is exploring the genre."

Click here to order Tonality Pro. Cost is $69.99.

All the plug-ins I use are listed on my Play & Save on Plug-ins page.

I used Tonality Pro to create the opening image for this post from the photograph above.

Key features are listed below, but here are my personal favorites:
• easy to learn - thanks to a thoughtful interface;
• easy to use – with sliders and brushes;
• fun factor – made possible, in part, by presets, sliders and speed;
• creative layer possibilities.

Official Key features:

   Professional image quality with proprietary 16-bit RAW processing engine;
   Advanced algorithms and a streamlined user experience for superior results;
   Scores of inspiring professional presets provide a wide range of one-click image styles;
   Built-in organic-style overlay textures, plus user-loadable textures, for incredible creativity;
   Unique adaptive exposure and smart contrast tools for advanced tone control;
   Multiple effect layers, each with separate opacity controls, blending modes and preservation of color data offer true advancements in creative tool sets;
  
Adjustable, pressure-sensitive brushes and masking tools for precise selective edits;
  
Advanced clarity and structure detail controls yield dramatic results;
   Proprietary grain engine with over 20 emulated film types;
  
Selective color using color channel sliders for unique stylistic expressions;
  
Glow, lens blur, vignette, photo frame and opacity controls for finishing touches;
  
Easy image sharing to popular social networks, and via email, instant messaging, AirDrop and SmugMug;
   Macphun Print Lab services, powered by MILK;
   Runs as either a standalone app or, in the Pro version, as a plug-in to popular image editing software like Adobe® Photoshop®, Adobe Photoshop Lightroom®, Adobe Photoshop Elements® or Apple® Aperture®.

My advice when working with Tonality Pro: start with a preset, and then apply different color filters to see how they affect the different colors in your image. This is important, especially when it come to skin tones. Learning about color filters will help you with your monochromatic photography.

When working with monochromatic images, contrast, highlights and shadows become more important. Consider those elements very carefully.

In picking a preset, let the image suggest a preset.

For example, I used the Wild West preset (in the Vintage presets) for the image above, created from the image below.

Below is a look at the Tonality Pro window (partial view) that shows the Vintage presets and just a few of the other creative options – too many to show in one screen grab.

I teach plug-ins (and Photoshop and Lightroom), as well as making the best in-camera image, on all my workshops. Hope to see meet you on a workshop – where we have a ton of fun.

Above: I took this photograph on my Death Valley Workshop. Join me/Hal Schmitt in 2015 for an awesome dunes/model workshop.

Develop your creative vision,
Rick

Try This Photo Challenge: Go From Drab to Fab

Here's another photo challenge. Take a lack-luster sunrise (Angkor Wat, Cambodia here) or sunset scene and turn it into a dramatic sunrise or sunset shot.

Use Nik HDR Efex Pro or Photomatix to create your HDR negative, and then use Nik Color Efex Pro to add color and contrast to the scene. Here I used the Tonal Contrast a Bi-Color filter in Nik Color Efex Pro.

As a final step, crop the crap.... boring parts of the scene that take away from the impact of your image.

In fact, you can have a secondary goal: Create an image with impact.

I look forward to seeing your before-and-after results. You can post your before-and-after images in my Photo Challenges Google+ community.

Good luck and have fun.

All the plug-ins I use are listed here.

I teach image processing on all my workshops.

Explore the light,
Rick

Want to find the best light on a workshop? Check out my latest app for your iPhone and iPad running iOS 6 or greater: Rick Sammon's Photo Sundial – the all-in-one app that gives you the sun, the stars, the moon - and much more. Never miss another sunrise or sunset again.

The app is great for on-site shooting, as well as for trip planning. Twenty-five photo tips, too!

Hey, if you find a better priced and more fully-featured sun-finder app, please let me know. 

Here's a movie I made on photographing sunrises and sunsets. 

Save on Topaz Plug-ins - and awaken the artist within

I just finished my Topaz webinar: Awaken the artist within with plug-ins. If you missed it, here's the link for the one-hour presentation.

For now, you can save a few bucks (until March 30th) on these Topaz plug-ins when using my discount codes:

sammonweb6 - 30% off of all products, including the complete collection.
sammondenoise - 50% off of DeNoise only.

Use those codes upon checkout at the Topaz Web site.

During the webinar I shared some of my favorite images from my Route 66 trip. I created the opening images for this post with Topaz Black & White Effects. Below is my original image. I take you through the process in the webinar. You can see more of my Route 66 images in my Route 66 Gallery.

I teach digital imaging processing on all my workshops. I hope you can join the fun someday.

Above is a screen shot of the Topaz Black and White Effects control panel. If you want to get good at making black and white images, the first step is to learn about the effects of color filters on an image. The second step is to work with contrast.

Above: During the webinar I talk about reducing noise with Topaz DeNoise. It's the best way I have found to reduce noise.

Above: During the webinar I also talked about how I created this image with Topaz Restyle.

Explore the light,
Rick

P.S. I wanted to share this image during the webinar, but I ran out of time. I created it using Topaz Simplify 4 > BuzSim effect.


Some thoughts on reality - and I really hope to see you at Photoshop World

© Rick Sammon copy 4.jpg

"Reality leaves a lot to the imagination." - John Lennon.

I agree, and that is one of my favorite quotes on reality.

rick Sammon copy.jpg

Here is another cool quote on reality: "I am not interesting in accurate color, I am interested in my own color." Sorry, I don't remember who said that, but again, I agree.

Rick Sammon South Beach copy.jpg

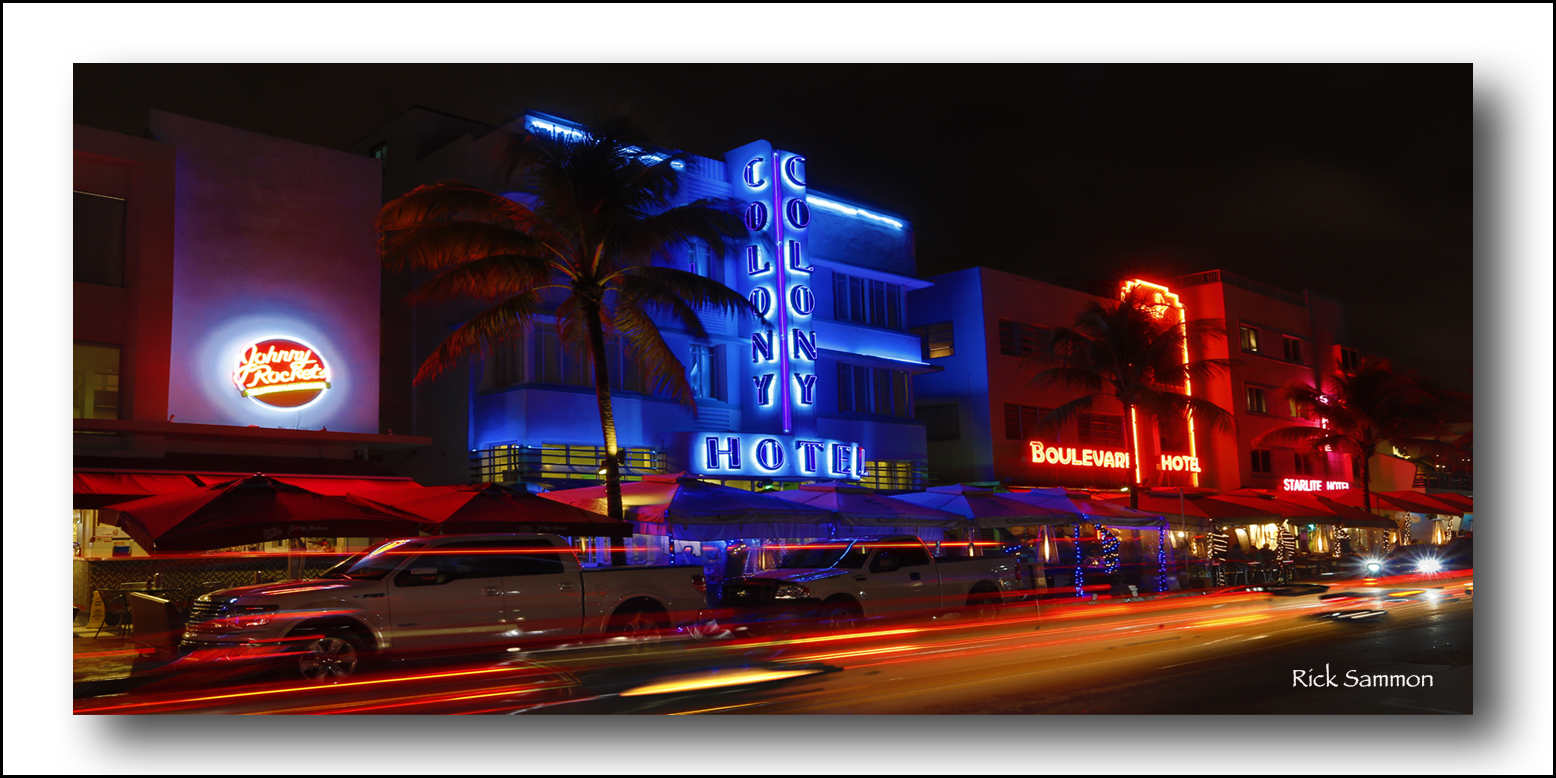
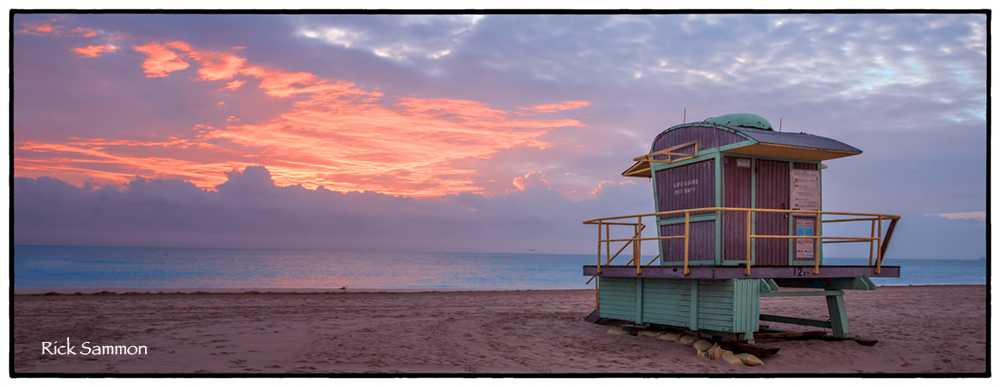
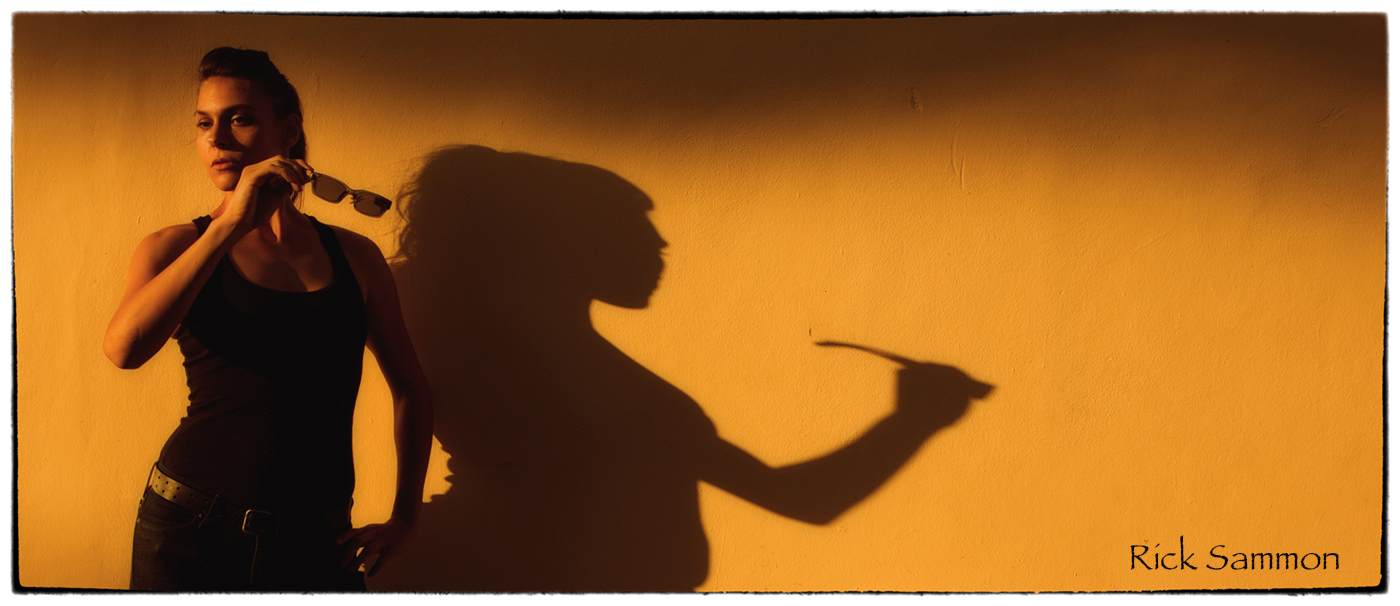
On my recent Florida Photo Caravan Workshop, I was having fun creating my own photo reality in Photoshop, using standard PS features as well as some plug-ins. All the plug-ins I use are listed here. All the images in this post were taken on the Caravan.

© Rick Sammon South Beach copy.jpg

I really  hope you can join me at Photoshop World in Atlanta in April, where I will be showing attendees how to alter reality - and create their own photo reality - using plug-ins.

I will also be giving presentations on travel photography and shooting in chilly conditions.

sarah 2 copy.jpg

Have fun this weekend creating your own reality.

© Rick Sammon copy 4.jpg

Explore the light,
Rick

P.S. I also help photographers create their own reality on my workshops. Good fun!