Guest Blogger: Judith Monteferrante

Today's guest blogger is Judith Monteferrante - a wonderful photographer who I met at SVA in NYC. Judith also participated in one of my Croton Creative workshops, which are great fun.

Judith's topic: Using Motion Creatively  

Take it away Judith!   
• • •       

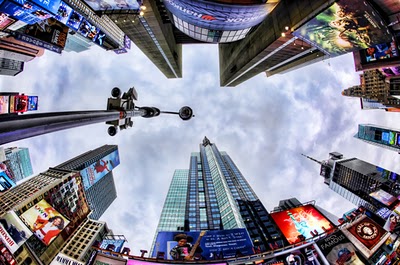
Find a personal project to inspire you to explore the environment around you and to create - not just take - images. 

The beauty of digital is reinforced daily by the ability to quickly see what you have shot on the LCD, review the histogram and then adjust your exposure settings. Unfortunately the glare of a bright sunny day or the double jeopardy of shooting near sand and salt water may make this task difficult.  

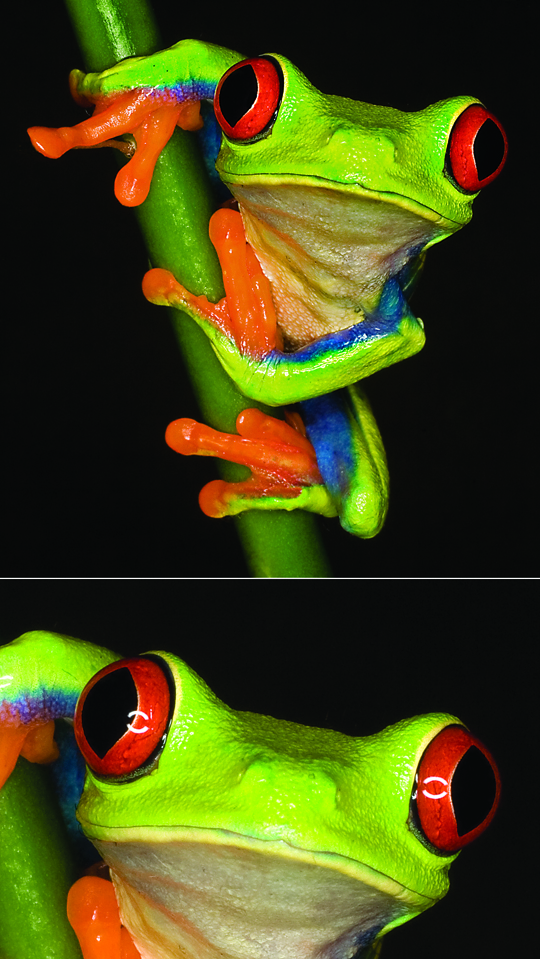
Also the size of the LCD display may make it difficult to assess motion critically, especially without your reading glasses. A HoodLoupe viewer can help in the bright sun. 

About the HoodLoupe:

An alternative approach allows you to shoot and then review your images after the fact in LR or Bridge- planning the next adventure with new adjusted camera settings. 

This review also allows you to decide on the best time of the day to shoot as well as the best conditions, such as wind, tide, etc. Remember, the key is to slow down, explore and learn.


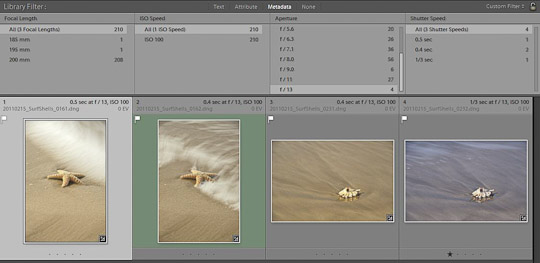
This post-review is easy to do in Adobe Lightroom 3, my preferred method. In the Library module, go to View or just use the backslash keystroke  \ to bring up the View Filter Bar.  Then under the No Filter popup menu, choose the custom filter of Exposure Info. You will get 4 columns:  focal length, ISO speed, aperture and Shutter Speed. By reviewing this info you can see images shot at these different settings and choose the best combination for your second attempt at your project.  

About Lightroom:

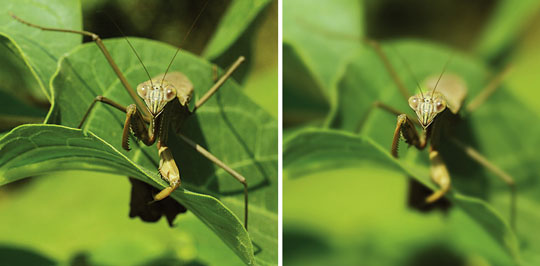
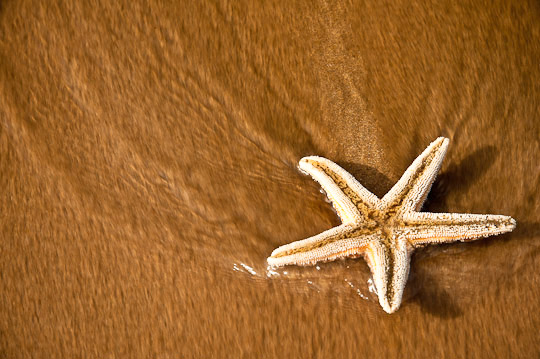
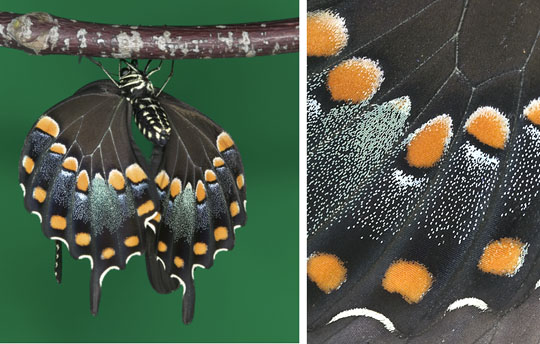
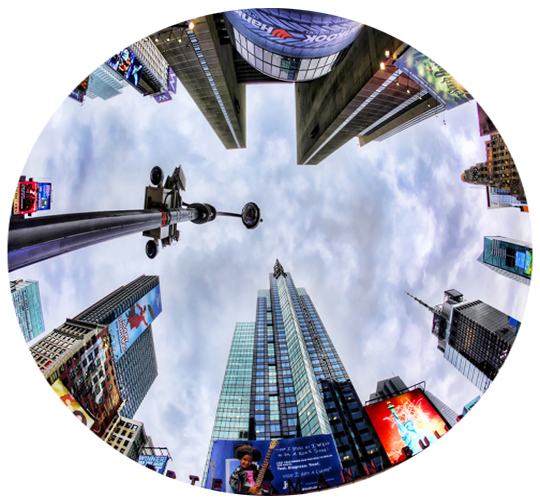
1/60 second at f/20, ISO 800
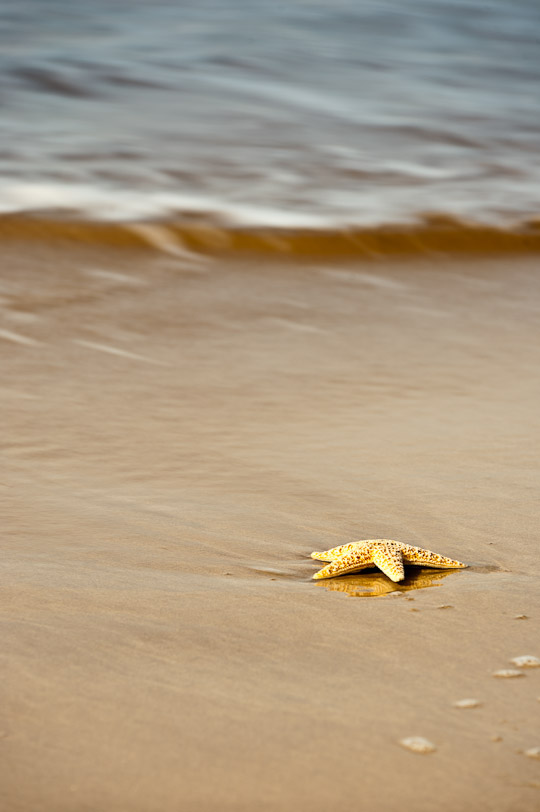
1/8th second at F/7.1, ISO 100
From my first adventure, I noted that the f-stops of f/11 to f/13 at ISO 100 was best shooting starfish and shells in the surf, but my shutter speeds (slow SS achieved by using a Variable Neutral Density Filter by Singh Ray) were far too slow. Day 2 however left me with the best at 1/30 or 1/60th,  although too much foam in the water for my liking. Trial and Error is how we learn.

About Singh Ray ND Filters:

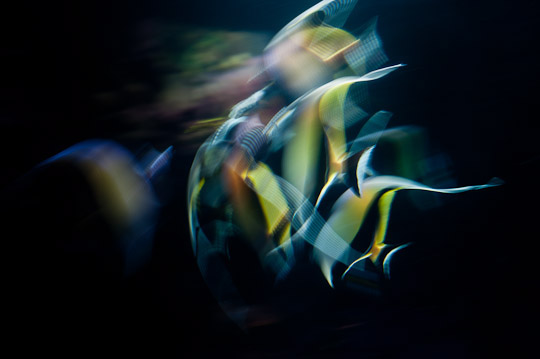
My further exploration of motion in water took me to the aquarium. Shooting in a dark setting through thick plexi glass with moving fish was another type of challenge. The light keeps changing, along with degree of motion and direction of the fish. I had to play a tango with my camera settings constantly making adjustments. Day one found me using a 50 mm prime lens (I try to simply my creative days by using one lens if possible). Getting clear close-ups of the fish was difficult indeed. I found it best to just go with the motion and shoot at slow shutter speeds (small aperture - high f stop and low ISO’s) to achieve some interesting effects.
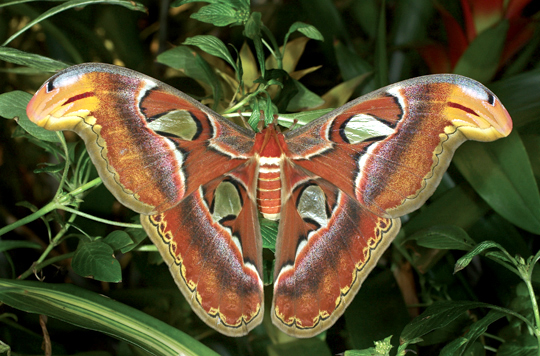
1/10th second at F/5, ISO 800
Day 2 with my 105 VR stabilized macro, close ups were easier. White balance on the other hand was another challenge no matter what WB settings I chose in camera. I later found out from the staff, that the light was always different and mixed for each tank depending on the coral reef and depth of the ocean they were attempting to replicate. I would have to shoot a white or grey card with each new tank while in minimal light. 

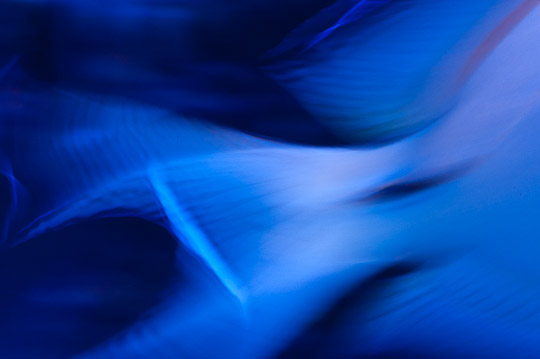
However, I still preferred the images using slow shutter speeds and the original color effects to create artistic and vibrant abstracts outside of my usual comfort zone. Get wild and have fun creating with available motion and available light (any light that is available!).

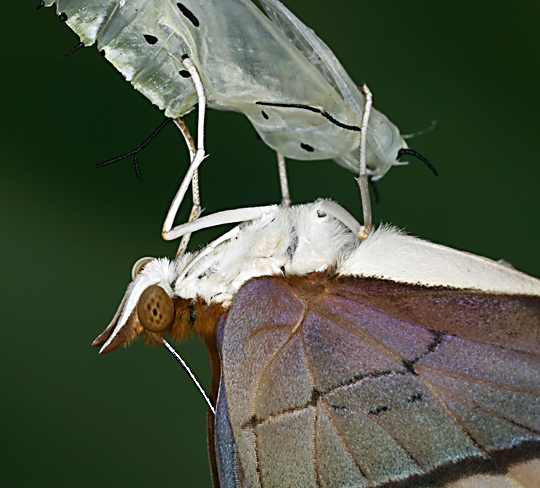
1/15th second at F/3.8, ISO 2200
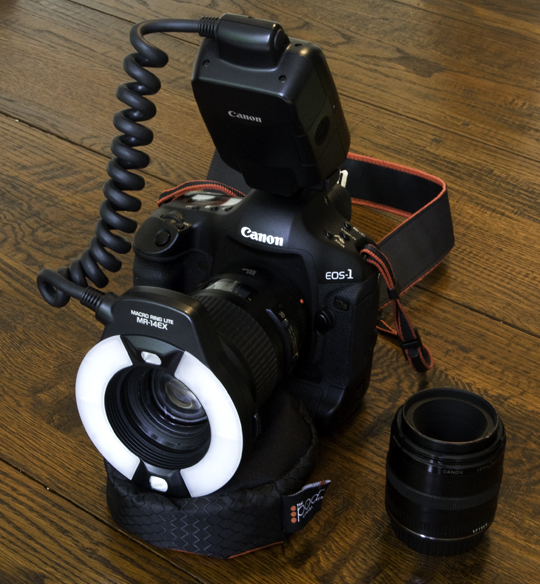
1/5th second at F/25, ISO 3200

For more info on my work, see below. And... that you, Rick, for asking me to be a guest blogger!

judith@judithmphotography.com
www.judithmphotography.com

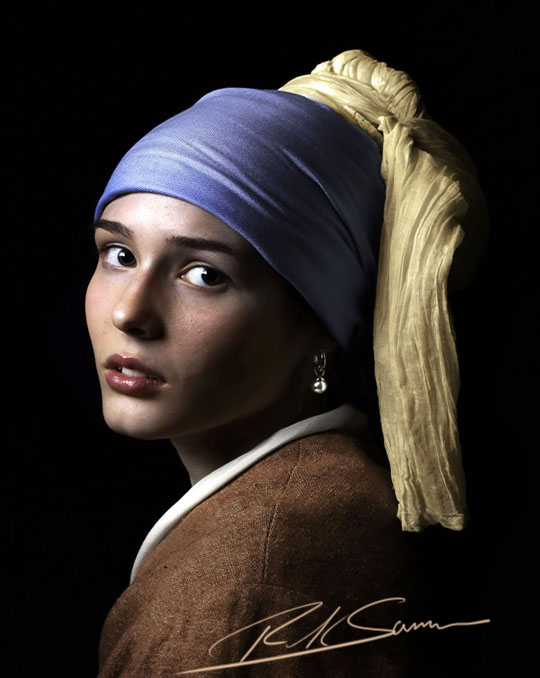
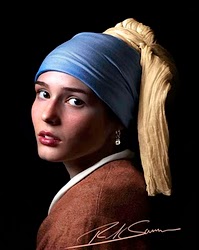
www.swansongart.com     (portrait work only)
Facebook: facebook.com/JudithMPhotography
Twitter: @drjmonte
Flickr: flickr.com/photos/judithmonteferrante/
LinkedIn: www.linkedin.com/in/jmonteferrantephotography

A Little Make-up Can Save Retouching Time


If you are into portraiture, you probably want to spend more time taking portraits than retouching your photographs in the digital darkroom. I sure do. 

Here are some of the easy-to-use, and affordable, make-up products that I use and suggest: 

Super Stay Concealer (comes in different shades): 

Lancome Color ID (comes in different shades):

SuperMatt AntiShine (comes in different shades): 
http://bit.ly/e4oW8O


There is another reason to apply make-up: you make the sitter feel good.

By the way, for the above portrait, I did use Adobe Photoshop, too. In fact, I am super excited that this image will be in the Adobe booth at Photoshop World in Orlando, Florida, where I am teaching at the end of the month.

If you want to soften a subject's skin, check out the skin softening filters in Nik Software's Color Efex Pro and in Topaz Lab's Topaz Adjust. Click here for info.

Hey! Use make up and Photoshop, and you are on your way to a beautiful portrait.

Explore the light,
Rick

P.S. Thanks to my friend Vered Koshlano for tuning me into make-up.

Final Round: Battle of the Close-up Photography Tips!

Photographs by Rick Sammon
It's been a fun week here on my blog - and on Juan Pons' blog. We have both enjoyed the Battle of the Close-up Photography Tips.

Today is the final round. Thank you all for joining the close-up photo fun.

Away we go!

My tip for today: Think.

Think carefully about the aperture you choose. For the praying mantis photograph on the top right, I shot at f/5.6 (for very shallow depth of field) to draw attention to the mantis' head. For the photograph on the top left, I stopped down to f/16 for greater depth of field.
Photographs by Rick Sammon
Think about the story you want to tell. I like the photo above that shows the full body of the newborn butterfly. The photo on the right, however, tells a different story, a story about the multicolor scales that cover the butterfly's delicate wings.

Photograph by Rick Sammon
Think about the wonders of nature. Do you see the two other "animals" in my photograph of an atlas moth. Nature is amazing! Post you comment here if you see 'em.

For Juan's tip, go to his cool site.

If you like this post, please share it with a friend. All you have to do is click the twitter icon below. And don't forget, you can follow me on twitter for almost daily tips.

For more info on close-up photography, and photography in general, check out my apps. Click here to start the photo fun! Juan and I co-developed Butterfly Wonders (which features a section on close-up photography) and Life Lesson We Can Learn From Mother Nature.
• • •
Explore the light, 
Rick

P.S. If you like butterflies, check out my book, Flying Flowers:

Round 4: Battle of the Close-up Photography Tips: Pons vs. Sammon. Today: Add Light

Photography by Rick Sammon
All this week: the Battle of the Close-up Photography Tips: Juan Pons vs. me.
Hey, this is all in good fun!

Away we go!

For Juan's tip, go to his site

Here are my tips for today: Use a ring light and use it carefully. Then, in the digital darkroom, remove any reflections that the flash tubes may have caused.

I photographed this red-eye tree frog with my Canon MR-14EX Ring Lite:

Ring lights can be costly. An alternative is the Ray Flash.

Here is a movie I made about the Ray Flash. Good fun and good product.

I like using ring lights over flashes because, by adjusting the power output of the flash tubes, you can get shadowless lighting, as well as ratio lighting. You can also get top, side and bottom lighting.

When you are working in the digital darkroom, look for reflections of the flash tubes in the subject's eyes. You can easily remove reflection with the clone stamp tool.
Photograph by Rick Sammon
Ring lights are designed to be used on true macro lenses. I took both of the close-up photographs in this post with my Canon 100mm macro lens.
Canon EF 100mm f/2.8 Macro USM Lens for Canon SLR Cameras

If you like this post, please share it with a friend. All you have to do is click the twitter icon below. And don't forget, you can follow me on twitter for almost daily tips.

For more info on close-up photography, and photography in general, check out my apps. Click here to start the photo fun! Juan and I developed Butterfly Wonders (which features a section on close-up photography) and Life Lesson We Can Learn From Mother Nature  together.
• • •
Explore the light, 
Rick

127 Already On "Rick's List" for Summer Shoot

Well, I think we can accommodate a few hundred more photographers (no kidding) on my NYC summer shoot, so there is still time to sign up. It's fun and free!
Click here for info.

I created the opening image for this post from the image above - and saved a fortune on a fish-eye lens!

Know how? It was more than cropping. I first made the image a square in Photoshop, by making the height and width the same. Then I made a circular image - using the Elliptical Marquee tool. Good fun!


Explore the light,
Rick