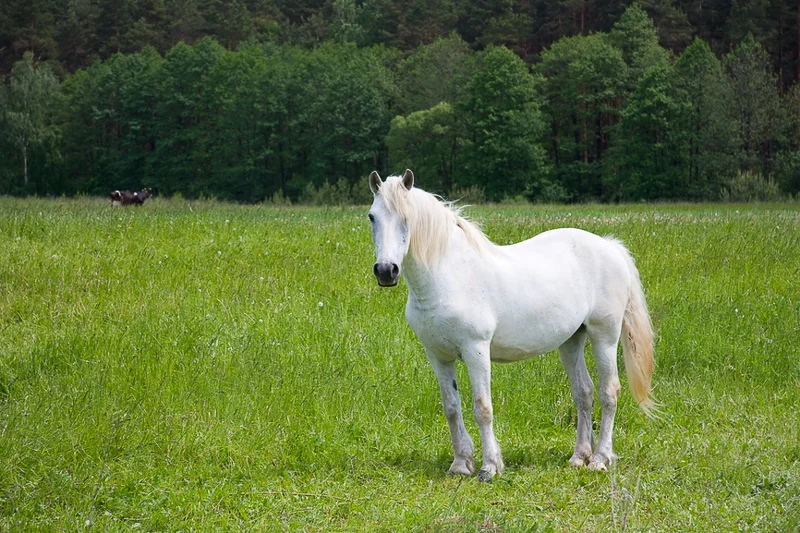
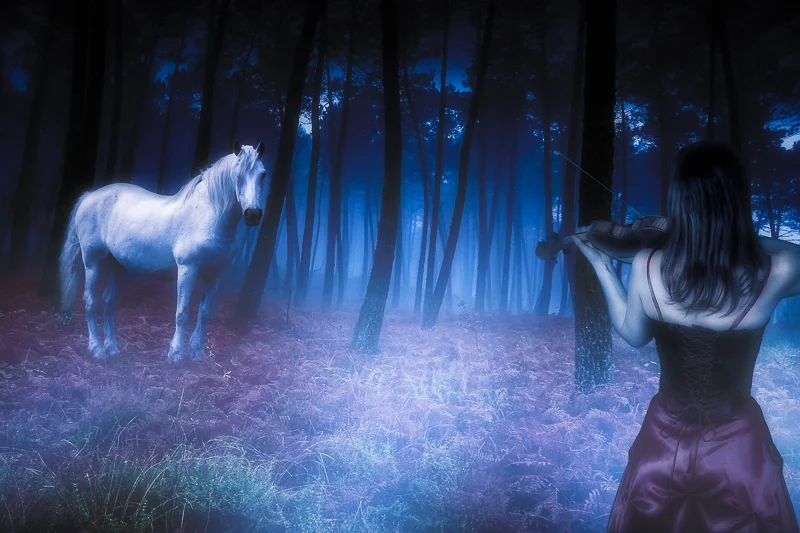
Of course I had to resize the
horse to give it a proper sense of scale. No hard and fast rules here, I just
adjusted its size until it looked natural. The same selection techniques were
used on the image of the woman. Since she was facing towards the horse I did
not need to flip her around, just scale her accordingly.
Adding Effects (aka “The
Fun Part”)
Now it’s time to add lighting
and effects to really sell the “Dream”. I love Photoshop, but most often I will
use effects plug-ins to get the kind of results I want more quickly and easily. When
I think dream I think twilight. Not the movie, but the actual time of day when
the sky has that nice blue cast to it. With this in mind I added the “Day For
Night” effect from OnOne’s Perfect Effects 4 separately to the background
layer, the layer containing the horse, then the woman. When possible I like to
add effects to individual layers themselves rather than on a flattened version
of an image because it gives me greater flexibility in varying an effect’s
opacity or the ability to add or remove effects as needed.
As Rick will always tell you,
any successful photograph or image is about the quality and direction of the
light! When creating image composites you have to give them a sense of depth.
You don’t want your subjects looking like they were just pasted in place. To
give the horse and woman a more natural 3D look I added inner and outer layer
styles to each individual image element to simulate soft wrap-around light. This
also adds natural looking shadows.
To give the illusion of atmosphere
and distance between the woman and the horse, I created a “fog layer” which
consists random white brush strokes of varying size, generously blurred via the
Gaussian Blur filter. I repeated this step on another layer, this time on top
of the woman to make it look like she was literally in the fog. Using layers
masks on each the “fog layers” allows me to control their density (opacity) in
a realistic way.
At this point I could have
called the image done, but I still felt it was missing something. For a moonlit
forest scene such as this one, I thought that having moonlight streaking
through the trees would be a nice touch to add even more depth and realism.
Copying the image’s highlights onto its own layer and applying the radial blur
filter with the “zoom” setting achieves this. Once I found settings that looked
good I used a layer mask to hide the effect from the obvious spots where it
should not appear such as the horses head, etc. I then adjusted the opacity to
taste.