I would like to thank Rick for giving me the opportunity to share as a guest writer on his blog. Like most of you, Rick has had a huge impact on the quality and inspiration behind my personal photography. Rick is a genuine mentor with a unique ability to make the difficult easy to master. I hope these thoughts on fine art print making will inspire you to create your masterpiece.
What is Fine Art Photography?
"Fine Art Photography" is a loaded term meaning something different to almost everyone using it. “Fine Art” is more a class of artwork than anything else. While there are fine art oil paintings, not all oil paintings could be considered fine art. I paint occasionally but no one would consider it art, let alone fine art. The same can be said for sculpture or any other creative medium in which fine artwork is worthy of being collected and displayed publicly.
To put it simply, “Fine Art Photography” is taking a photograph for the specific purpose of producing a physical piece of art for display on someone's wall. Collectors have found fine art photographs to be an effective investment tool but that's a subject for a different day. For our purposes, the wall we are interested is our own. We photograph because it makes us happy and we enjoy sharing our experiences with friends and family. Posting your photographs online is a great way to share but there is something special about hanging your best work as a statement piece for all to enjoy.

Secret Waterfall
Which of my Photographs Should I Choose?
Let's face it, not every photograph we take is worthy of hanging on our wall. Out of thousands, only a few would be considered your best. Select an image your friends, family and especially you will enjoy looking at for a long time. Most of our images will be interesting to us for a while but over time ...it's hard for us to say but yes... they become boring. An image with a dramatic subject, great light and bold composition is usually a good prospect.
What you want to look for is that rare photograph that has an emotional impact on the viewer or tells a story with which they can relate. As a photographer, you remember the experience of capturing your image. You may have enjoyed the hike, the great weather, the day off work or perhaps the solitude and connection that inspired the composition. It can take some time to get those emotions out of your mind and focus (pun intended) on the impact of your photograph without memories that other viewers can never experience. Show it to people; observe their reaction and ask them how it makes them feel. Be sure to let them know you want their honest opinion good or bad. Feedback cuts both ways; it may be hard to accept criticism but everyone is entitled to their opinion. Negative feedback helps you grow as an artist much more than positive affirmation.
Another way to determine the quality of your work is to print and hang it where you'll see it everyday. If you still enjoy it in a month or three you have a good prospect for a fine art piece.

When an image transports your viewer to a different state of mind it can be a powerful experience. As an example, this image from Antarctica named Sunrise 2:30am was on display in my gallery. The experience of photographing it was very emotional for me. A year after a near fatal hiking accident I was the only one awake on the top deck of a dark and silent expedition ship viewing this colorful sunrise. That powerful personal experience could never be communicated to a casual viewer -- I thought. It was especially rewarding when a woman viewing it was struck to tears. Something she could not explain touched her deeply causing an emotional reaction.
Technical Quality is Job One
To steal Ford's marketing slogan, the quality of your image is very important. Fine art photographs are getting larger all the time and often the center of attention in the room. The larger you print your image the cleaner the file needs to be. It helps to have a high-resolution image such as large format film, medium format digital or multiple exposures stitched together but that is not critical.
What is more important is your file needs to be free of artifacts. Artifacts may be noise, sharpening halos, camera shake or subject movement. Printed small or viewed on screen you can get away with a poorly executed photograph. In larger prints the artifacts are exaggerated to the point they become obvious. The key here is image quality is more important than DPI (dot's per inch). Processing software and enlarging techniques can do an amazing job preparing your file for large prints.

Wild Spirit
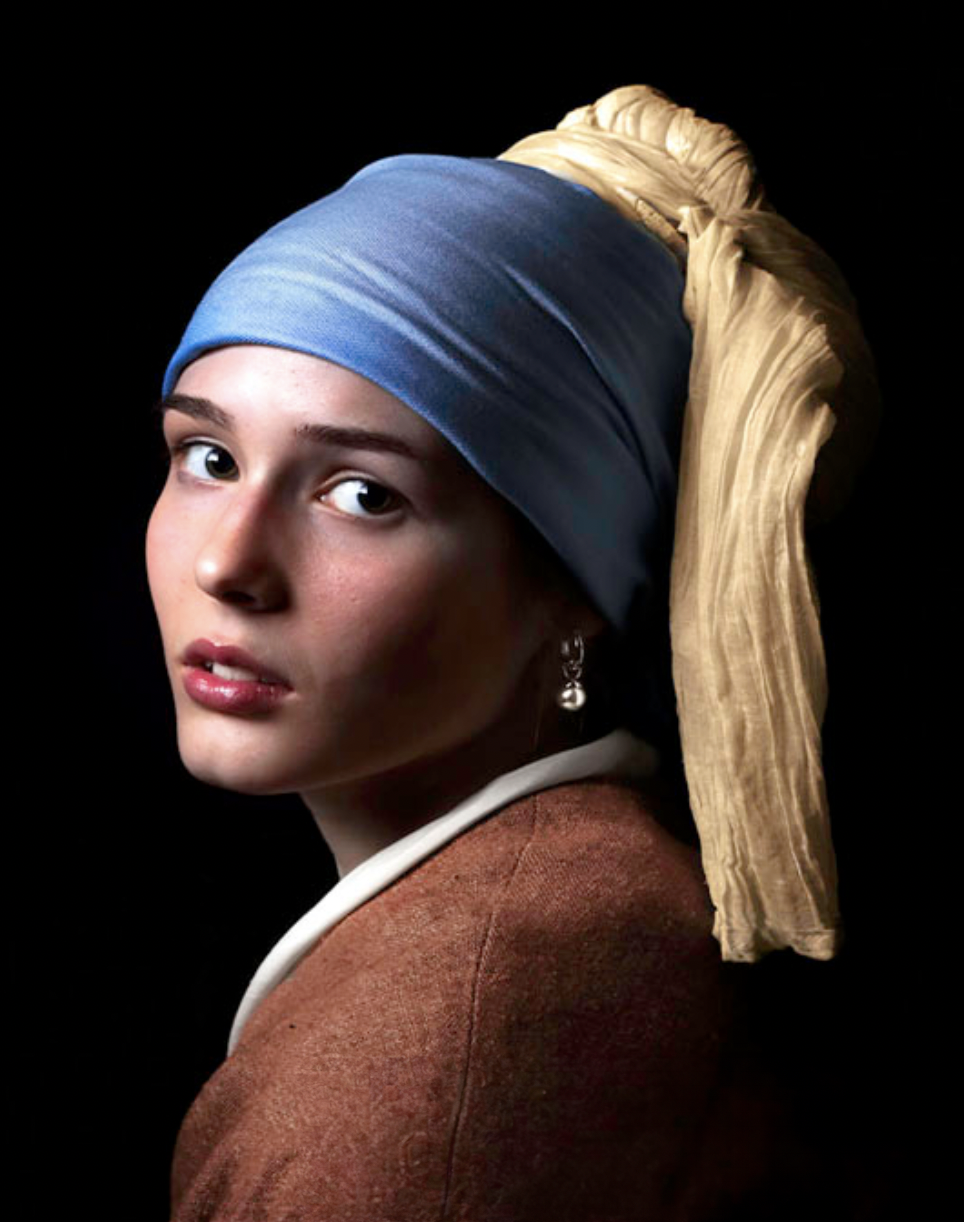
Fine art prints are viewed as a single work of art, not a collection of dots. Fellow photographers may nose up to your print with reading glasses to check for resolution but everyone else will enjoy the piece as a whole. Compared to paintings, photographs have infinitely more detail. Have you ever heard someone complain that an artist used too large a brush? Extra detail can enhance a great photograph but cannot make a mediocre photograph better. A boring image is just as boring at 100 megapixels as it is at 10 or 12.
On a recent workshop with Rick I had the privilege of photographing the incredible white stallions of southern France. As these magnificent horses ran through the marsh toward us I knelt in the water with a wide-angle lens to exaggerate the drama in this scene. Using Photoshop CC's new enlarging mode I was able to print this scene eight feet wide as the signature piece for a gallery event this past fall.
Start Small and Work Your Way Up
I don't recommend printing your first piece eight feet wide. Start with something a little more reasonable like 16x20 or so. You will learn a lot with the first few prints. The entire workflow for printing is too involved for a single blog post but here are a few tips to get you started.
- Calibrate your monitor so colors and brightness match what you will see on the physical print. Turn your brightness all the way up and turn off any automatic brightness controls before calibration and keep it that way as you work. The calibration software will set the exact brightness (usually 120) instead of relying on your monitor brightness control. It also helps to use the same lighting all the time for consistent results.
- After you have adjusted the color and contrast set Photoshop’s background to medium gray and view your image at full screen. Shrink it until it fills a quarter of the screen to gauge the brightness of your print compared to the mass of medium gray. Your eyes can confuse you without the medium gray reference surrounding your field of vision and your print will come out too dark.
- A trick I use to judge the quality of print ahead of time is to adjust the DPI of your monitor in Photoshop so zooming to print size matches the actual size of the print. Simply zoom to print view with the ruler showing and compare it to a real ruler. Adjust the DPI in Photoshop preferences until they match. Once the print size on screen matches a real print you can view part of the image at full screen and look at it from a few feet back. If it looks clean and crisp on the screen then your print probably will too. I then pan every inch of the image looking for dust spots, sharpening halos, and other problems before sending to print.
- Finally, when printing to an inkjet printer be sure and select the right paper profile and Perceptual rendering as a starting point or you may get a print that looks too dark.

Dreams of Venice
I hope this information will encourage you to create a fine art piece of your own. Be sure and give us feedback on your printing experiences or share any problems you have printing and we'll have you up to printing speed in no time.
Ed Cooley