One-Hour Canon EOS 5Ds Shoot: Making “Images with Impact”

Click images to enlarge.

When I teach a photo workshop, I begin by asking each participant, “What is your goal?” I ask that all-important question because setting a goal is important if you want to get a high percentage of good images.

Different photographers have different goals. I thought I had heard ‘em all, until a few years ago. One of my workshop participants, Gary Potts from Las Vegas, Nevada, responded, “I want to make images with impact.”

I helped Gary (a very good photographer by the way) achieve his goal. Gary, like many of my photo workshop participants, helped me, too. Now on my photo workshops, I often give the assignment: make images with impact.

Guess what? I often give myself that same assignment. That is what I did when I spent about an hour with Gary and my wife Susan at Techatticup, Nevada during Photoshop World 2015.

Here are my favorite images from the shoot, along with camera/lens info and some suggestions for making images with impact.

1) Opening Image - Alter time. When we alter time, but using a very fast or very slow shutter speed, we remove some of the reality from a scene. When we remove some of the reality, an image can have more impact. In the opening image for this post, I altered time by applying the Radial Filter/Zoom in Photoshop to the sky area of my photograph. That filter created the impression that my exposure was several minutes long (needed to blur very slow moving clouds), when in fact it was 1/200th sec.

To alter reality even more, I applied the Duplex Filter in Nik Color Efex Pro, which added a painterly-look to the image.

Info: Canon EOS 5Ds, Canon 14mm lens.

2) Above – Shoot HDR. I teach HDR on all of my photo workshops. When I teach HDR, I stress the importance of capturing the entire dynamic range of the scene: from the darkest area to the lightest area. This image was created from a seven-exposure set of RAW images. (Bracketing with 5Ds is quick and easy.) Notice how you can see into the shadows yet the highlights are not blown out. I used Photomatix (my #1 recommended HDR program) to create my HDR image. You can get a discount on Photomatix on my Plug-ins page.

Info: Canon EOS 5Ds, Canon 14mm lens.

3) Above – Get Up-Close-and Personal. If you want the person looking at one of your images to feel as though he or she was right there with you when you took the shot, shoot close to the main subject. Wide-angle lenses let us shoot close, the wider the lens, the closer you can get and still get good depth-of-field.

Wide-angle lenses also let you get everything in the scene in focus, which is how a scene looks to our eyes. The combination of shooting wide and close, and getting everything in the scene in focus, can produce an image with impact. And yes, the dramatic sky in this image, as well as the sky in the follow image, helps to create an image with impact . . . but remember: it’s the way the sky is captured (with a super-wide angle lens here) and processed that adds impact.

This is an in camera HDR (0 EV, -2 EV and +2 EV) image. For this and the following in-camera HDR image, I chose the Art Vivid mode.

Info: Canon EOS 5Ds, Canon 14mm lens.

4) Above – Go Ultra Wide. Following up on using wide-angle lenses, if you want an image with impact, going ultra wide can help. Ultra wide-angle lenses not only help us capture extra wide areas of a scene, but they also bend light and subjects in a cool and interesting way, which can produce an image with impact, as illustrated by the way the clouds are dramatically captured in this in-camera HDR (0 EV, -2 EV and +2 EV) image.

There is something else about this image that creates an image with impact: incredibly sharp detail, which is a testament to the capture quality of the camera’s 50.6 MP image sensor. And speaking of the camera's capabilities, the in-camera HDR is awesome.

Canon 5Ds, Canon 14mm lens.

 5) Above – Combine Techniques. This image combines a few image-with-impact techniques: shooting HDR (Photomatix again), going ultra-wide (Canon 15mm lens), getting it all in focus, adding some texture and color in Nik Color Efex Pro, and having an interesting subject, which of course helps us create an image with impact.

Info: Canon 5Ds, Canon 15mm lens.

6) Above – Use Plug-ins. Plug-ins can help create images with impact. Plug-ins can also help us awaken the artist within. I used the BuzSim filter in Topaz Simplify (also listed on my Plug-in page) to create this painterly-quality image, which is a close-up of a section of the rusting truck in the vertical image above. Yes, shooting close-ups is also a technique for creating images with impact, especially when you fill the frame with color and detail.

Info: Canon 5Ds, Canon 24-105mm IS lens.

If you want more tips, tricks and techniques for making images with impact, as well as some image-processing techniques, check out my latest (and 36th book), Creative Visualization for Photographers.

If you like photographing old cars, check out my Capture the Classics workshop in Atlanta (where I took this image) later this year. Good fun in an awesome location.

If you can’t make a photo workshop, check out my KelbyOne on-line classes.

Explore the light,
Rick
Now Available: Master Landscape and Seascape Photography

My latest on-line class - Master Landscape and Seascape Photography - is here!

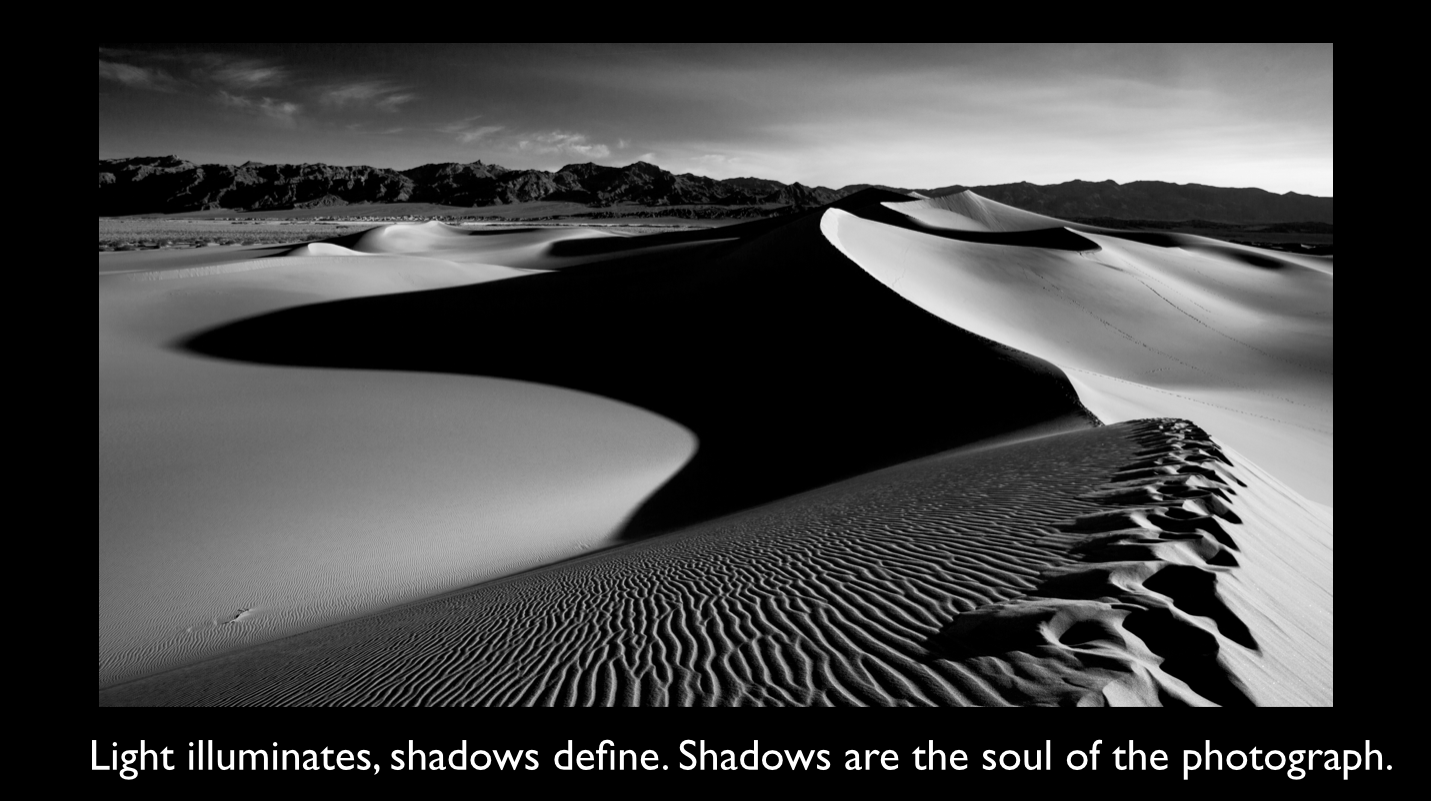
Click here to see a free preview (Black-and-white photography).

Introductory offer for blog readers! Use this  code - landscapes - to save $10 on the $29.99 class.

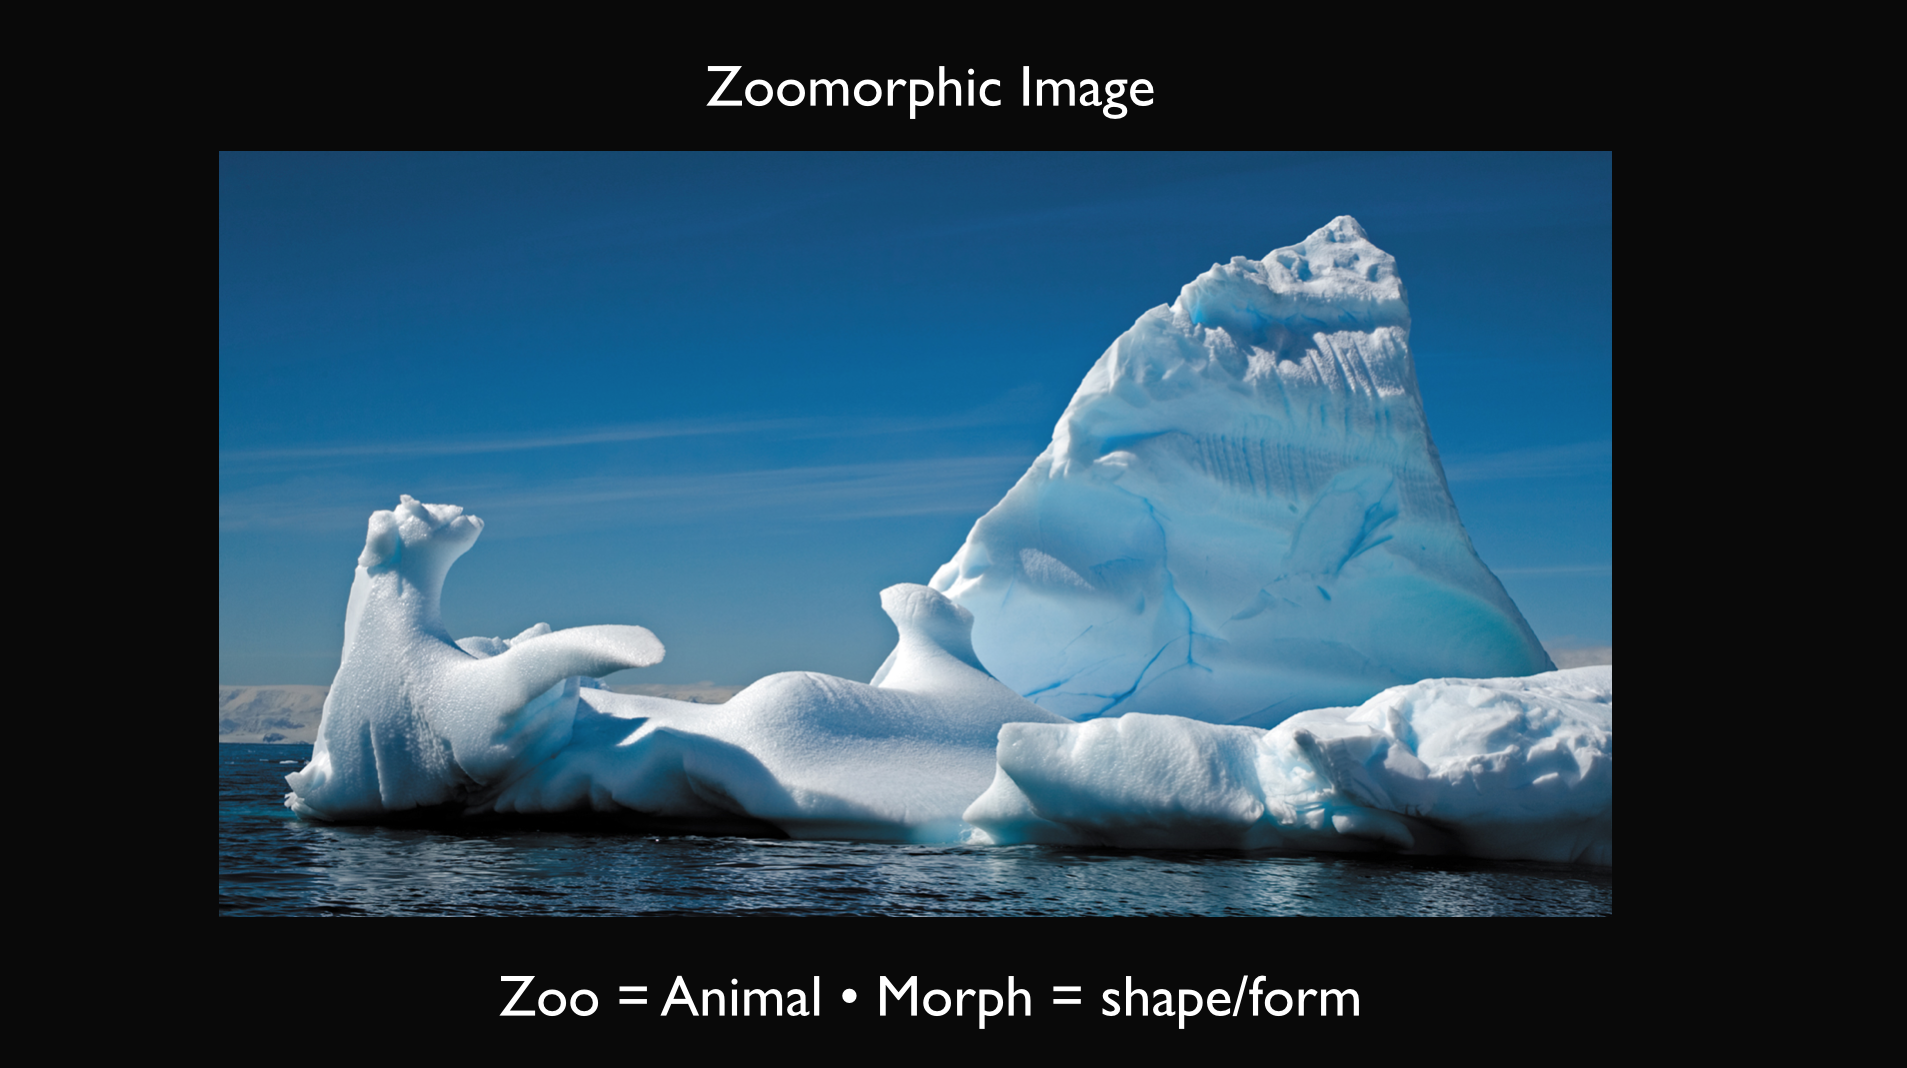
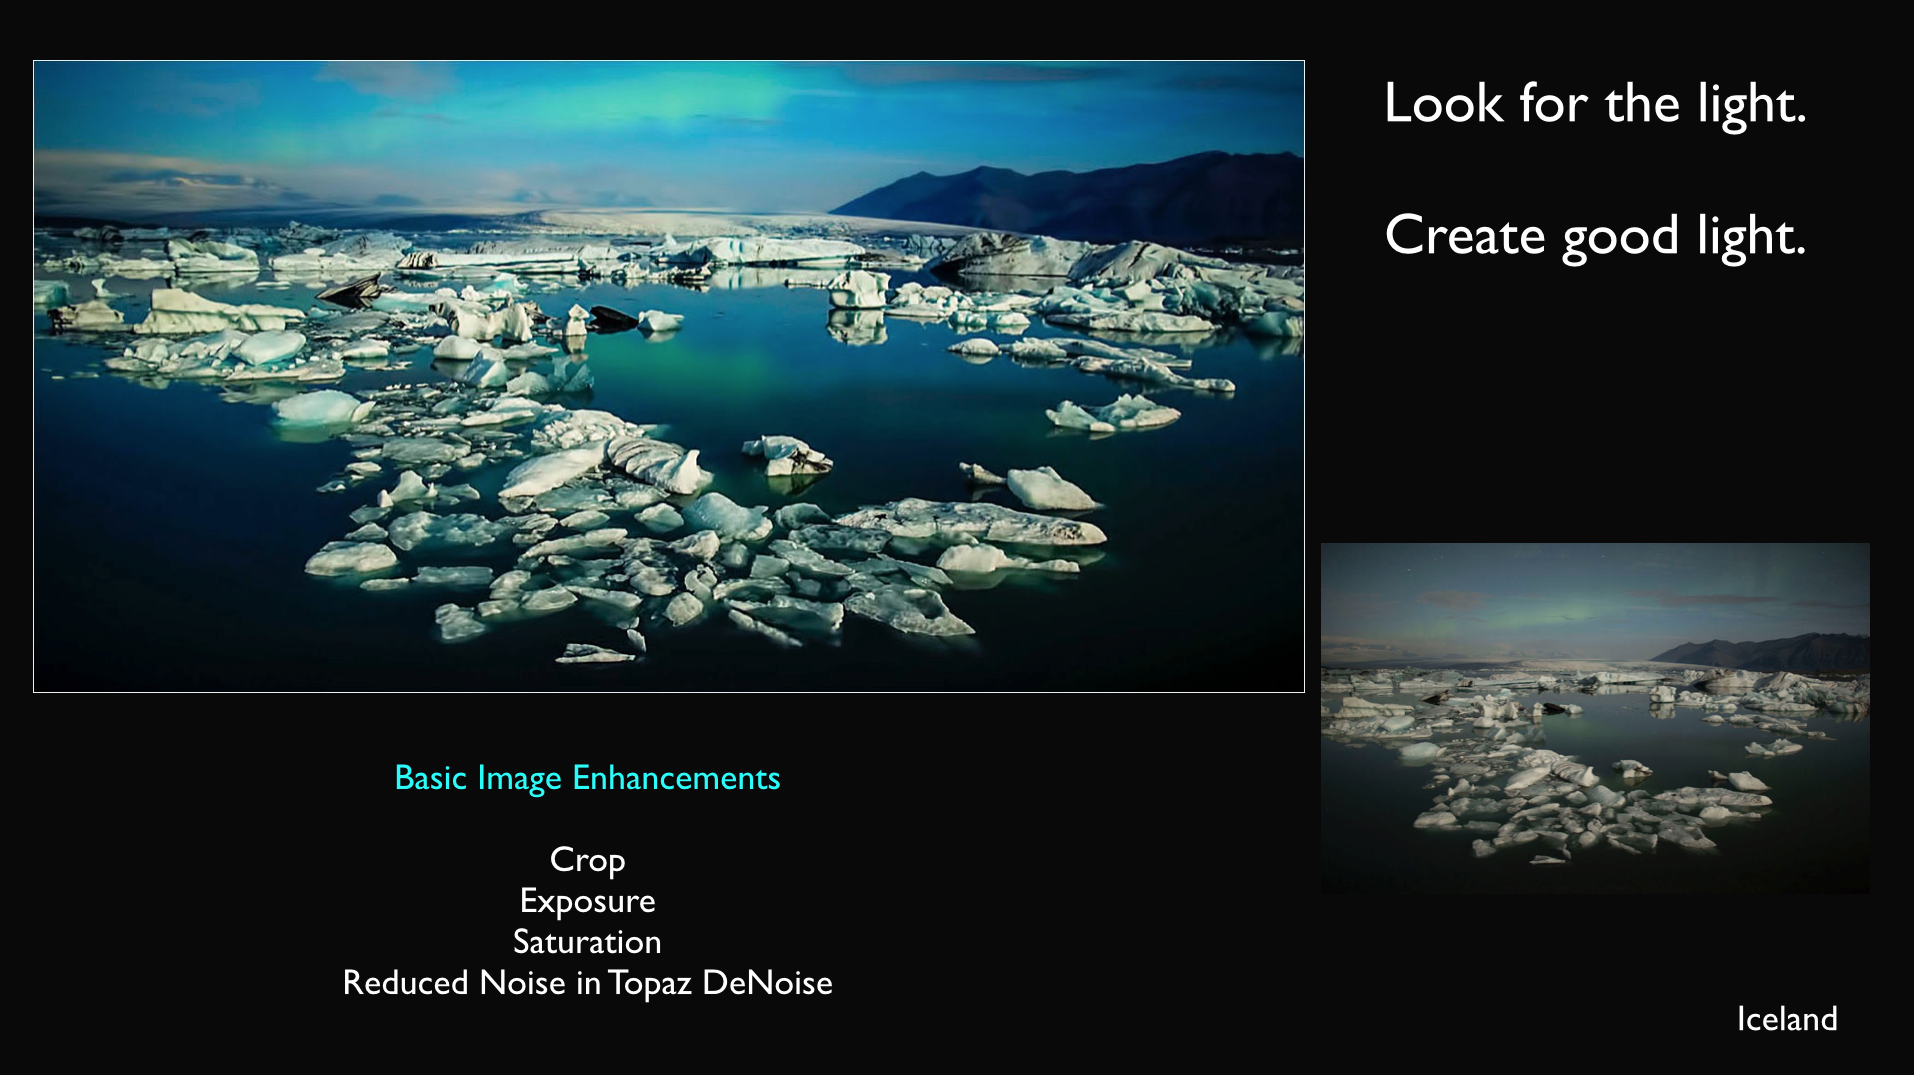
The one-hour seminar (like taking a private lesson from me in your home) is a narrated keynote slide presentation that includes more than 225 images and tons of tips gained from my travel to almost 100 countries.

The seminar is actually two seminars in one: a landscape/seascape/coastal photography seminar and a travelog. You'll learn how to photograph from dawn to dusk - and you'll get some ideas on where you can make some awesome landscape and seascape images.

It's a learn-at-your-own-pace seminar that you can stream or download and view again and again.

Got questions? Everyone who attends/views one of my seminars is a student for life. That means seminar attendees can email me questions for the rest of my life.

If you are new to my teaching style, here are some videos - on-line lessons that will help you with your landscape photography:
Composition - the strongest way of seeing.
Having fun with filters.
Lenses for landscape photography.
My camera settings vs. your creative vision.

Screen Shot 2015-02-15 at 10.57.44 AM.png

Here is the timeline for the class:
00:00 Introduction
01:50 Mood & Feeling 
02:43 Why We Photograph – Types of Images
05:56 Basic Concept: Get Everything in Focus
07:50 Basic Concept: Get a Good Exposure
10:05 Basic Concept: Separation
11:58 Basic Concept: Image Enhancements
14:21 Black-and-White Photography
19:14 Time of Day – See The Light
24:03 What If You've Only Got One Shot?
26:15 HDR
30:58 Storytelling With Lenses
33:36 The One-Lens Shoot
36:21 Close Ups
38:56 Stay in Shape
39:37 Blurring Water
41:31 Panoramas
45:54 Composition
49:41 Cropping
51:05 Filters
51.50 Sunrise and Sunset
53.46 Reflections
54.35 Thank you!

Screen Shot 2015-02-15 at 10.57.53 AM.png

During the class you will explore the following locations: Iceland, Holland, Death Valley, North Wales, Mt. Rainier, Goblin Valley State Park, Oregon Coast, Mono Lake, Antarctica, Alaska, Laos, Slot Canyons, Monument Valley and Bryce Canyon.

This is not just a slide show of pretty photographs. For each photograph I give a photography, location or digital enhancement tip.

I hope you enjoy the class - and please don't be shy about emailing me questions.

Click here to order the class.

Explore the light,
Rick

P.S. For more tips on composition, see my KelbyOne class, Composition - the strongest way of seeing

Blurs of a Feather II - Susan Dimock

Thanks so much to Rick for asking me to do a guest blog on blurs.  I met Rick this spring in my hometown of Bandon and he graciously allowed me to join his Oregon Coast Caravan tour for their evening shoot on Bandon’s beach.  I’m no stranger to Rick’s work and have long admired his operation and beautiful images. What a great teacher, writer and photographer!  Talk about versatile!

This is a follow up to a blog post on bird blurs that I wrote last winter after a photo shoot in Klamath Basin National Wildlife Refuge.  In this post I will go into more detail on how I took the shots and why I like them.  You can find the first post on my website.

Above: Relay a “Goose Bump” Experience
Info: 1/25, f 13, ISO 250 Canon 100-400mm

The opening image of Snow Geese and Greater White-fronted Geese I call “Peeling Off” because that’s just what the birds are doing as they fly up.  In-camera, intentional blurs are one of my favorite ways to shoot flocks.  Being in front of a large group of birds at take- off is an exhilarating, multi-sensory experience that is difficult to describe.  It’s one of those things that you simply must experience to appreciate. 

Never-the-less, as a photographer, one of the great challenges is to be able to relay to the viewer a bit of your “goose bump” experience.  Blurs can allow the viewer to feel a sense of motion and to even imagine the thunderous ruckus caused by thousands of wings flapping in symphony.  I often marvel at the organized chaos in a spectacle such as this. And in this particular image I think having some of the bird parts such as the legs and heads in focus help to peak the viewer’s curiosity and to draw them in more to investigate. 

For this blur I hand-held my Canon 100-400 mm, focused on the geese sitting on the ground and moved up ever so gently as the birds moved up.  As I move up I keep clicking off shots until the birds have dispersed.  For the most part, the movement of the birds rather than the movement of the camera is creating the blur.

Above: Panning Blurs…Steady!
1/20, f 10, ISO 200, Canon 1-400mm.

This second image is a horizontal panning blur of Tundra Swans.  As you can see the background is blurred to the abstract and the birds have quite a bit of focus to them except for their wings.   In this case, the movement of the camera as you pan is creating the background blur and the wing movement creates the blur there.  Common questions that I get regarding this style are, “How much blur is too much” and “do I have to have the head and eye in focus?”  Well, I wondered a lot about those questions myself and have settled on this; if the image is appealing to you then don’t fight your own aesthetic sensibilities.  If you really like your image then trust that.  I try not to let comments such as “that’s too blurred” or “I like reality more”, “that makes me dizzy” or my personal favorite, “that looks like a goose down pillow blown up” bother me.  And yes, I have had all of those comments at one time or another. These days they mostly make me laugh!

With panning blurs the ideal is to move slowly with the birds as they fly across the sky. You can do this with steady arms or by using a gimbal head on your tripod that allows you to move gracefully with the motion.  When using my Canon 100-400mm, I usually hand hold. Because of the weight, I go the tripod- gimbal head route when using my Canon 500mm.  In this image I hand held, focused on the head of one of the birds then followed it across the sky as it flew.  Many folks use Al Servo Mode (obviously I’m a Canon shooter) while doing this and that works.  However, I find that I have a lot more luck with One Shot Mode when attempting panning blurs. It seems to get the bird’s heads and legs sharper for me, which is often what I strive for with this technique.

Above: More is Sometimes Better
Info:
1/25, f 10, ISO 200, Canon 100-400 mm.

This third image is another version of a Tundra Swan horizontal panning blur.  I add it here to demonstrate that a panning blur can also have more of a softness to the birds and be a beautiful image as well.  Basically, in my opinion, sometimes it works to have more blur in the bird and sometimes it doesn’t.  You will usually know right away if you have a keeper or not.  You will get that sense of “Ahhh, this has symmetry and elegance and it just works.” or the feeling of “Nope, something’s just not right…it’s a tosser.” And again, it’s really a subjective process.  This is your art. Avoid Specimen Feel  Images

Above: Blurs are definitely on a continuum and vary stylistic. But one thing across the board holds true in my view.  They are not boring nor are they documenting in nature.  In this fourth image I have created a fly-up that is just slightly blurred.  While not tack sharp, the birds are generally in focus and the wings are softly blurred. This style is appealing  because I can see each bird individually but they are not frozen in motion so you still get the dynamic, fluid feel.  Sometimes when the birds are tack sharp and the wings are frozen in motion it can be impressive and interesting but may take on a bit of a “specimen image” feel to me.  I took this at 700mm with the tripod and gimbal head combo.  I kept my lens in one spot as opposed to panning and let the bird’s movement create a touch of blur in the wings.

Above: Create Flow and Float

This last photo I refer to as “Ghosts of the Farmland”.  This is one of my favorite blur images.  In today’s world everyone is a photographer. The challenge is to make your images unique pieces of art so that they stand out and cause a person to linger and wonder, ”How was this created?”  When someone calls one of my images ethereal or says that it looks like a painting I feel like I have created something more than a snapshot. For me, that is satisfying.  This last image has an other- worldly, ethereal feel , thus the ghostly name.  I wanted to include the farmland in some images to give a sense of place so using a small flock of Greater White-fronted Geese here helped me to accomplish that.  The ethereal feel comes utilizing a very soft focus in a panning rendition.  This allows the flowing and floating sensation to occur within the image.…. flow and float, that’s what ghosts do, right?   This was also a horizontal panning blur taken at 700mm.

Camera Settings…Be Nimble

Finally, it’s important to know how your settings interact with each other to create the desired amount of blur.  Nothing works better here than practice and experimentation.  And even then, it is not a perfect science because you have a lot of moving parts involved!  Because of this, many images get tossed and at first it is frustrating.  Conversely, you get unexpected surprises that are really cool!  My go to shutter speed for fly-ups is 1/25-1/30.  I like the amount of blur that it tends to produce.  But as you can tell 1/20th and 1/40th are favorites as well.  When you have found the bird or flock that you want to shoot get prepared and do some test shots.

As you do the test runs be sure to expose for what will be the higher portion of your frame.  In the past I have done tests pointing at the flock as it sits on the ground.  I then sadly discovered that the light gets brighter in the sky where the flock flies up.  Of course, those shots were blown out because I had exposed for the ground. 

Expose for the lightest part of your fly-up especially if you are shooting white birds.  Be mindful that your shutter speeds will change quickly as you move your lens up in tandem with the birds.   It’s a dynamic process and as the birds fly up into varying degrees of light your shutter speeds will change and the amount of blur will change with that variable.  I will often focus on the head of a bird while it is sitting on the ground and then I will expose for the light about two thirds up into the frame to get the amount of blur that I want in that portion of the photograph.  Again, the light changes as the birds move up and so you must account for that. 

A cool trick is to set your ISO to 400.  Using your dials you can then change your exposure quickly as the fly-up occurs.  You can even shoot off a bunch at different shutter speeds with this method to see what turns out the best.  You have to be mighty nimble though, as those birds move quickly! Once you get the hang of it more of your images will become keepers.  Warning! This can be amazingly addictive because you never know exactly what to expect.  And chimping is definitely allowed.  Gotta see if you’re on the right track!

Have fun and to check out more of my work please see my web site.

Also check out Susan Dimock Photography on Facebook and Google Plus.   You can also check out our bird photography community on Google Plus at “Bird Photography Community“ which now boasts nearly 30,000 members.


Thank you!
Susan

Canon EOS 5Ds Quick Field Test

Click images to enlarge.

At 9 AM this morning I took my Canon 5Ds, which arrived last week, for a field test. The location: The Chuang Yen Monastery in Kent, NY - which is about 30 minutes from my home in Croton-on-Hudson, New York and one of the locations on my Rick's Backyard Photo Workshop. Hey! I hope you can join me someday on this workshop, which I run twice a year. You will learn a lot and have a lot of fun. I promise.

My main goal for this quick test was to check out the sharpness of the files from this whopping 50.6 MP digital SLR - because one of the main reasons I choose a camera is image sharpness: I want/need the cleanest possible image. This is especially important, to me, when shooting in low-light/low contrast situations – which is why I chose this location for my test.

I created the opening HDR image for this post from a seven-stop, automatically bracketed sequence. To get the seven stops, I changed the Number of Bracketed Exposure from the default setting of 3 to 7. Setting AEB (Automatic Exposure Bracketing) is fast and easy with this camera. Note: you cannot set AEB when the camera is set to built-in HDR - and vice versa.

I used my Canon EF 15mm f/2.8 Fish-eye lens and my ISO was set to 160. My camera was set on a tripod.

I processed the series of images in Photomatix.

Above: To check the sharpness of my HDR image, I zoomed in on the two small sections of the original image you see here. Sharp and clean, as expected. And . . . keep in mind the statues are soft in and of themselves.

Above: Here's another set of images that illustrates the clarity of the images from this camera – as well as the sharpness of the Canon EF 14mm f/2.8L lens. ISO was 160.

When I zoomed in (right image) the original file not only revealed good detail, but I noticed something I had not seen before: a small carving of a Buddha in the headdress of the larger Buddha.

I used Live View for this shot, as well as for the previous shot. I like the camera's Live View feature because it tells you to Press the Set Switch for AF. Kinda cool. Speaking of cool, here's a cool feature of the 5Ds: Mirror Lockup . . . with the option of choosing a delay from 1/8 second to 2 seconds after pressing the shutter release button. Want to get the steadiest/sharpest shot? Go for mirror lockup!

And speaking of clean, I used the in-camera Long Exposure Noise Reduction feature to get an extra-clean shot.

Above: To digress (from the Buddhist temple but not from cropping) for a minute, being able to crop an image for an end-result image with more impact is important for me. Why? Sometimes,  I simply can't get close enough to the subject. Cropping gives me (and you) a second chance at composition - so the 5Ds gives me even greater cropping possibilities.

I grabbed the shot above on the right with my Canon 5D Mark III and Canon 70-300mm F/4-5.6 IS USM lens (set at 300mm) while on safari in Kenya. I shot quickly because I did not want to miss capturing the leopard's intense stare. Cropping my image produced a photograph with impact.

Learn more about composition in my KelbyOne class: Composition - the strongest way of seeing.

Above: Continuing on quest to test the camera's image quality, I photographed these small (maybe two inches high) Buddha statues. This is a hand-held shot taken with my Canon EF 17-40mm f/4L USM lens. My ISO was set at ISO 500. When I zoomed in on a statue near the middle of the frame (my focus point), I could clearly read the writing under each statue.

Above: Here's another 14mm lens shot. Above the painting you'll see just some of the 10,000 Buddha statues that surround the main statue of Buddha. I could not ask for a sharper image.

Above: After my quick indoor, low-light/low contrast test, I headed home to check my results – but not before making this image. I set my camera to the HDR mode and then chose the +/- 2 EV setting and the Art Vivid mode. Here, the in-camera HDR worked beautifully. In much higher contrast situations, I use Photomatix to process my images.

Well, that's my quick Canon EOS 5Ds field test. There are many other camera features I want to test, including the AF system. But that will have to wait. My son is home for a few weeks and I want to spend as much time with him as possible.

Speaking of time, for someone as hyper as I am, the review time of the images is noticeably longer than with my Canon EOS 5D Mark III, which I used for the leopard image. That increased time is especially noticeable when it comes to in-camera HDR. But heck, everything in photography (and life) is a trade off, and I'd trade a few extra seconds for awesome image quality any day.

That said, my Canon 5Ds will probably be my camera for landscape, portraits and subjects that don't move – although at five frames per second, it's fast enough to capture all the action I need to capture.

I'll probably still use Canon 5D Mark III as my main camera for action shots. I used that camera and the Canon 200-400mm IS with built-in 1.4x teleconverter for this shot of two lions mating in Kenya.

Above: Here's a shot taken with my Canon 100-400mm IS lens (new model). ISO was 400. I converted the image to black and white in Lightroom.

Again, I hope you can join me someday on one of my workshop. Lots of shooting, lots of processing and lots of fun.

Explore the light,
Rick
Canon Explorer of Light

What's new? My new (and 36th) book: Creative Visualization for Photographers - which features lessons on Composition, Exposure, Lighting, Learning, Experimenting, Setting Goals, Motivation and more!