HDR

Virtual Antarctica and High Arctic Photo Workshop - Trip Planner

Here's a cool idea for all those going to Antarctica and the High Arctic: take a virtual photo workshop, online, with me. I’ve been to Antarctica five times and the High Arctic twice, and I can share photo and travel info with you to help get the most out of your adventure – and come home with great shots!

What's included:
• One-hour Skype session before your trip where we discuss your trip and I review your photographs and offer travel tips.
• I need your Skype name and a link for a gallery of your best images.
• Half-hour Skype session after your trip where I review your new photographs and offer composition, exposure and processing suggestions.

Cost for the virtual photo workshop is $199 payable via paypal. Shoot me an email to arrange your virtual photo workshop. One-hour sessions are available for $99.

I also give virtual photo workshops to Iceland, Yellowstone/Grand Tetons, Oregon Coast, Botswana and Kenya.

In preparation for your trip, check out my KelbyOne classes and latest books.

Here’s a look at my recent High Arctic images.

Here’s a look at my recent Antarctica images.

Explore the light,
Rick

It's "Hey Rick, What's your f-stop?" Friday #2

"Hey Rick! What's your f-stop?" That's the question I get asked most on my photo workshops. I reply, with a smile, "My friend. What is your creative vision, what is your goal?" Those are the important question - for photographers to ask themselves.

In this blog series I will share with you my goal and camera settings for some of my favorite recent photographs, which will be featured in my next (#37) book, Evolution of an Image (September 2016 publication).

Here goes.

Goal: Make a photograph that illustrates a bygone time in the Palouse.

Thought process: Use HDR (High Dynamic Range) imaging to capture the contrast range of the scene – the bright areas outside the truck and the dark areas inside the truck.

Tech Info:
Camera: Canon 5D Mark III
Lens: Canon 14mm lens
Camera settings:
• In-camera HDR set-up (but processed the thee images in Lightroom for more creative control);
• Manual focus – to ensure the same focus throughout the bracketed sequence;
• ISO 1600 – set for a sharp hand-held sequence in the relatively low light situation, 1/500th second (middle exposure in bracketing sequence) – for a steady hand-held shot even at the slowest shutter speed (1/125th second) in the bracketed sequence, f/11 – for good depth-of-field.

I hope you can participate in one of my photo workshops, where no question is too basic or too simple.
2016 Workshops
2017 Workshops
2018 Workshops

For more tips, tricks and techniques, see my current best-selling book, Creative Visualization for Photographers. Also check out my KelbyOne on-line classes.

Explore the light,
Rick

"I Hate HDR" and "I Teach HDR the Right Way"

Natural-looking HDR image.

I teach HDR on most of my workshops. The next HDR workshop will be in Atlanta, GA later this month. We'll shoot at Old Car City and the Southeastern Railway Museum. Great fun!

Want to have some fun? Do a web search on "I hate HDR." Tons of pages will come up.

 In that search you will find a photographer who says, "I teach HDR the right way."

As my dad used to say, "To each his own." I say, "Why hate anything?" And, my take on teaching HDR - or creating HDR images - is that there is no "right way" and no "one way."

Natural-looking HDR image.

Natural-looking HDR image.

It's all personal, like all art.

Some folks like realistic-looking HDR images, such as the image above, while others like super-saturated images with the grunge look, like the images below. 

Super-saturated HDR image.

Super-saturated HDR image.

I don't teach HDR the right way, I simply teach it my way - which covers creating all types of HDR images.

The HDR program I recommend most is Photomatix from HDR soft. You can save 15% on Photomatix when you use this code - ricksammon - upon checkout from the HDR soft web site.

Here is post I did on the latest version of Photomatix. The above image is from that post.

One tip I do offer when it comes to HDR: The subject often suggests the HDR effect. For example, you probably want a natural-looking HDR image for a landscape, while the super-saturated/grunge effect may look good on a photo of an old car.

Magic Beach Motel, St. Augustine, FL.

Magic Beach Motel, St. Augustine, FL.

As with all your photography, I say follow your heart. Or as Ginger Baker wrote, "Do what you like."

South East Railway Museum near Atlanta, GA.​

South East Railway Museum near Atlanta, GA.​

If you want to get good at HDR, put yourself in a very high-contrast situation: shoot indoors and get details inside and outside. If you can see into the shadows and if your highlights are not blown out in your final HDR image, you are on your way to creating a good HDR image - your way. The image directly above illustrates that technique.

rick sammon.jpg

All my 2016 photo workshops are listed on my 2016 Workshops page.

Explore the light,
Rick

One-Hour Canon EOS 5Ds Shoot: Making “Images with Impact”

Click images to enlarge.

When I teach a photo workshop, I begin by asking each participant, “What is your goal?” I ask that all-important question because setting a goal is important if you want to get a high percentage of good images.

Different photographers have different goals. I thought I had heard ‘em all, until a few years ago. One of my workshop participants, Gary Potts from Las Vegas, Nevada, responded, “I want to make images with impact.”

I helped Gary (a very good photographer by the way) achieve his goal. Gary, like many of my photo workshop participants, helped me, too. Now on my photo workshops, I often give the assignment: make images with impact.

Guess what? I often give myself that same assignment. That is what I did when I spent about an hour with Gary and my wife Susan at Techatticup, Nevada during Photoshop World 2015.

Here are my favorite images from the shoot, along with camera/lens info and some suggestions for making images with impact.

1) Opening Image - Alter time. When we alter time, but using a very fast or very slow shutter speed, we remove some of the reality from a scene. When we remove some of the reality, an image can have more impact. In the opening image for this post, I altered time by applying the Radial Filter/Zoom in Photoshop to the sky area of my photograph. That filter created the impression that my exposure was several minutes long (needed to blur very slow moving clouds), when in fact it was 1/200th sec.

To alter reality even more, I applied the Duplex Filter in Nik Color Efex Pro, which added a painterly-look to the image.

Info: Canon EOS 5Ds, Canon 14mm lens.

2) Above – Shoot HDR. I teach HDR on all of my photo workshops. When I teach HDR, I stress the importance of capturing the entire dynamic range of the scene: from the darkest area to the lightest area. This image was created from a seven-exposure set of RAW images. (Bracketing with 5Ds is quick and easy.) Notice how you can see into the shadows yet the highlights are not blown out. I used Photomatix (my #1 recommended HDR program) to create my HDR image. You can get a discount on Photomatix on my Plug-ins page.

Info: Canon EOS 5Ds, Canon 14mm lens.

3) Above – Get Up-Close-and Personal. If you want the person looking at one of your images to feel as though he or she was right there with you when you took the shot, shoot close to the main subject. Wide-angle lenses let us shoot close, the wider the lens, the closer you can get and still get good depth-of-field.

Wide-angle lenses also let you get everything in the scene in focus, which is how a scene looks to our eyes. The combination of shooting wide and close, and getting everything in the scene in focus, can produce an image with impact. And yes, the dramatic sky in this image, as well as the sky in the follow image, helps to create an image with impact . . . but remember: it’s the way the sky is captured (with a super-wide angle lens here) and processed that adds impact.

This is an in camera HDR (0 EV, -2 EV and +2 EV) image. For this and the following in-camera HDR image, I chose the Art Vivid mode.

Info: Canon EOS 5Ds, Canon 14mm lens.

4) Above – Go Ultra Wide. Following up on using wide-angle lenses, if you want an image with impact, going ultra wide can help. Ultra wide-angle lenses not only help us capture extra wide areas of a scene, but they also bend light and subjects in a cool and interesting way, which can produce an image with impact, as illustrated by the way the clouds are dramatically captured in this in-camera HDR (0 EV, -2 EV and +2 EV) image.

There is something else about this image that creates an image with impact: incredibly sharp detail, which is a testament to the capture quality of the camera’s 50.6 MP image sensor. And speaking of the camera's capabilities, the in-camera HDR is awesome.

Canon 5Ds, Canon 14mm lens.

 5) Above – Combine Techniques. This image combines a few image-with-impact techniques: shooting HDR (Photomatix again), going ultra-wide (Canon 15mm lens), getting it all in focus, adding some texture and color in Nik Color Efex Pro, and having an interesting subject, which of course helps us create an image with impact.

Info: Canon 5Ds, Canon 15mm lens.

6) Above – Use Plug-ins. Plug-ins can help create images with impact. Plug-ins can also help us awaken the artist within. I used the BuzSim filter in Topaz Simplify (also listed on my Plug-in page) to create this painterly-quality image, which is a close-up of a section of the rusting truck in the vertical image above. Yes, shooting close-ups is also a technique for creating images with impact, especially when you fill the frame with color and detail.

Info: Canon 5Ds, Canon 24-105mm IS lens.

If you want more tips, tricks and techniques for making images with impact, as well as some image-processing techniques, check out my latest (and 36th book), Creative Visualization for Photographers.

If you like photographing old cars, check out my Capture the Classics workshop in Atlanta (where I took this image) later this year. Good fun in an awesome location.

If you can’t make a photo workshop, check out my KelbyOne on-line classes.

Explore the light,
Rick

Now Available: Master Landscape and Seascape Photography

My latest on-line class - Master Landscape and Seascape Photography - is here!

Click here to see a free preview (Black-and-white photography).

Introductory offer for blog readers! Use this  code - landscapes - to save $10 on the $29.99 class.

The one-hour seminar (like taking a private lesson from me in your home) is a narrated keynote slide presentation that includes more than 225 images and tons of tips gained from my travel to almost 100 countries.

The seminar is actually two seminars in one: a landscape/seascape/coastal photography seminar and a travelog. You'll learn how to photograph from dawn to dusk - and you'll get some ideas on where you can make some awesome landscape and seascape images.

It's a learn-at-your-own-pace seminar that you can stream or download and view again and again.

Got questions? Everyone who attends/views one of my seminars is a student for life. That means seminar attendees can email me questions for the rest of my life.

If you are new to my teaching style, here are some videos - on-line lessons that will help you with your landscape photography:
Composition - the strongest way of seeing.
Having fun with filters.
Lenses for landscape photography.
My camera settings vs. your creative vision.

Screen Shot 2015-02-15 at 10.57.44 AM.png

Here is the timeline for the class:
00:00 Introduction
01:50 Mood & Feeling 
02:43 Why We Photograph – Types of Images
05:56 Basic Concept: Get Everything in Focus
07:50 Basic Concept: Get a Good Exposure
10:05 Basic Concept: Separation
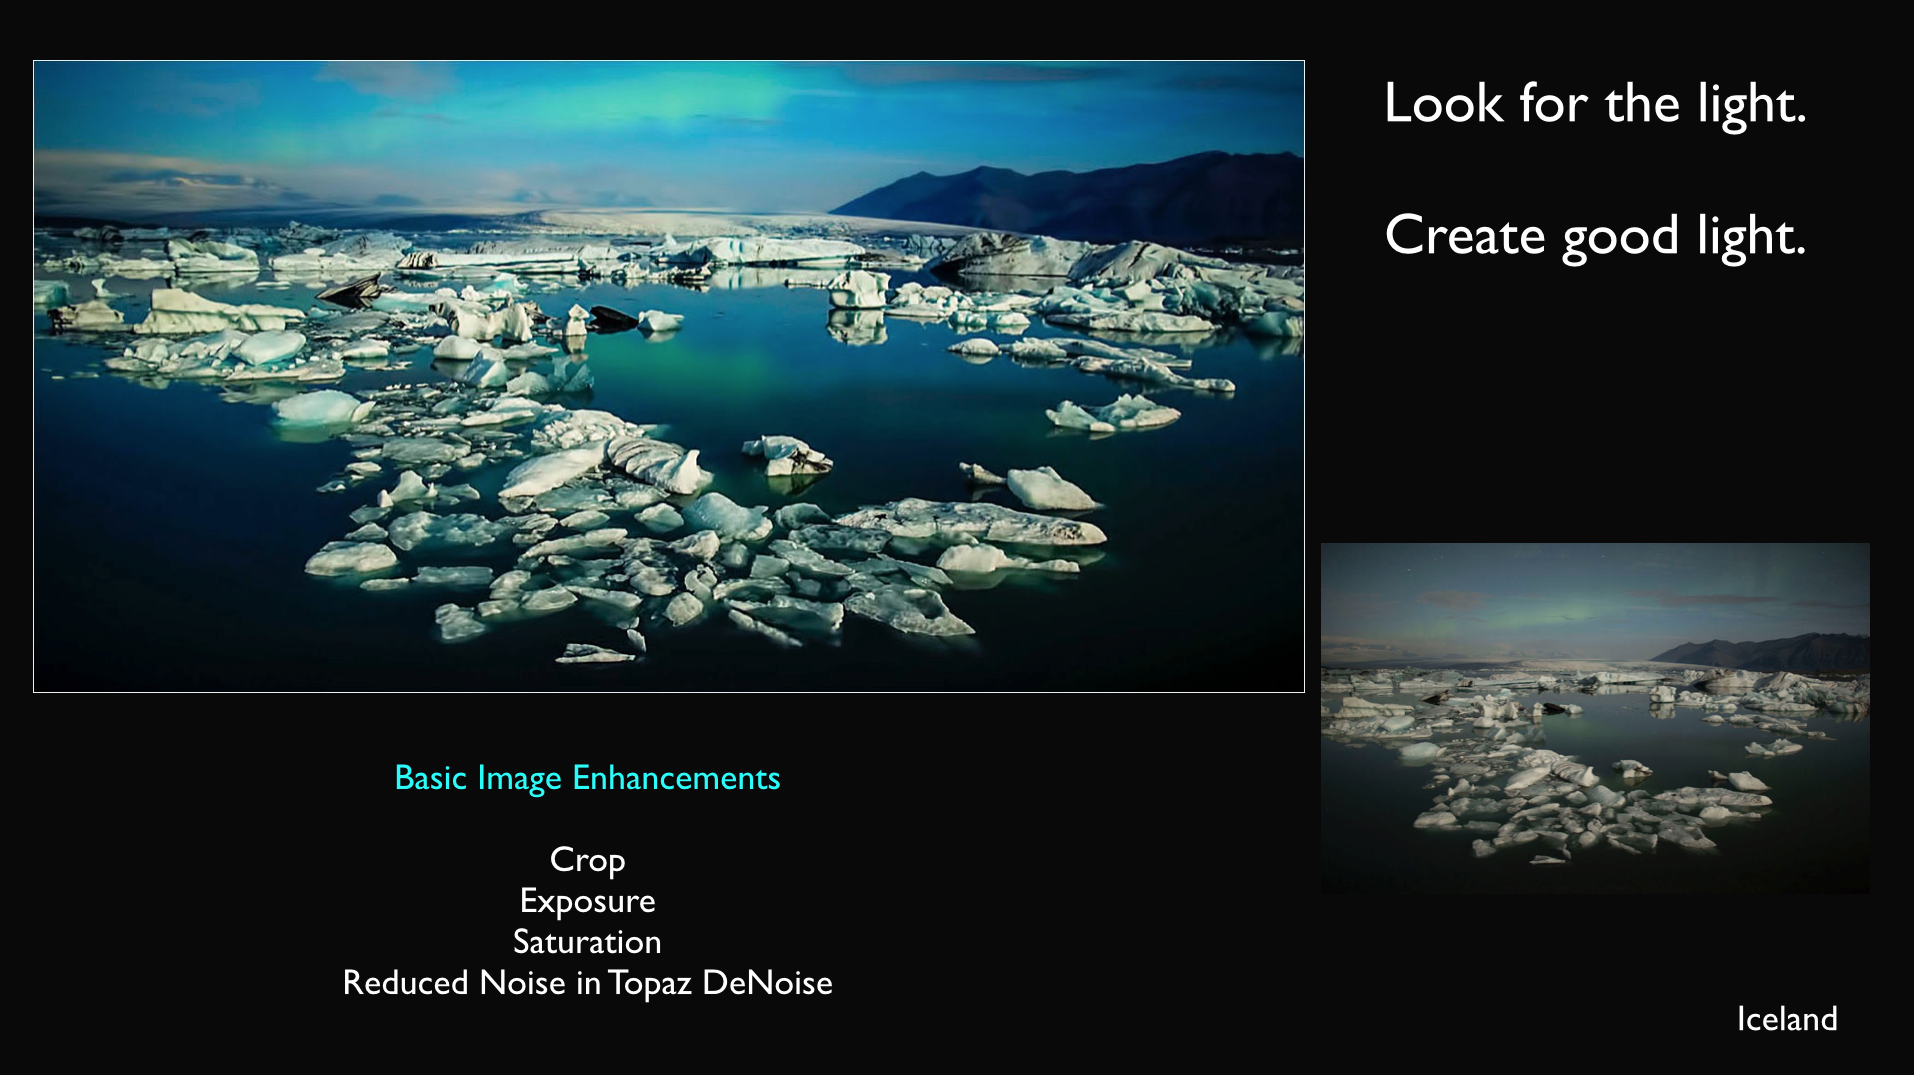
11:58 Basic Concept: Image Enhancements
14:21 Black-and-White Photography
19:14 Time of Day – See The Light
24:03 What If You've Only Got One Shot?
26:15 HDR
30:58 Storytelling With Lenses
33:36 The One-Lens Shoot
36:21 Close Ups
38:56 Stay in Shape
39:37 Blurring Water
41:31 Panoramas
45:54 Composition
49:41 Cropping
51:05 Filters
51.50 Sunrise and Sunset
53.46 Reflections
54.35 Thank you!

Screen Shot 2015-02-15 at 10.57.53 AM.png

During the class you will explore the following locations: Iceland, Holland, Death Valley, North Wales, Mt. Rainier, Goblin Valley State Park, Oregon Coast, Mono Lake, Antarctica, Alaska, Laos, Slot Canyons, Monument Valley and Bryce Canyon.

This is not just a slide show of pretty photographs. For each photograph I give a photography, location or digital enhancement tip.

I hope you enjoy the class - and please don't be shy about emailing me questions.

Click here to order the class.

Explore the light,
Rick

P.S. For more tips on composition, see my KelbyOne class, Composition - the strongest way of seeing