

Looking for an educational and fun photo adventure? You’ve come to the right place. Click here for info.
travel photography
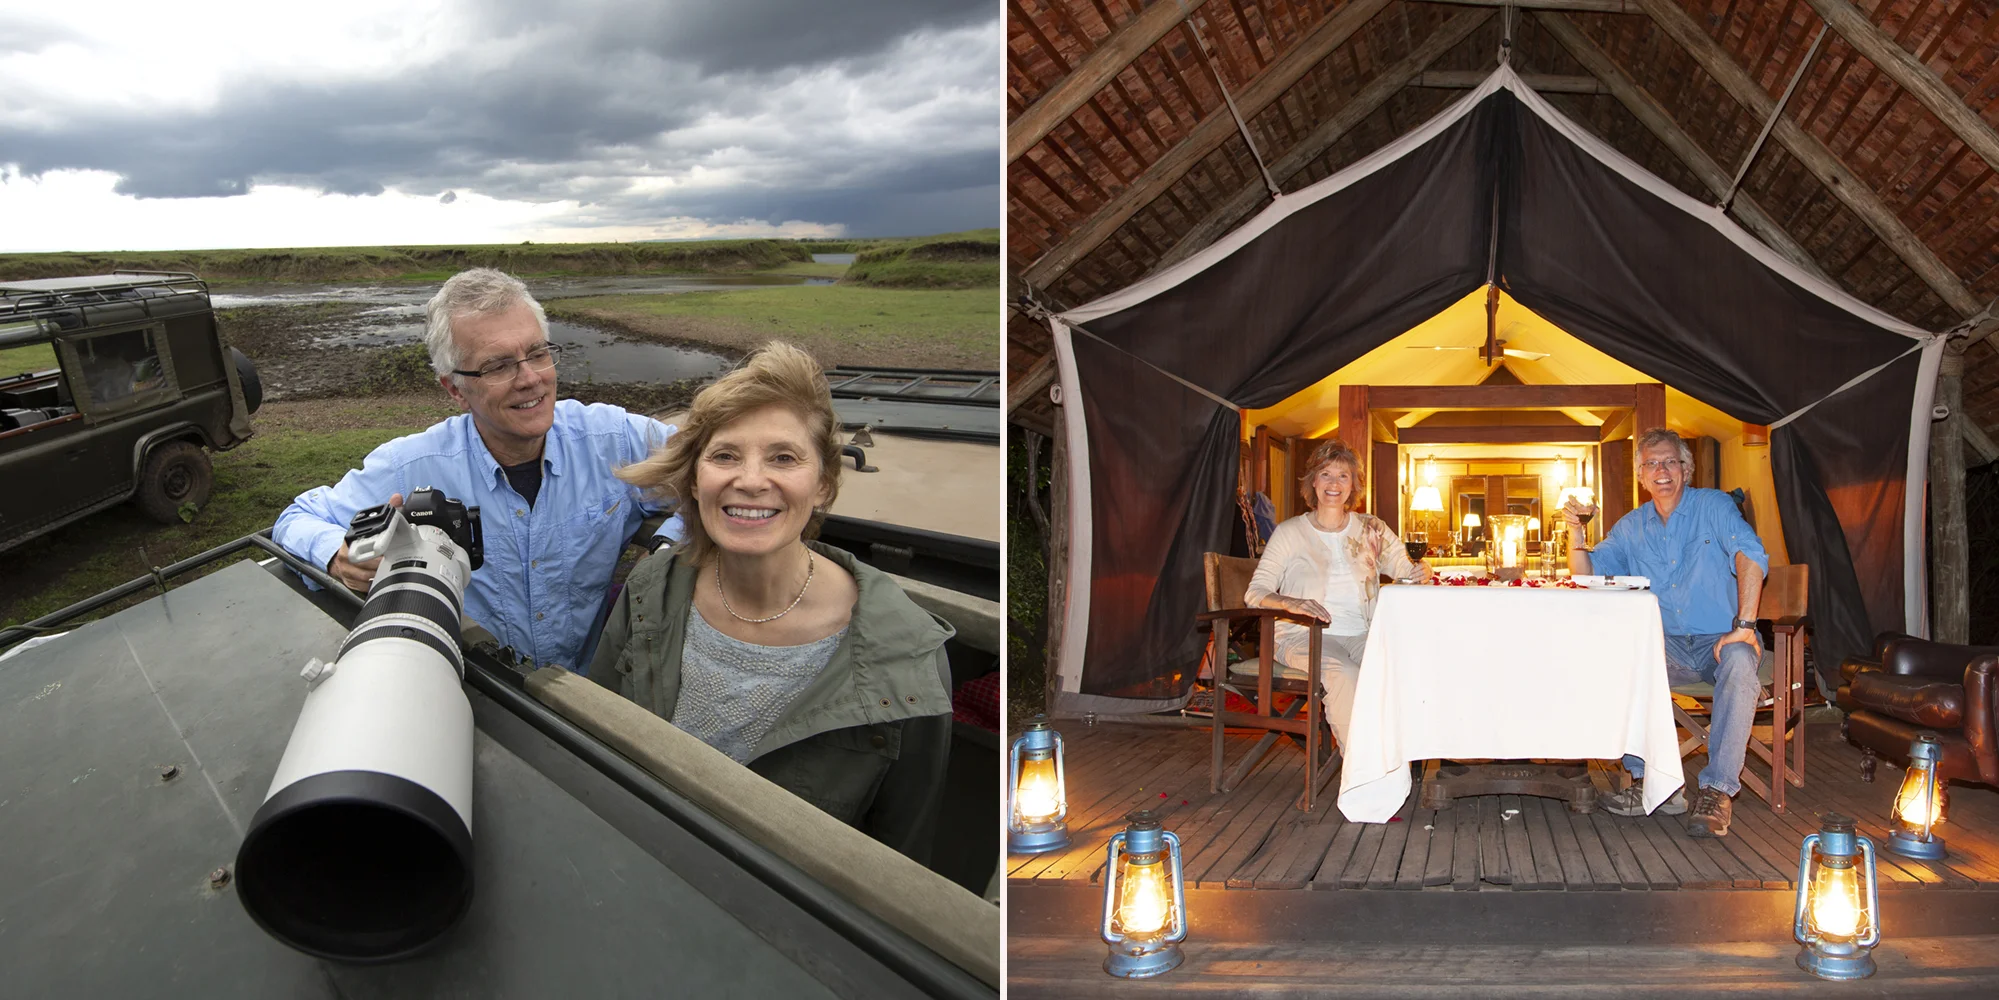
The Sammon & Sammon Photo Safari Promise
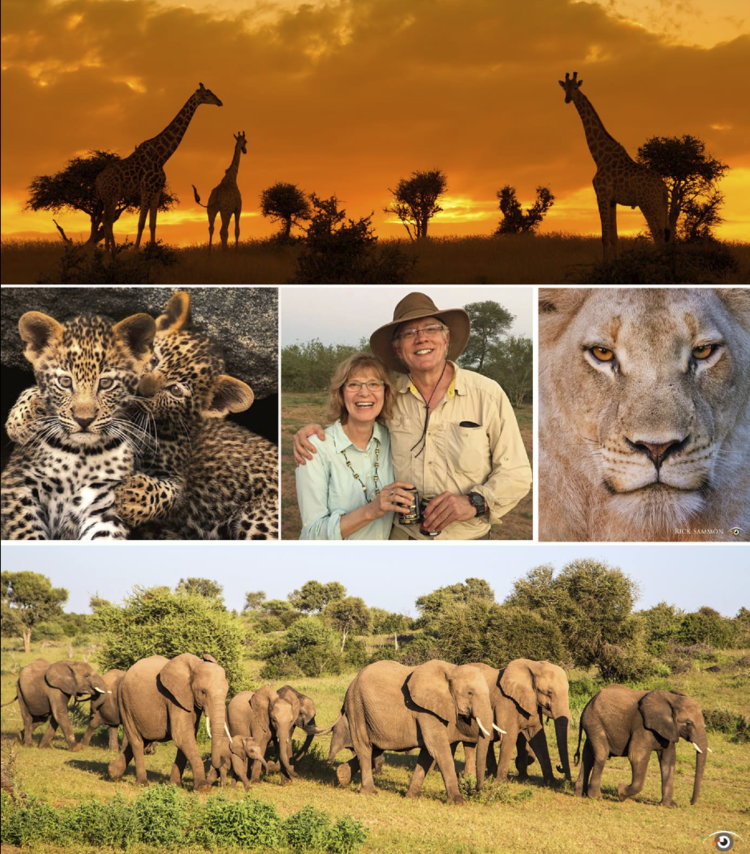
The Sammon & Sammon Photo Safari Promise . . . to you:
You will have the most fun while making (and processing) the best images – while making new friends. Our next photo safari is in 2018. Plan ahead and join the fun!
Read MoreMy New Camera/Lens Combo for Landscape Photography
Click to enlarge image.
When it comes to landscape photography, one of my main goals, technically, is to get a super-sharp shot with everything in the scene in focus.
Helping me reach that goal is my new camera/lens combo for landscape photography: Canon 5DS and Canon 11-24mm lens.
Emotionally, my goal is to try to put the viewer in the scene, saying to himself or herself, "I'd like to be there," or "I'd like to be photographing in that location."
I took the above shot (actually an in-camera HDR image) in Croton on Hudson, New York, where I lead two Rick's Backyard Photo Workshops a year. They are listed on my 2016 Workshops page. We are about one-hour north of New York City.
Basic Landscape Photography Tips
Most of my landscape photographs, as well as seascape and scenic photographs, show the entire scene in focus. For maximum depth-of-filed, choose a wide-angle lens (the wider the better), set a small aperture (the smaller the better) and focus 1/3 into the scene.
To create a sense of three dimensions in a two-dimensional image, use a foreground element or elements. Shadows can also add a sense of depth to an image, as can photographing a subject from an angle (as opposed to straight on).
If a close foreground element and aperture combination don’t allow you to get everything in the scene in focus, you can use a feature in Photoshop called “focus stacking,” which lets you combine pictures taken at different focus points in to a single image in which everything is in focus.
When it comes to composition, placing the horizon line in the center of the frame is usually a no-no. With reflections, however, that can work quite effectively. But generally speaking, if the foreground is interesting, place the horizon line near the top of the frame, and vice versa.
Important filters for landscape photograph include a polarizing filter and a ND (neutral density filter). A polarizing filter can reduce reflections on water and foliage. It can also make a blue sky look darker and white clouds look brighter
A good tripod and a good ball-head are important for steady shots in landscape and seascape photography. I recommend Really Right Stuff tripods to all my photo workshop students.
Super serious photographers who want the sharpest possible image (least amount of camera shake) always mount their camera on a study tripod, use the mirror lock-up feature on the camera, and release the shutter with a cable release, self-timer or app – even in bright light.
I hope to see you in Croton on Hudson someday! It's a great place to photograph, and to learn about photography.
PLJ,
Rick Sammon
Canon Explorer of Light since 2003
For more tips on getting super-sharp shots, check out my latest book, Creative Visualization for Photographers.

Road Warrior Survival Kit . . . and Attitude

Let's face, it traveling sucks, as was the case on our trip from New York to Myanmar, when I passed out in the Hong Kong airport during a 7-hour layover . . . between a 16-hour flight and before a 3-hour flight.

Sure, I enjoy being in a new location for a personal shoot, digital photography workshop or seminar, but the act of traveling – going through security, sitting in an aluminum tube for a long time, and dealing with delays and traffic jams is close to torture for me.

Yes, TSA pre-check (random okay) and Global Entry (both of which I have and recommend) help, but there is always some stress and annoyance, including the ubiquitous crying baby or the person sitting next to you who coughs without covering his or her mouth.

When I get to my hotel room, however, all that changes – because in my carry-on I have my Road Warrior Survival Kit, shown in the opening image for this post.
My Road Warrior Survival kit includes:
Escape travel guitar, which plugs into the iRig, a device that hooks up to the iPhone (and iPad). On my iPhone I have a cool guitar app called Amplitube, which offers cool sound effects and even drumbeats for jamming. I plug my Bose headphones into the iRig, and I am in guitar heaven – or back at Woodstock in 1969.
Before or after playing guitar, I exercise, using a set of resistance bands (only one shown). I also walk for at least 45 minutes a day and do 50 prisoner squats.
And although In-and-Out Burger is very tempting, I eat healthy and light, which includes eating at least two apples a day and of course sushi.
Exercising and eating right gives me more energy on the road, as well as a small sense of accomplishment. In fact, when I turned 64 last month, I made being healthy a top priority.
Do you have a Road Warrior Survival Kit? Plan to make one? I'd love to hear from you. Road Warriors need to stick together.
Rick

P.S. The Delicious apple, that I ate while writing this post in my hotel room, was delicious.
It's "Hey Rick! What's Your F-stop?" Friday

“Hey Rick. What’s your f-stop?” That is the question I get asked most on my photo workshops.
I reply, with a smile, “My friend. What is your creative vision?” That’s the much more important question, because my aperture and shutter speed ISO combination (called the Exposure Triangle) may not result in the photographer’s vision of how the scene should be captured. Lens selection, lighting conditions and camera-to-subject distance are also important considerations in convey one’s vision.
I understand, and appreciate, a workshop participant’s quest for a pro’s recommendations when it comes to camera setting. So I share my settings, but I always suggest other possible settings so the photographer can capture his or her own creative vision.
In this Friday feature, which will run from time to time if you guys like it, I will share my settings, and why I chose those settings, for some of the images I made while teaching a workshop that I co-led with my friend Hal “Bull” Schmitt, director of Light Photographic Workshops, to Alaska earlier this month.
Photograph: Beautiful Grounded Berg
Camera: Canon 5D Mark III
Lens: Canon 17-40mm lens
Exposure: ISO 125. f/11 @ 1/800th sec.
Reasoning: I had three goals in making this photograph:
1) to capture the beauty of a grounded berg (an iceberg that has broken off from a glacier and, at low tide, is grounded);
2) to get great depth-of-field;
3) to have separation between the main grounded berg and the grounded berg in the background. Careful composition and a small aperture allowed me to achieve my goal.
Concept: Use a very wide-angle lens and small aperture to get great depth of field.
Hal and I hope to see you on our 2015 Death Valley Workshop.
Explore the light,
Rick
P.S. If you can't make a live workshop, I offer several on-line classes. Good fun, too.
