Light - it's the main element in every photograph. As photographers, we need to learn how to see the light, control the light, expose for the light and process the light. Having fun with light is important, too.
You will learn all that - and much more - on the February 2015 Digital Photography Landscape Photography/Model Shoot Workshop that I am co-leading with my friend Hal Schmiit, director of Light Photographic Workshops.
You'll find info on our Death Valley workshop my 2015 Workshops page.
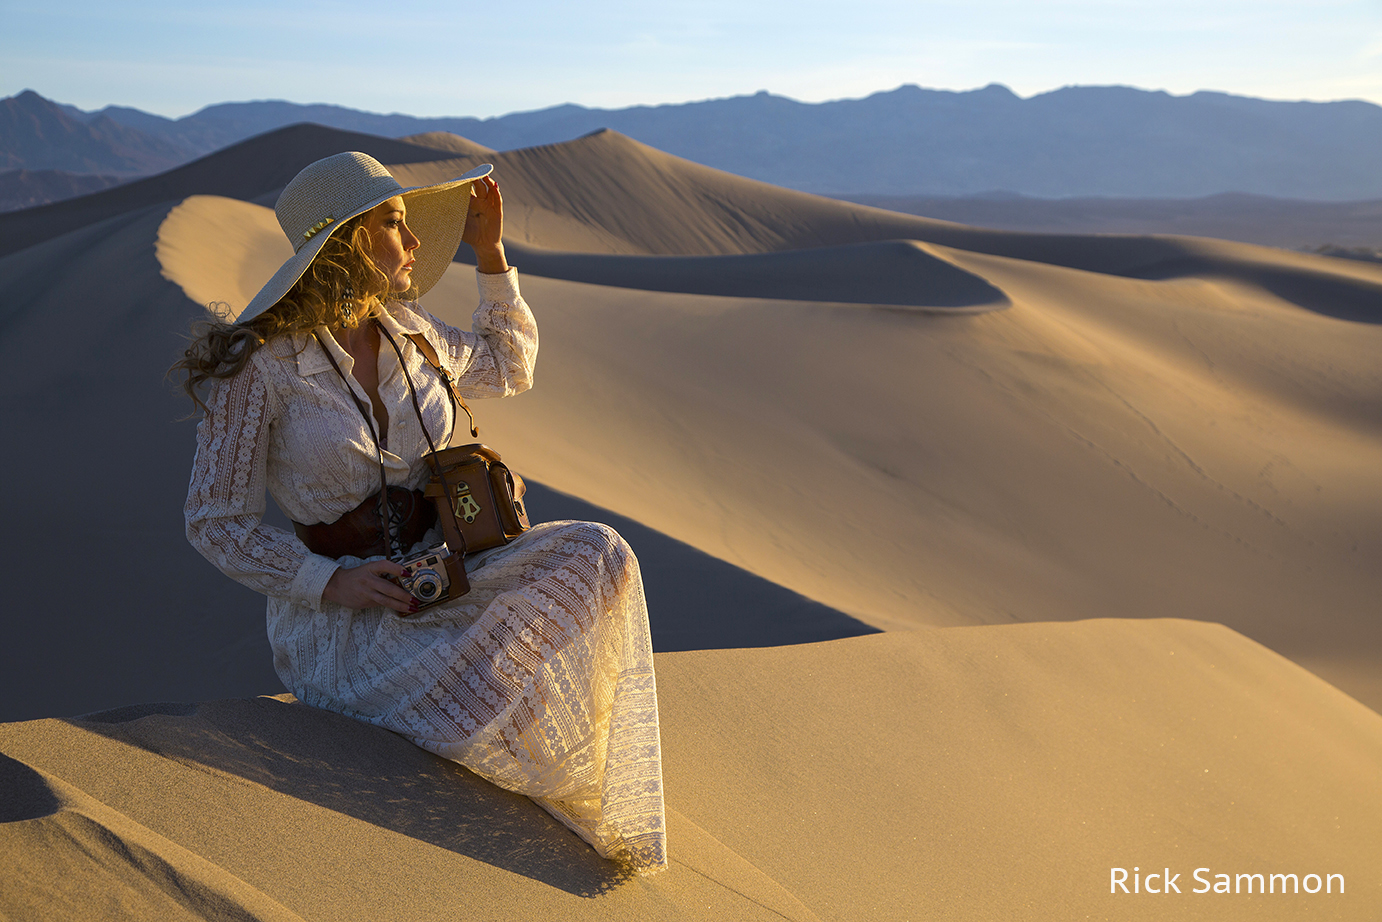
The opening photograph for this post is my favorite image from this year's workshop. The image below is a behind-the-scenes shot taken by Hal at the moment I took that photograph. That's me on the far right.
Photo info: Canon 5D Mark III camera and Canon 24-105mm IS lens. Also: Tiffen polarizing filter and Black Rapid strap.

Below you'll find cut-and-pasted previous posts I've written on my Death Valley workshops. Hal and I hope you can join us on the dunes and at the other cool locations in Death Valley in 2015. Space is limited.

Shooting Tips
• Work with shadows and highlights to create dynamic images.
• Expose for the highlights.
• Think HDR in high contrast situations.
• We need to get up early to get on site before the dunes are filled with fresh footprints and other photographers. We'll car pool from the ranch.
• Yes, we will be on the dunes before sunrise, but the light will be very flat. As soon as the sun comes up, the contrast, light and colors are awesome. You may not want to lug a tripod into the dunes, which are about a 20-minute or longer walk from the road. If you do bring a tripod, be very careful not to get the joints packed with fine sand. I've been to the dunes for sunrise three times and have not used a tripod . . . but it's up to you.
• Bring your head-mounted flashlights (and extra batteries) on our sunrise shoots.
• It can get windy on the dunes. Bring plastic bags or camera covers to protect your gear.
• Bring water! Don't forget your water bottle.
• Be very, very careful when changing lenses on the dunes. Sand is your enemy.
• Travel light on the dunes. Maybe just bring a wide-angle and tele-zoom. Fish-eye, too.
• If you put your backpack down in the sand, be very careful about . . . that's right - the sand!
• Plan to shoot panos. The long image above is a four-shot, hand-held pano.
• Pack your polarizing filter.
• Be ready to have your hiking boots and shoes filled with fine sand.
• Wear a hat and sunsceen.
* Getting to the top of some of the sand dunes is not easy. You need to run up fast in the sand. Hal and I will be there to help. But to get to the top of the dunes, you need to be in good shape.

My Recommended Gear List
Canon 5D Mark III
Canon 15mm lens (my lens) or Canon 8-15mm lens (getting it soon) - for fun fish-eye shots.
Canon 14mm lens - for an extremely wide view.
Canon 17-40mm lens - my basic landscape lens.
Canon 24-105mm lens - for closer views in landscape photography.
Canon 70-200mm f/4 lens - to isolate elements in a landscape.
Canon battery chargers - so I have power.
Arctic Butterfly - for cleaning my sensor.
Tiffen Polarizing filter - to darken the sky and to whiten clouds.
Lexar 16GB cards - for recording your memories.Induro CT 214 tripod
Induro BHD1 ball head
MacbookPro loaded with Photoshop, Lightroom and all my plug-ins.
Head-mounted flashlight and hand-held flashlights - for seeing in the dark.
Lexar card reader - for fast downloading.
Lacie 500GB portable hard drive - for storing my images.

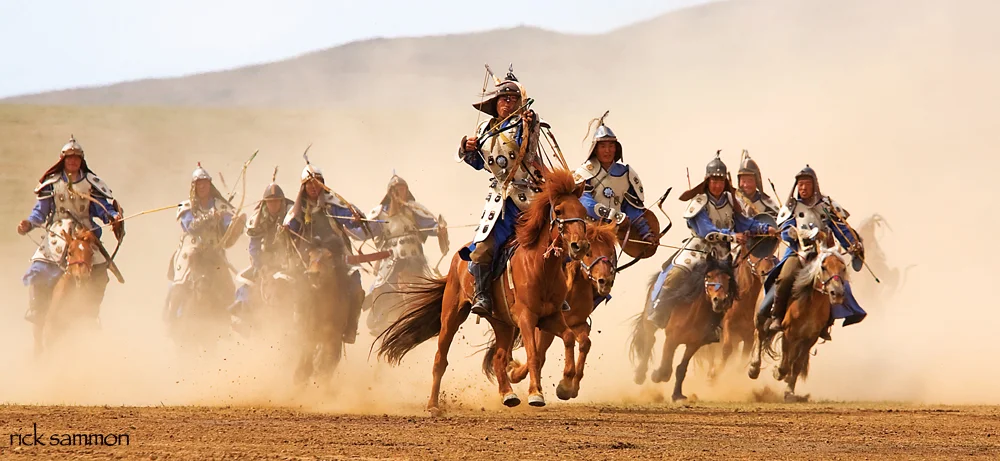
25 Tips That Apply to the Opening Photograph
1 Never underestimate the importance of a good subject.
2 Never underestimate the importance of a good location.
3 Watch the background.
4 Expose for the highlights.
5 Focus on the face.
6 Pay attention to light on the face.
7 Shadows are the soul of the picture.
8 Props Rock.
9 Composition is the strongest way of seeing.
10 Play with plug-ins.
11 Direct the subject.
12 Frame the face.
13 Separate the subject from the background.
14 Chase and catch the light - you snooze you loose.
15 Placement of the horizon line is important.
16 Burn and dodge carefully.
17 Cropping gives us a second chance at composition.
18 Be prepared with the right lenses.
19 Don't skimp on a filter.
20 Master technique, but.... (see number 21)
21 The most important thing about a picture is the mood/feeling.
22 Make pictures, just don't take pictures.
23 Explore the light.
24 Have fun!
Find the Best Light
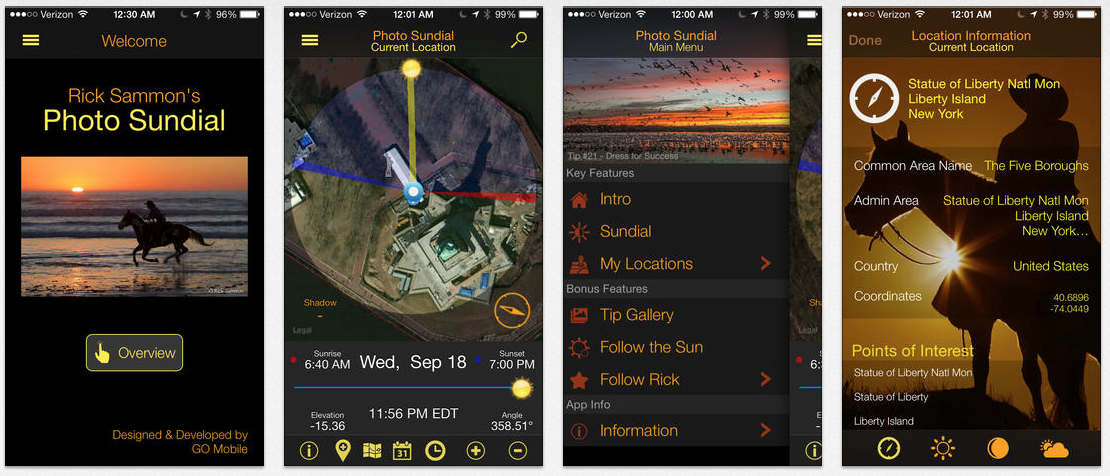
To help you find the best light - on all your worldwide travels - check out my latest app, Rick Sammon's Photo Sundial.
The app show you exactly where the sun will rise and set, as well as its position throughout the day. It also includes my best tips for photographing at sunrise and sunset. Other features include: Location Search, Weather, Moon Phases, Directions, Location Sharing.
If you can't make a live workshop, check out my on-line workshops.
Explore the light,
Rick