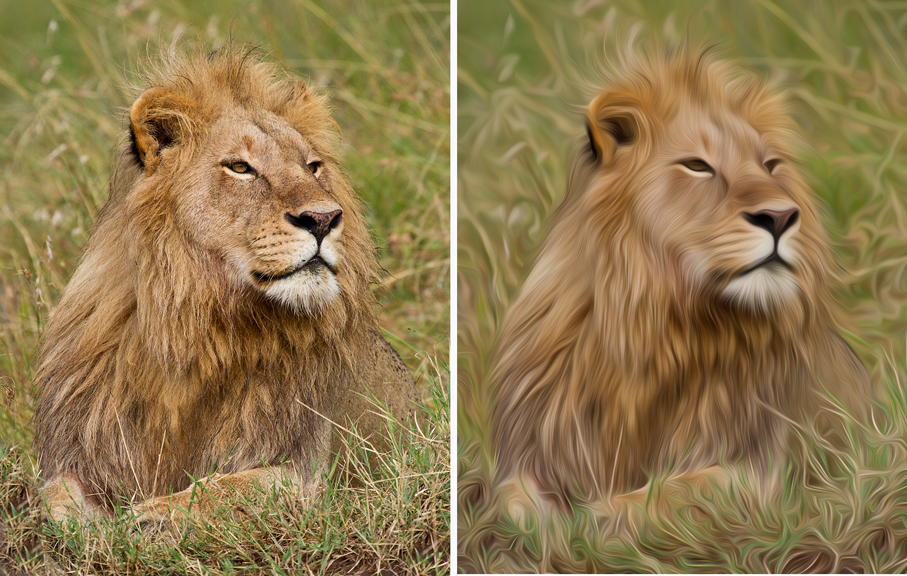
Left, original. Right, Photoshop's Oil Paint filter.
Today is day four of Six Days of Africa Photo Safari Tips here on my blog. Scroll down for previous posts in this series.
I am running this series in preparation for my 2016 Botswana/South Africa digital photography workshop.
Check out my Beauty of Botswana gallery to see my favorite photographs from my two previous trips to this wildlife wonderland.
Today's tip: Have some plug-in and filter fun during your downtime.

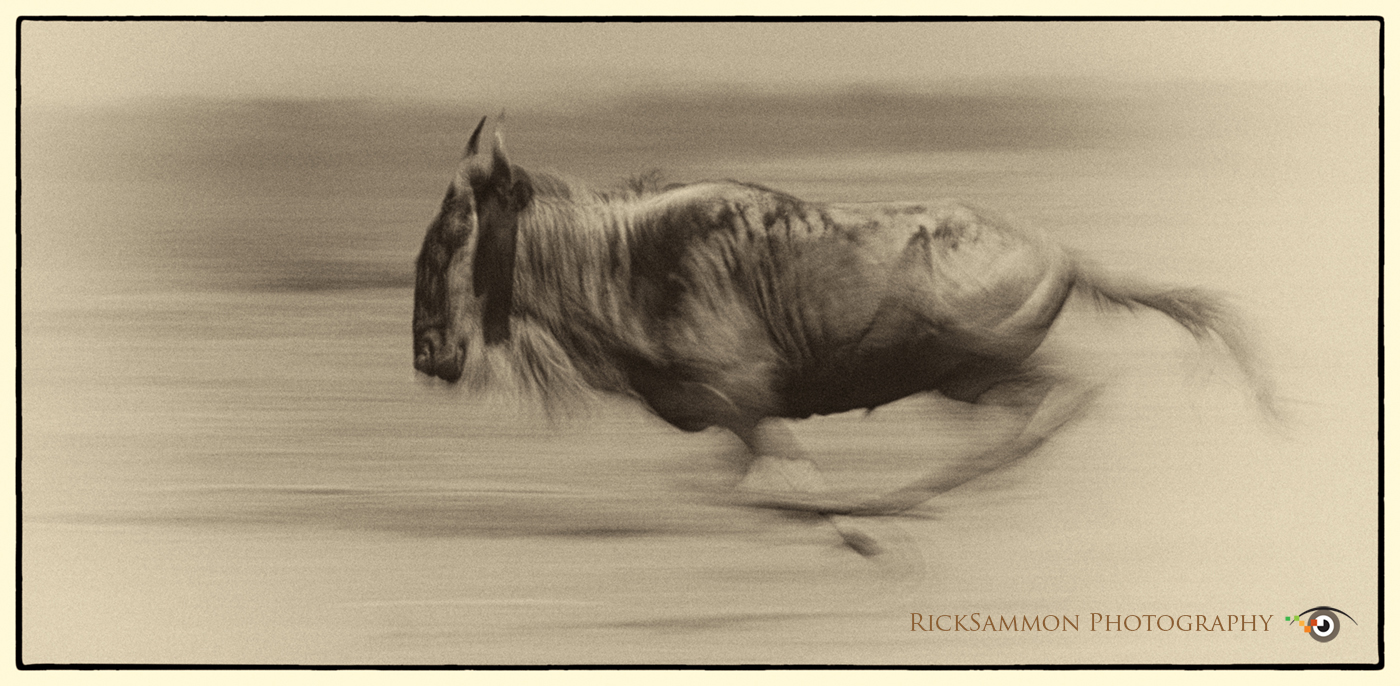
Try creating beautiful black and white and sepia tone images with Topaz Black & White effects.
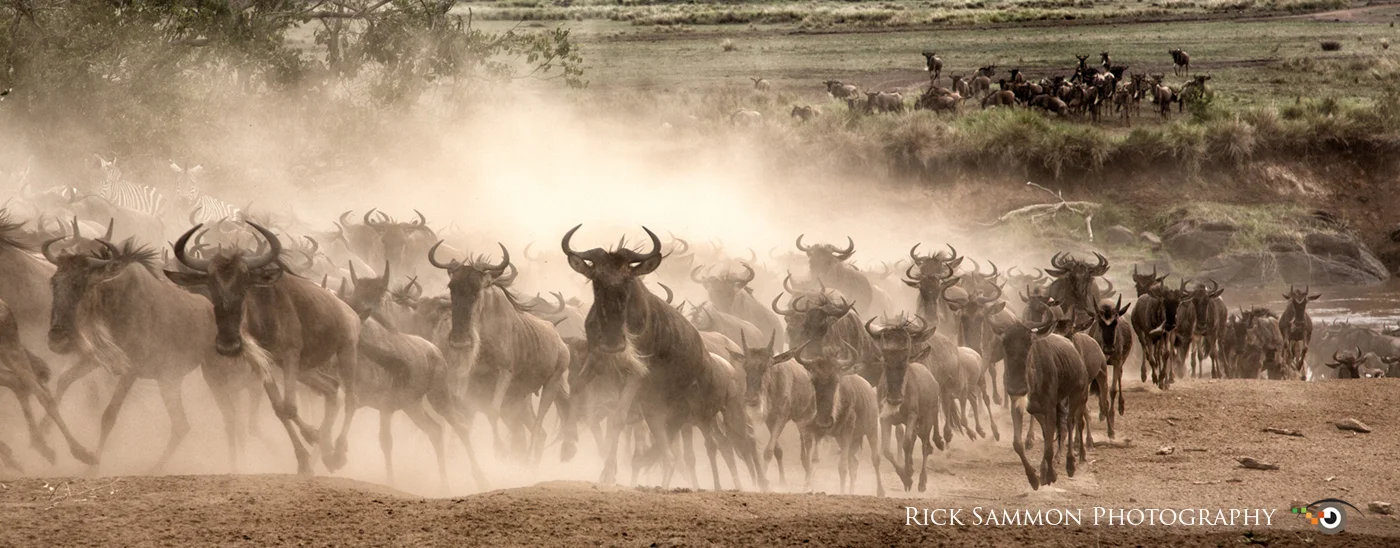
Most of the animal action on a photo safari takes places in the early morning and late afternoon. What's more, when it's sunny, the light is not great for photography between 10 AM and 3 PM.
Little action and bad light means spending time, several hours a day, in your tent working on and playing with your pictures. On one Botswana safari, for example, we left our camp at 5 AM, returned at 10 AM, and did not go back out on safari until 4 PM.

Remove some of the from an image and you remove some of the reality, perhaps making a more artistic image.
Downtime is a good time to play with plug-ins. Plug-ins can help awaken the artist within; they can remove the reality from a picture for a more artistic image.
All of the plug-ins I use are on my Play and Save on Plug-ins page. You can save a bundle when you order a bundle.

Both photographs sharpened in Nik Sharpener Pro.
Removing the reality is fun, but of course, so is getting the most realistic image. That often includes getting the sharpest possible picture. I sharpen my images using Nik Sharpener Pro, being careful not to over sharpen, which can, indeed, be tempting.

Speaking of being in your tent, charging your batteries and laptop is important. Check with the camp management and find out when they switch generators, which can cause a power surge and zap gear. Don't have your gear plugged in during the switch.
Also bring a power strip/surge suppressor as an extra safeguard against power surges. Make sure the voltage of the strip you buy at home matches the voltage of the camp. You may need a voltage converter if the power does not match.

If you like the composition of the photographs in this post, and if you want to learn how to make the best possible exposure, check out my KelbyOne classes on my On-Line Classes page.
I hope to see you on my 2016 Botswana workshop. We'll shoot at the golden hours, and process our pictures during downtime.
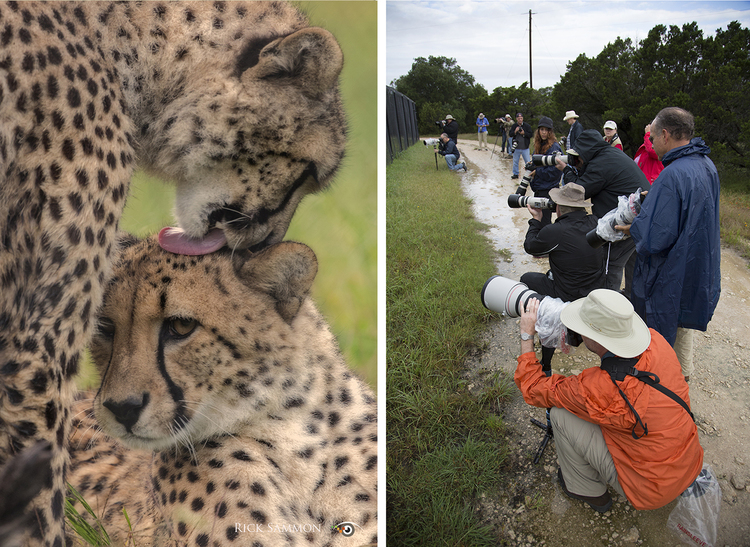
If you can't make an Africa photo safari, I offer wildlife photo safaris at Fossil Rim Wildlife Center in Glen Rose, Texas. That's where I took the photos above. Shoot me an email for 2016 dates.
Explore the light,
Rick
This post sponsored by Adorama - great gear at great prices. All my gear is listed on My Gear page.