Digital photography has opened up a world for many of us that has changed photography as we knew it. For those of us who grew up shooting film, especially slide film, the digital revolution was a change that many of us thought we would never make, but we made the change and have adjusted to it well.
Those photographers who never had the pleasure of working with film missed an adventure in image making.
The cameras we use today are so sophisticated and the sensors are so good and the meters so accurate, that you really don’t need to understand anything except how to look through your viewfinder and push the shutter button…then voila!…an image appears. If you don’t like it… press delete, and start again. Pretty easy. The images can be very good…most of the time.
If you are faced with extreme lighting conditions, most meters, regardless of how accurate and sophisticated they are, don’t always live up to your expectations. This is where I feel digital photography, if it has shortcomings, falls short.
In the days of film, exposures for the most part were made manually. You had to understand how your camera worked and what adjustments you as a photographer had to make to get the exposure you wanted.
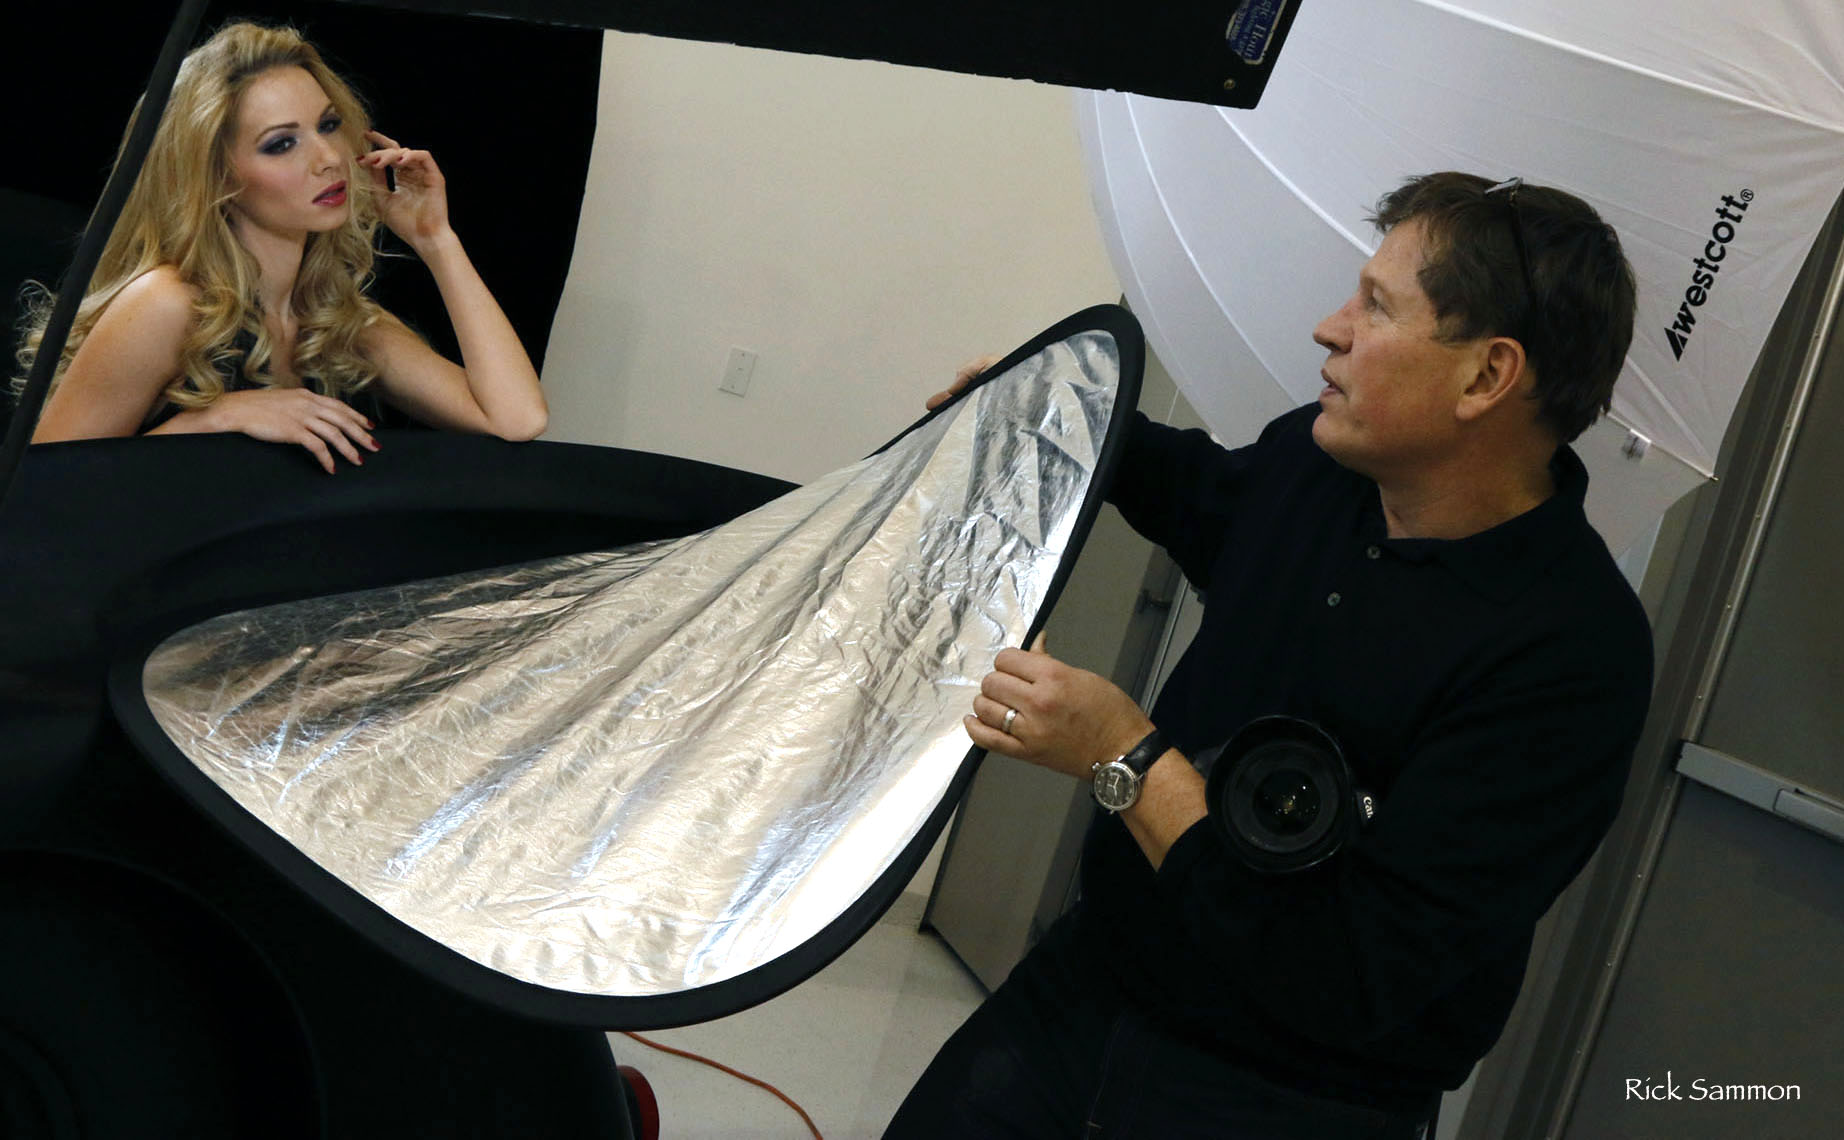
Most of today's cameras do have a manual mode (M), the mode where you make all the decisions and don’t let the camera make them for you. I am a firm believer that all serious photographers, regardless of what their goals in photography are, should have an understanding of this mode. You may never make an exposure using the manual mode, but if you need it, you know how to use it. You need to know how to override the defaults of your camera, so you can create the images you want… repeatable images.
The purpose of this blog is not to preach, but to illustrate a point in image creation. The opening image was taken in Melbourne, FL at the “click” ponds adjacent to the Viera Wetlands. In the early hours of the morning, before sunrise, you sometimes have to be on the west side of the ponds, because that’s usually where the birds congregate before flying off to “greener pastures” to feed.
Unfortunately, you’re facing east and you have to contend with the rising sun and shooting into the sun is tricky at best. Fortunately, there is a tree line to the east of the ponds, which keeps the sun at bay for a short period of time. In the winter months, when he sun is to the south and rises lower in the sky, the reflections in the water can be very dramatic, as they were this particular winter morning.
The dilemma I faced was…the wood storks were in shadows, so even though the reflection on the water was beautiful, the side of the wood storks I was on was not illuminated enough to get a good image of them without blowing out the water…that is, if I used a programmed mode.
So what do you do when you are faced with this situation? Do you walk away and try again another day? Or, do you go back to your basic camera knowledge and try to get a viable image by overriding what the camera wants by making all the settings yourself to compensate effectively and get the image you want. To me the answer was simple…let’s make it work.
The arrangement of the storks in the water with the reflections was magical. It was simple, yet the fact that the storks were not in a straight line created the tension that made the image more magical. It was not your classic lineup of birds with the equal and opposite reflection.
When shooting wildlife and birds I normally spot meter in aperture priority mode, so I can get a more accurate exposure of my subject. So, I switched my camera to manual mode and spot metered on one of the birds, knowing that if I was in manual mode and spot metered and overexposed the bird it would give me a global overexposure, but an overexposure that I was controlling.
My end result was that the birds were lighter than they appeared to my eye, but so was the water and the resultant image showed what I envisioned in my minds eye. Yes, there were some trade offs, but the ultimate image was what I wanted. Had I spot metered using the aperture priority mode or any other programmed or semi-programmed mode, I could have maintained the color in the water, but would have lost he detail in the storks, so the trade off was worthwhile in my estimation.
Regardless of how sophisticated your equipment is, you will run across that occasional lighting situation that your camera cannot handle. This is where your knowledge of manual exposure can be invaluable.
For more of my work, please visit my site.
Wayne Bennett