Hey All - As some of you know, my sunrise and sunset app is no longer available. The app featured 34 sunrise and sunset photo tips. Because the app is no longer available, I thought I'd share all of my tips in this post. Enjoy!
Read Moreapps
Self-Assignment/Photo Challenge: Shoot into the Sun
From time to time I will post self-assignments/photo challenges here on my blog. Self-assignments are a good way to learn and grow as a photographer. Try 'em by yourself or with a friend.
If you take the challenge, you can post your photos on my Rick Sammon's Photo Challenges Google+ page.
FYI: This Photo Challenge is one of the several photo challenges in my forthcoming Focal Press book (Spring 2015) on visualizing and developing your eye. Shoot me an email to get on the book announcement list.
Assignment: Shoot Into the Sun
Concept: Use HDR to capture the entire dynamic range of a scene when shooting into the sun. Have the sun just peak out from behind an object. Use an aperture of f/22 to get the starburst effect.
The starburst effect is enhanced with wide-angle lenses, so the wider the lens the better. Here I used my Canon 15mm full-frame fisheye (but I now have the 8-15mm lens) on my Canon 5D Mark III full-frame image sensor camera. When a true fish-eye lens is used on a cropped image sensor camera, you don’t get the fish-eye effect.
Make sure your lens is very, very clean, as just one speck of dust can look like a big blob in your image. Take enough photographs over and under the average exposure setting to capture the shadow detail (over exposed images) and highlight areas (underexposed images).
If a person is your HDR sequence, have him or her very, very still while you are taking several exposures. That is the direction I gave my friend Mike “Spike” Ince when I made this HDR image.
As you can see in the above image, the contrast range was too great for all the detail in the scene to be captured in a singe photograph.
By the way, this is a hand-held HDR image. Wide-angle lenses and rapid frame advance make hand-held HDR images possible.
Processing Suggestions: Use Photomatix to create your HDR negative, and then process your HDR file in Photoshop or Lightroom. You can get a discount on Photomatix on my Play and Save on Plug-ins page.
Remember that HDR images tend to look a bit flat, because you are compressing the brightness range of a scene. Therefore, you need to add a bit of contrast if you want your image to pop.
If you like HDR, I teach that technique on many of my workshops.
Location: Junkyard near Bosque del Apache, New Mexico
Explore the light,
Rick
Photo Sundial - a Must for Any Photographer
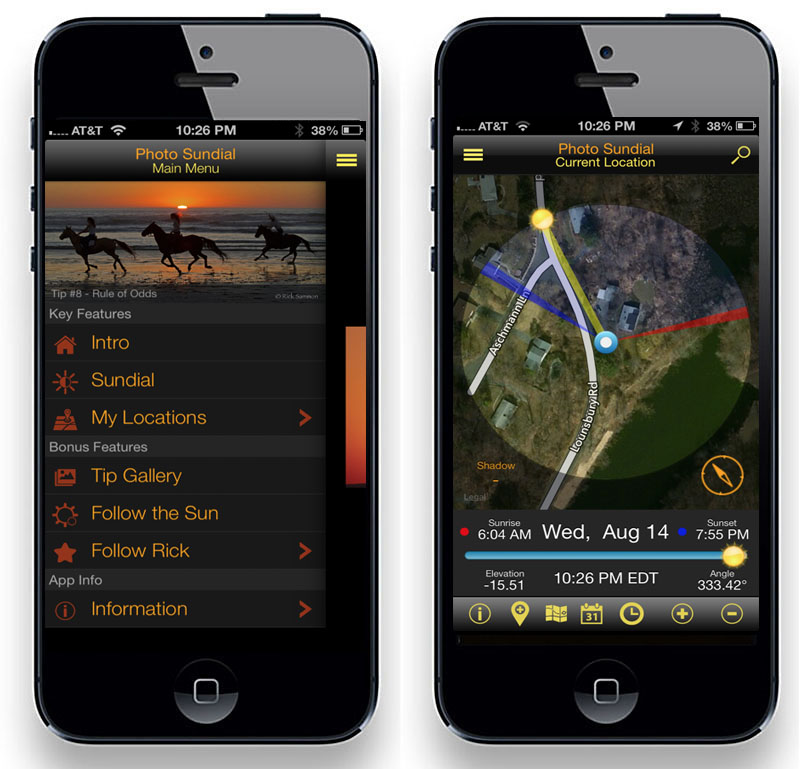
I have received tons of "thank you" emails and have seen many positive links and posts about Photo Sundial, my iPhone and iPad app for finding the best light - anywhere on the planet.
Here's a Facebook note from Kevin Wyllie. Follow the dude on Facebook. His work is awesome.
Thank you Kev!
• • •
Hi Rick, I just wanted to let you know that your SunDial app has been an incredible aid to my wedding business. I used Sunseeker before, but find that having the ability to set any date as well as the venue has enabled me to actually discuss how I'd shoot a wedding when a bride is making an inquiry!
I've used it at weddings and have had several brides actually book me when they see how much care I put into the details like this. One bride has booked a remote castle for late-2015 and her mother wasn't too keen on using me as I hadn't shot there before, and she kept reminding me about another tog who she liked and who "has shot there lots of times and always takes a lovely shot on a bridge over the river" 60 seconds later I was showing her why that particular shot wouldn't work on her daughters wedding day, as it would be in deep shadow from the surrounding woodland. I then showed her the time it would work for her (a 30-minute window, much later in the day than they had wanted a photographer there).
"If you want that shot, you MUST be on that bridge at that time, irrespective of who your photographer is."
Please make sure you tell this to whoever you book" needless to say, this level of planning and detail, almost two years from her daughters date, melted her and I got the booking.
Thanks, Rick - SunDial is a must-have for ANY photographer!
All the best,
Kev
• • • • •
All my apps are listed here. Enjoy!
Day 2: Seven Days of Sunrise/Sunset Photography Tips
To celebrate the release of my Photo Sundial app, which runs on the iPhone and the iPad, I am running a series here on my blog: Seven Days of Sunrise/Sunset Photography Tips. Each day I'll share two tips from the Gallery section of the app, for a total of 14 images. Check out all the images in the app, which is on sale until September 30th.
Today is Day 2.
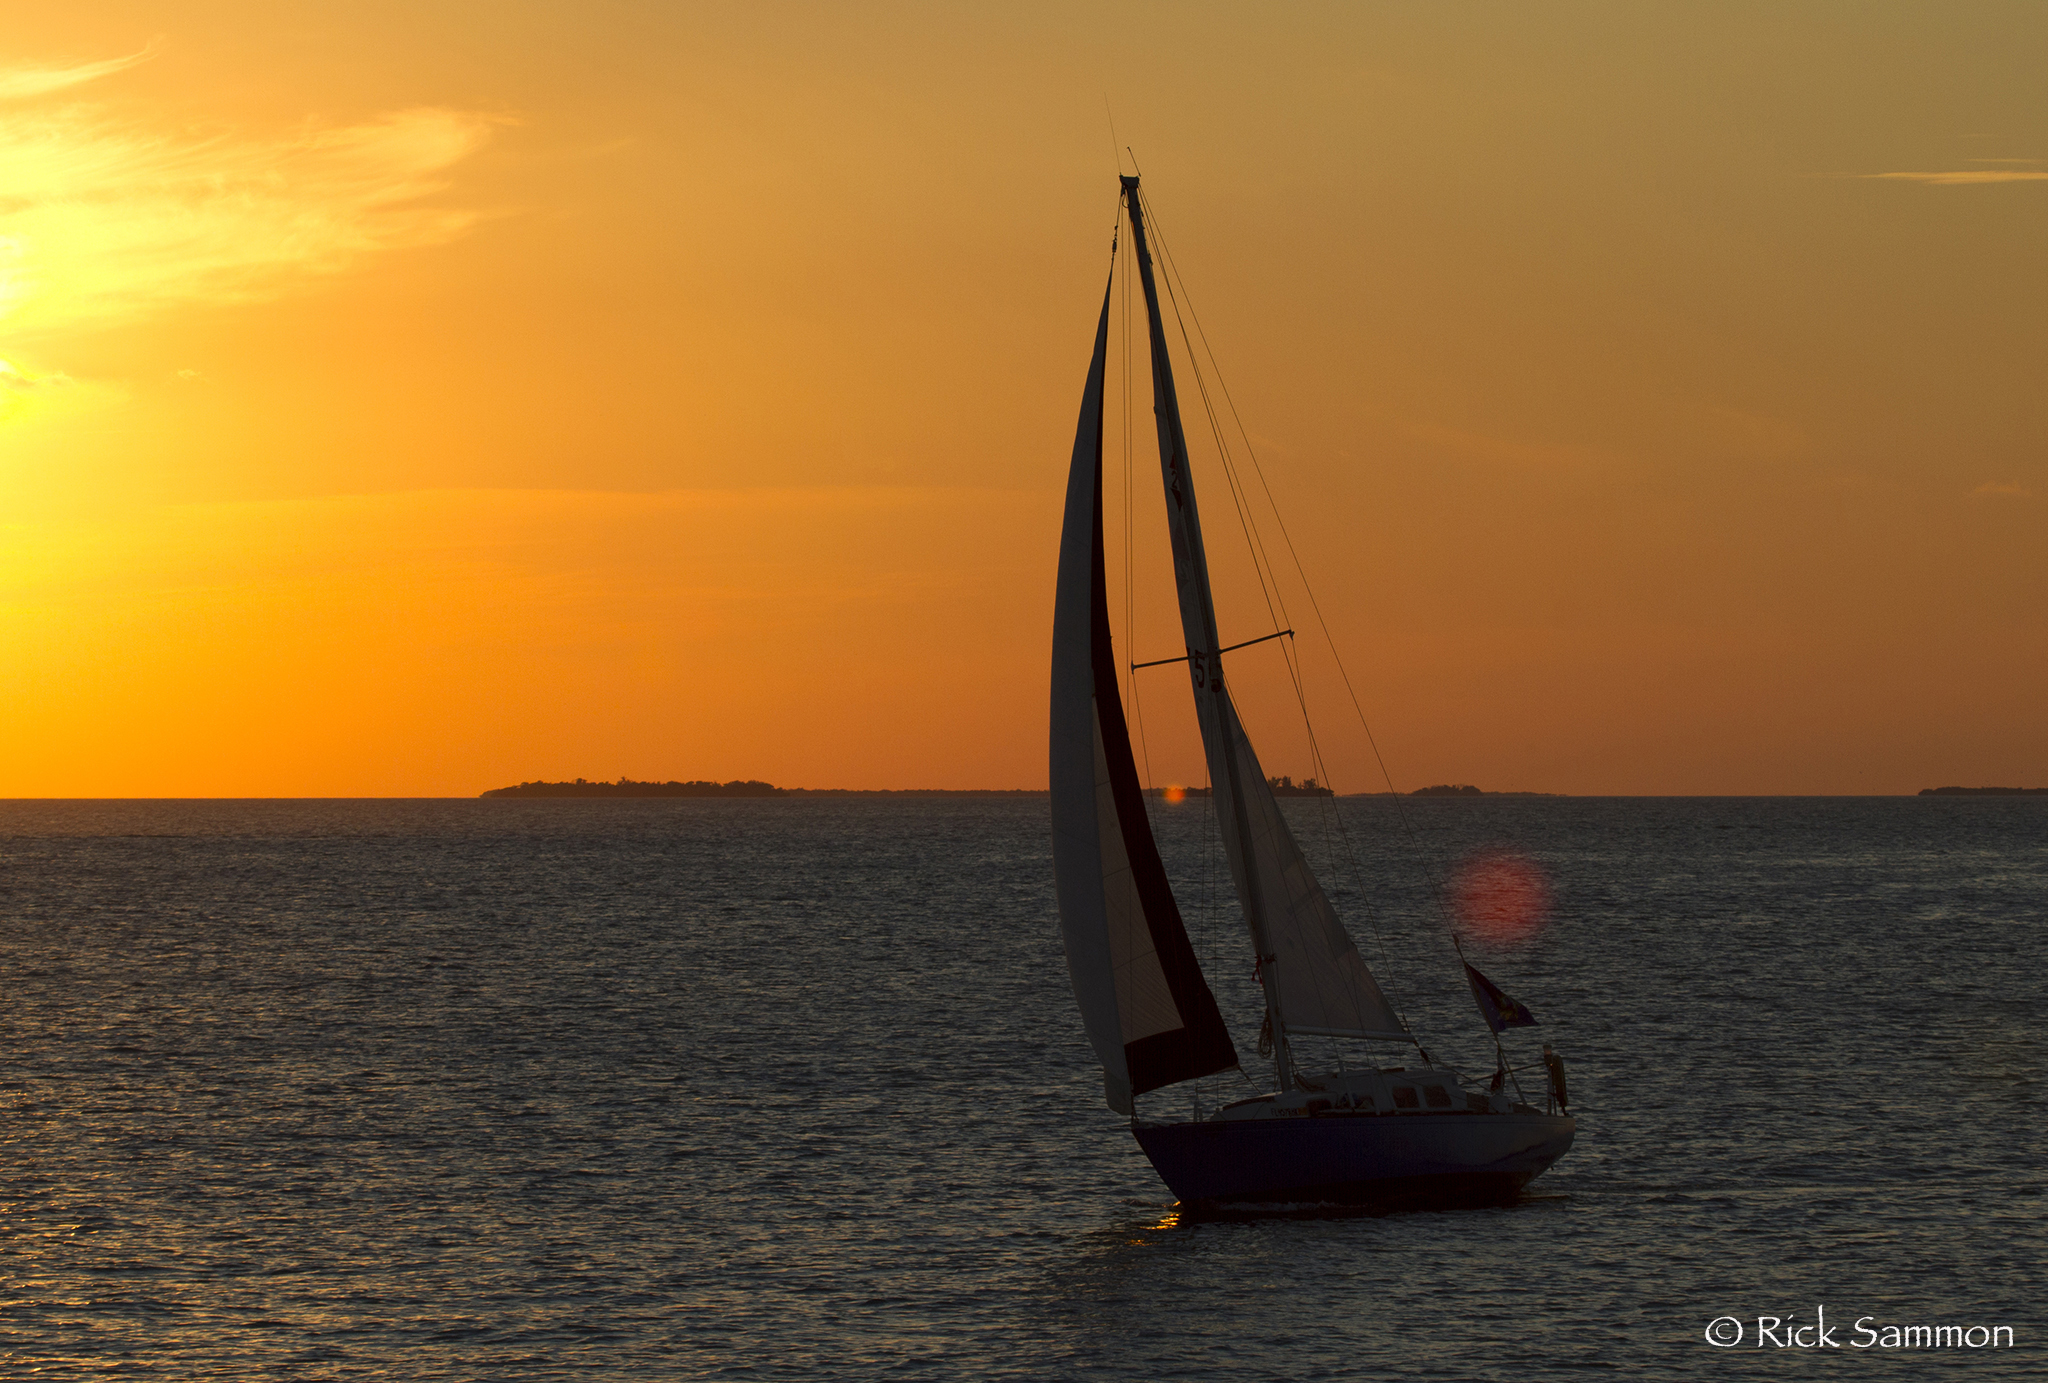
No Filters. When shooting into the sun, remove all filters from your lens, even your skylight filter. When a filter is on your lens, the sunlight passes through the filter and may (depending on the angle of the sun) bounce off the front element of your lens and back onto the filter, creating a ghost image of the sun in your frame. Location: Key West, Florida.
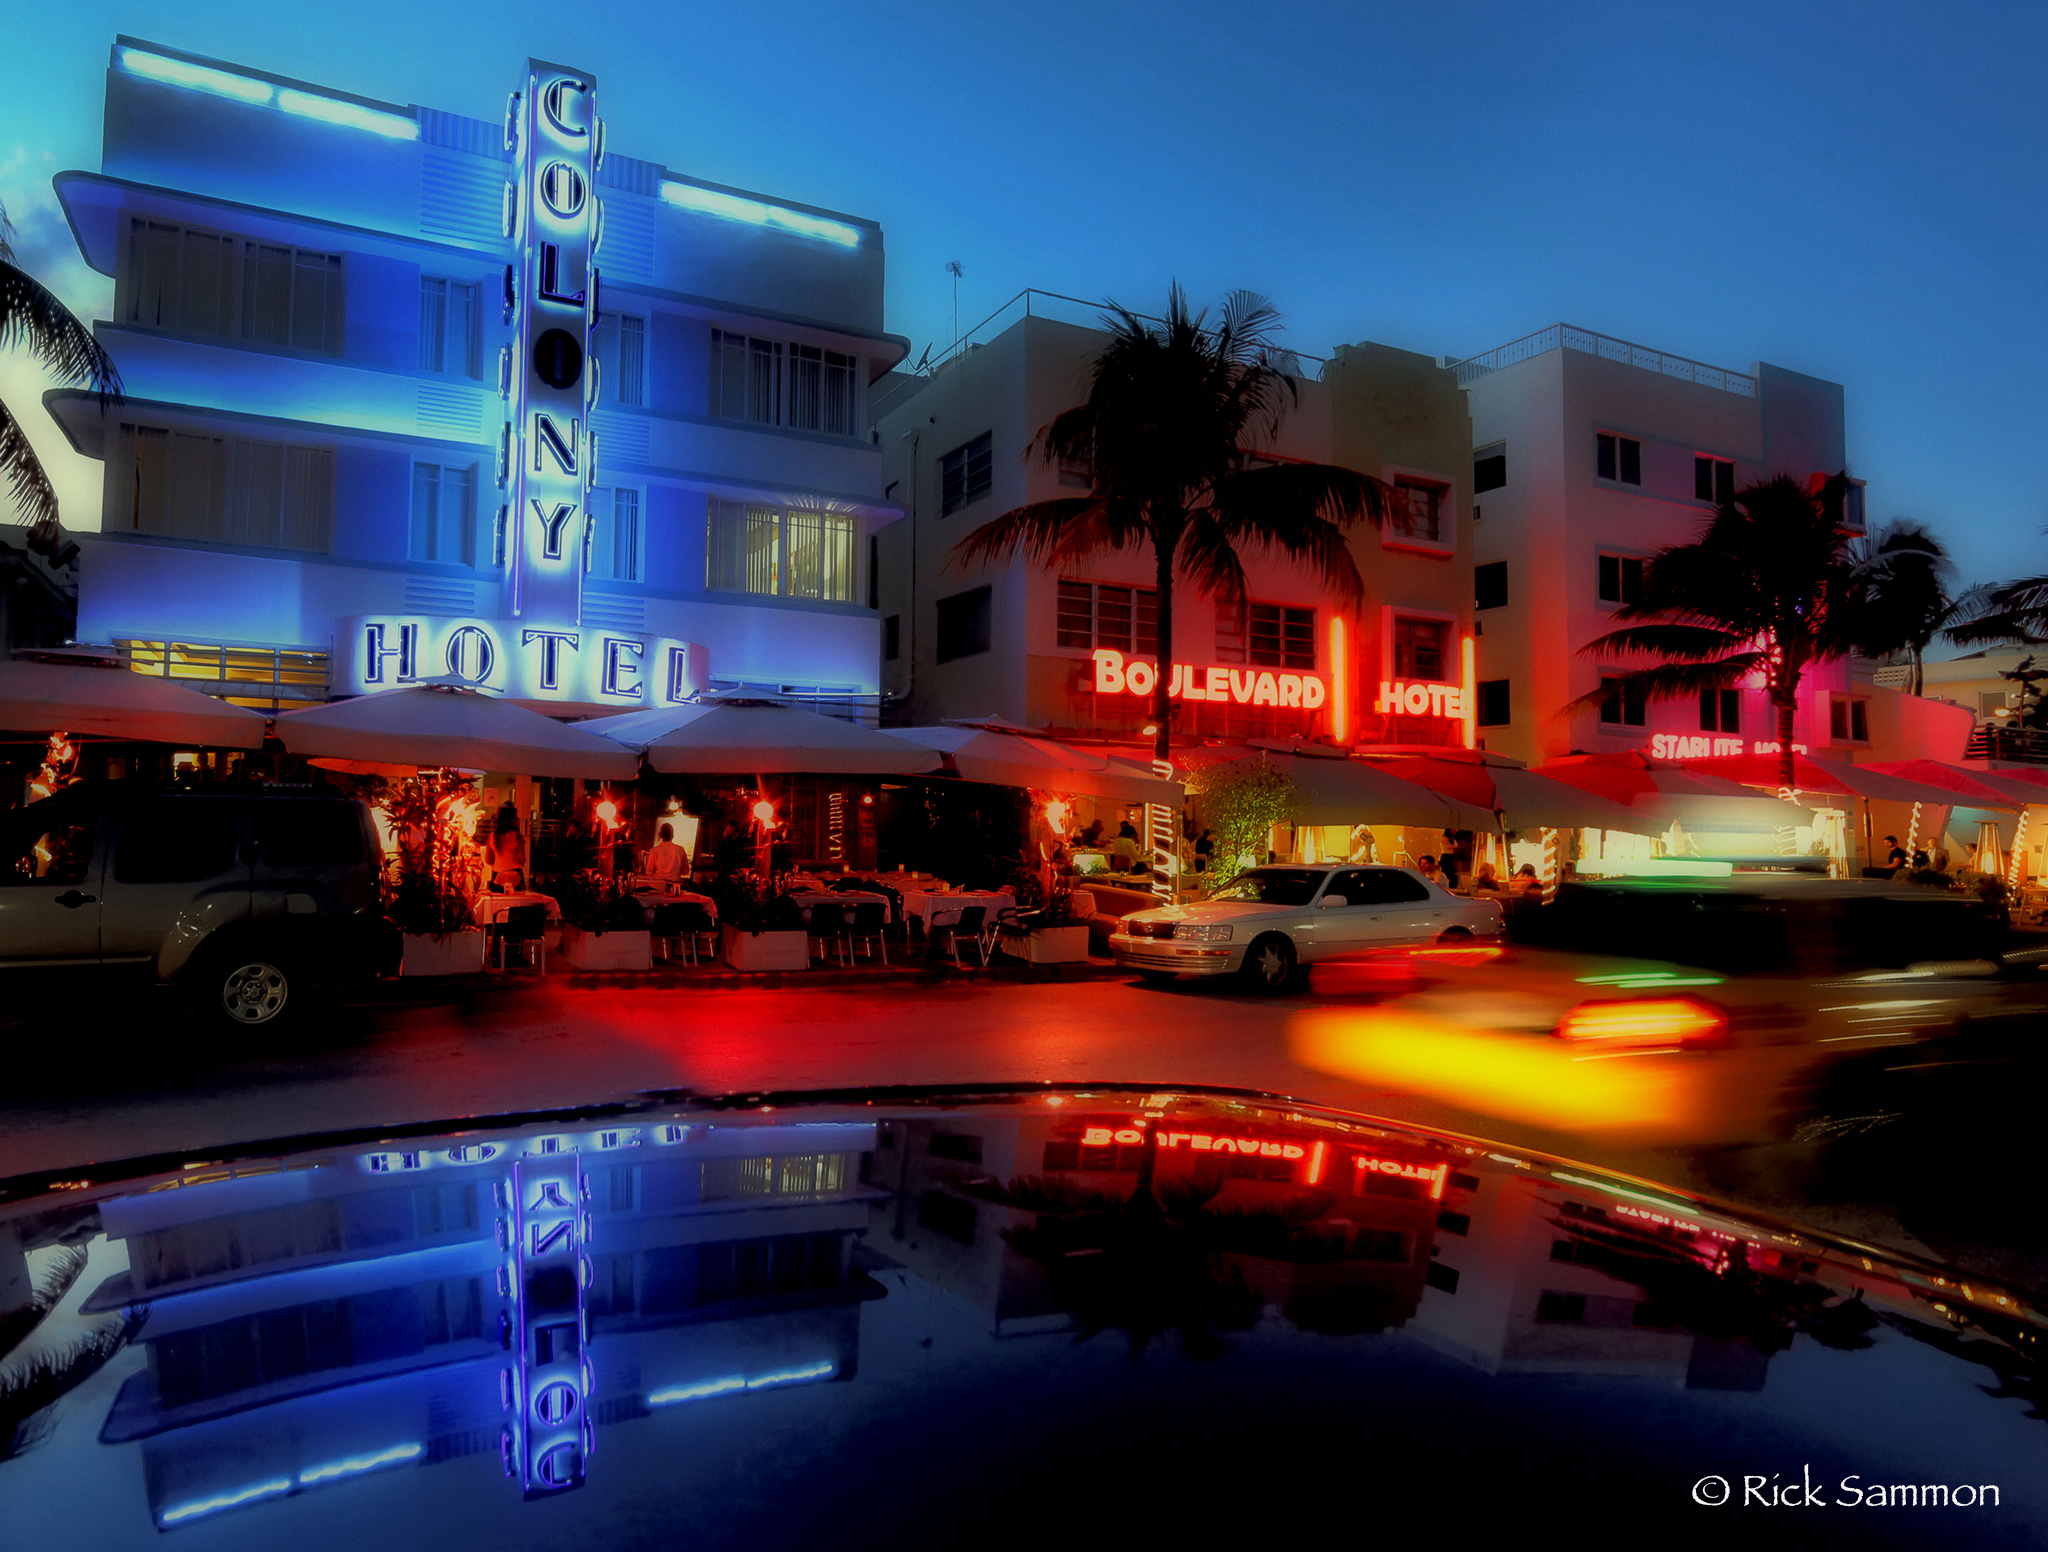
Blue in the Sky. A good time to take city shots is shortly after sunset, when city lights are just coming on and while there is still some color in the sky. Location: Miami’s South Beach, Florida.
Read more about Photo Sundial -
the app that helps you find the position of the sun so you can
make awesome images - and much, much more.
Explore the light,
Rick
Tripod reco for sunrise and sunset shots: Induro CT214. Ballhead reco: Induro BHL1.