My Sammonisms App is Here!

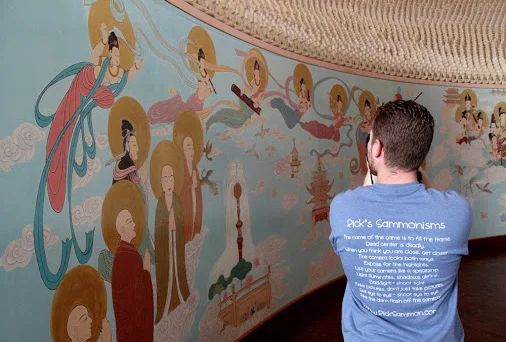
First there were the Sammonisms, then there was the Sammonisms t-shirt. Now . . . there's the iPhone and iPad app: Sammonisms.

My photo workshop participants are familiar with my "Sammonisms" - my one-liners that drive home an important photo technique.

My Sammonisms app, developed my Dr. Dave Wilson, features these sayings – and more: each tip/guideline/rule is described by a page of text with example photos. I share 50 photographs that illustrate the tips and techniques, and for each photograph I share the camera settings I used (the "EXIF" info). Dr. Dave also developed my Photo Buffet and iHDR apps (see my iPhone and iPad Apps page).

Click here to check out the intro movie for the app.

Here is a Sammonism from the app: Light Illuminates, Shadows Define

light1 copy.jpg

Every picture you have ever taken has one main element: light. Break down light and you have two sub elements: highlights and shadows. As photographers, we need to learn how to see the light - the highlights and shadows in a scene. We need to realize that light illuminates, shadows define. Without shadows, pictures look flat, which actually could be the goal is some photographs.

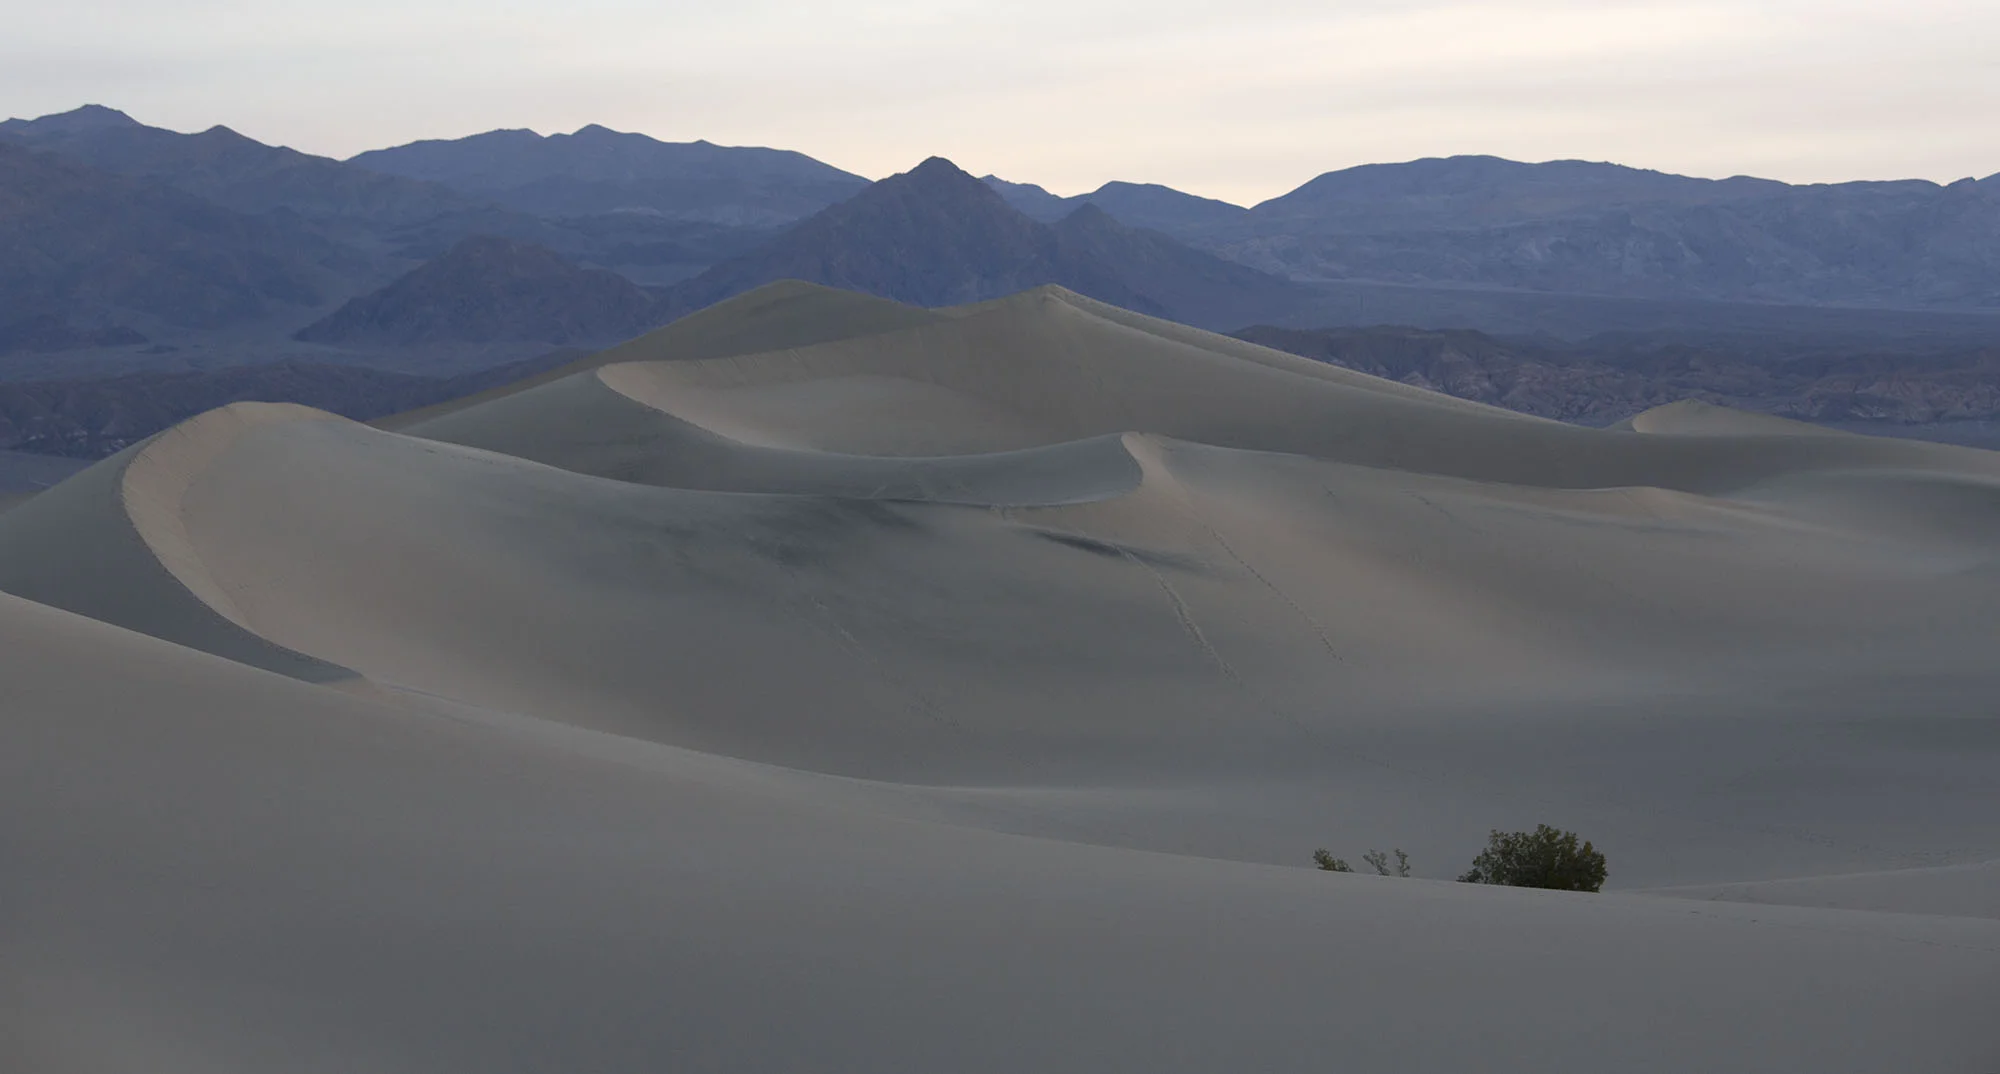
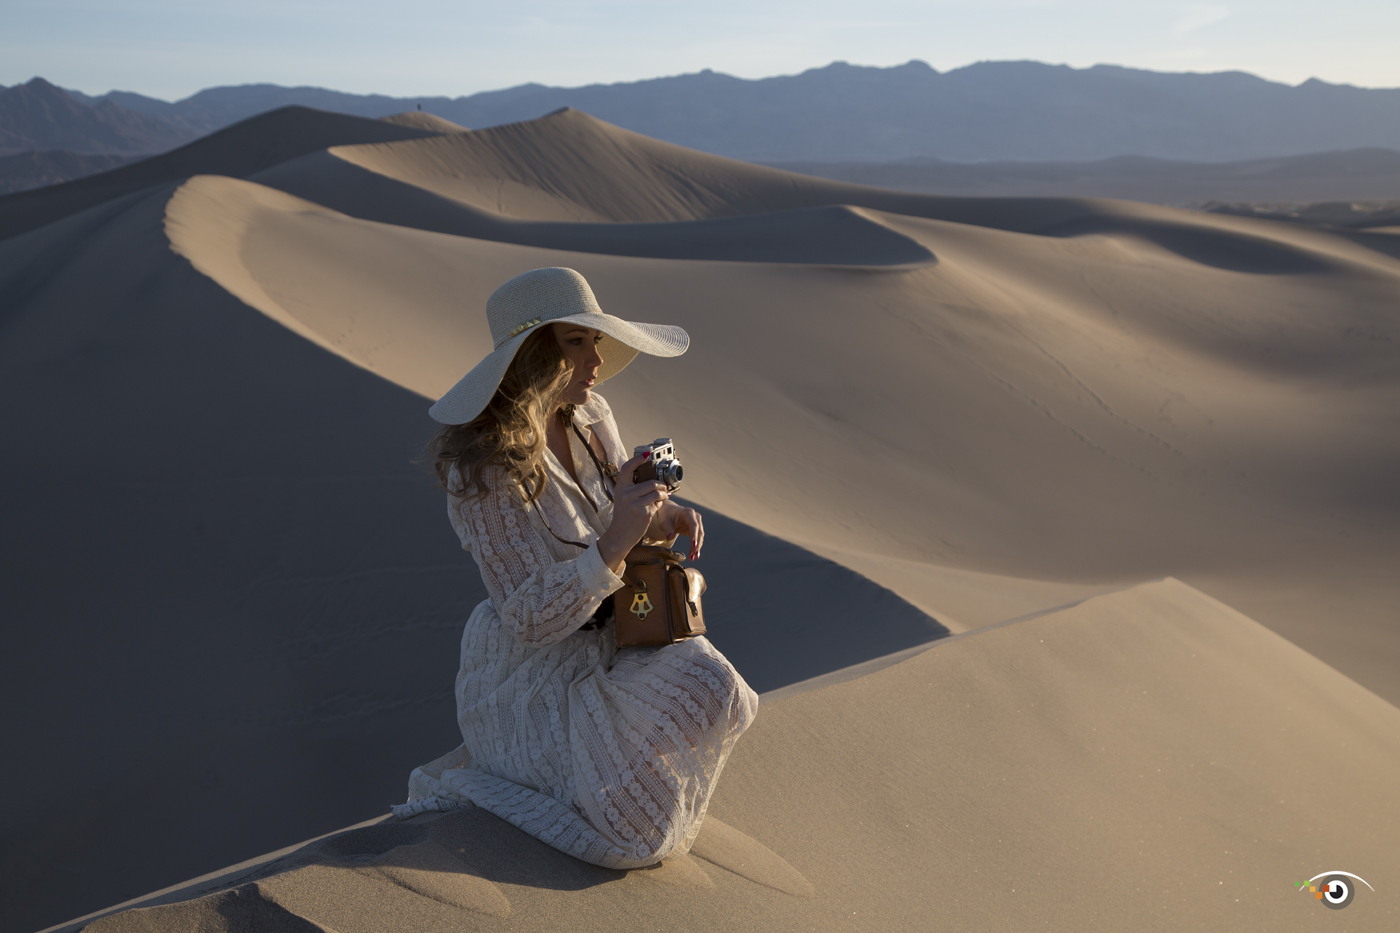
The sand dunes in the Death Valley photograph (above) have good definition due to strong shadows.

The sand dunes in this photograph have little definition due to soft shadows.

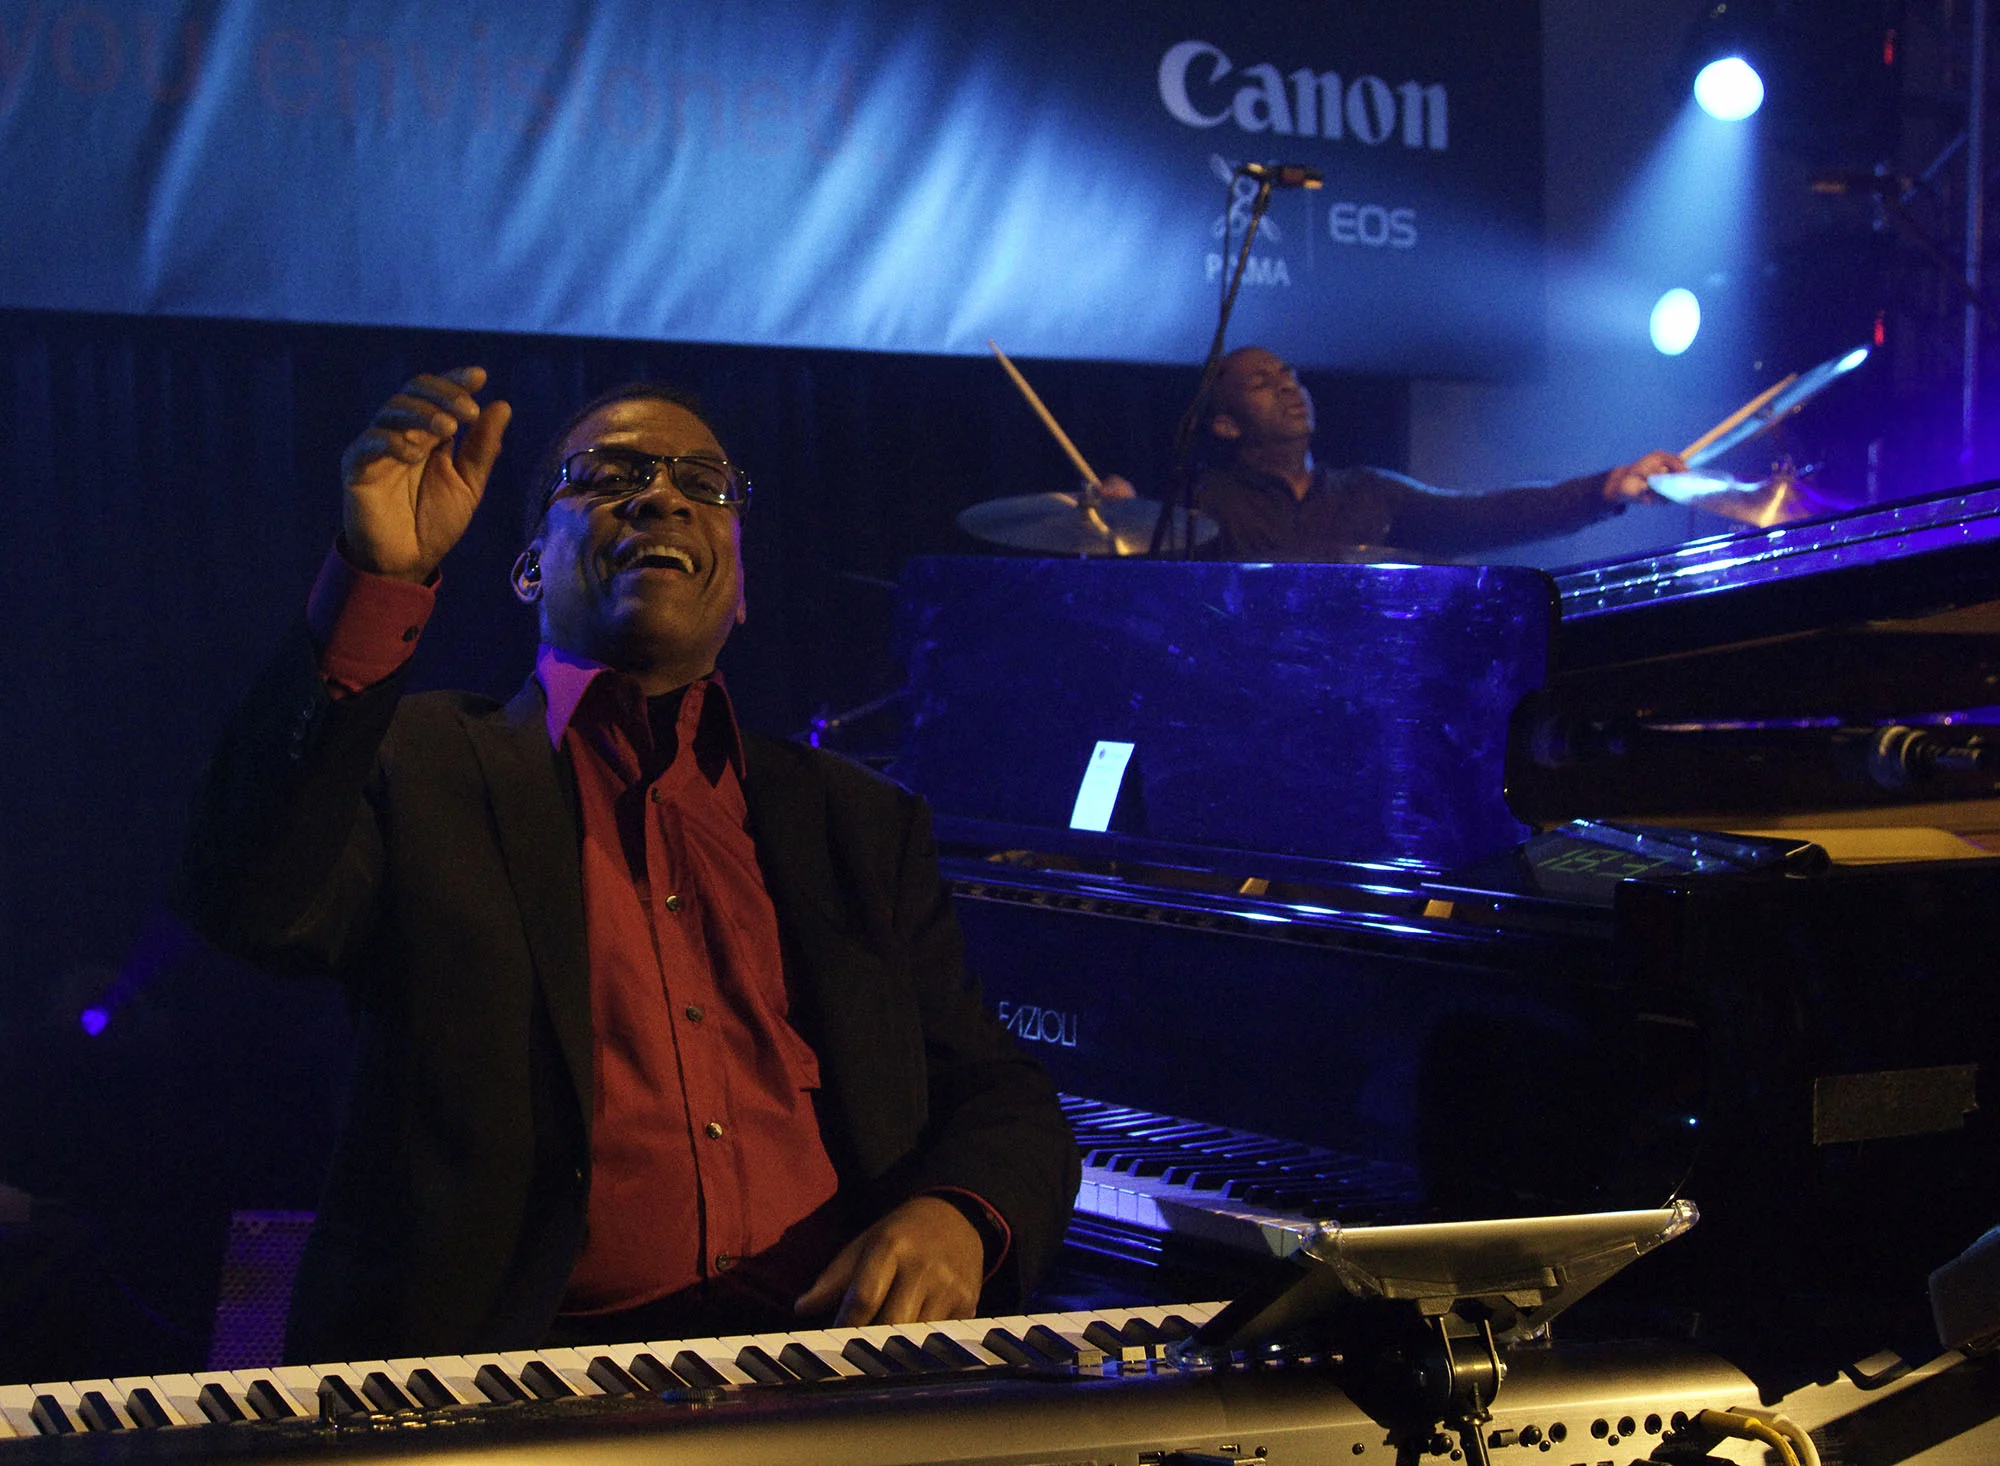
The combination of shadows and highlights in this photograph of Herbie Hancock are the result of very careful lighting. That lighting produced nice shadows that added to the mood of the scene.

2.png

Above is how the EXIF info is displayed for each photo.

Quick Tip: You can control shadows and highlights quickly and easily in Photoshop and Lightroom with the Highlights/Shadows slider.

Here are all my Sammonisms (for now):
- The name of the game is to fill the frame.
- Dead center is deadly.
- When you think you are close, get closer.
- The camera looks both ways. (Adapted from Freeman Patterson's "The Camera Points Both Ways.")
- Expose for the highlights.
- Use your camera like a spaceship. (A Dick Zakia philosophy.)
- Light illuminates, shadows define.
- Backlight = shoot tight.
- Make pictures, just don't take pictures.
-  See eye to eye - shoot eye to eye.
- Take the darn flash off the camera.

All my apps are listed in iPhone & iPad Apps page.

Explore the light,
Rick

Photo Failed It to Photo Nailed It #3: Seeing, Directing and Enhancing

From time to time here on my blog I'll run a post: "Photo Failed It Photo To Nailed It!" The concept is twofold:
1) I'll share a pair of pictures, along with tips, that illustrate how you can nail a shot;
2) You'll see that pros don't always get it right the first time. :-)

This post: Seeing, Directing and Enhancing

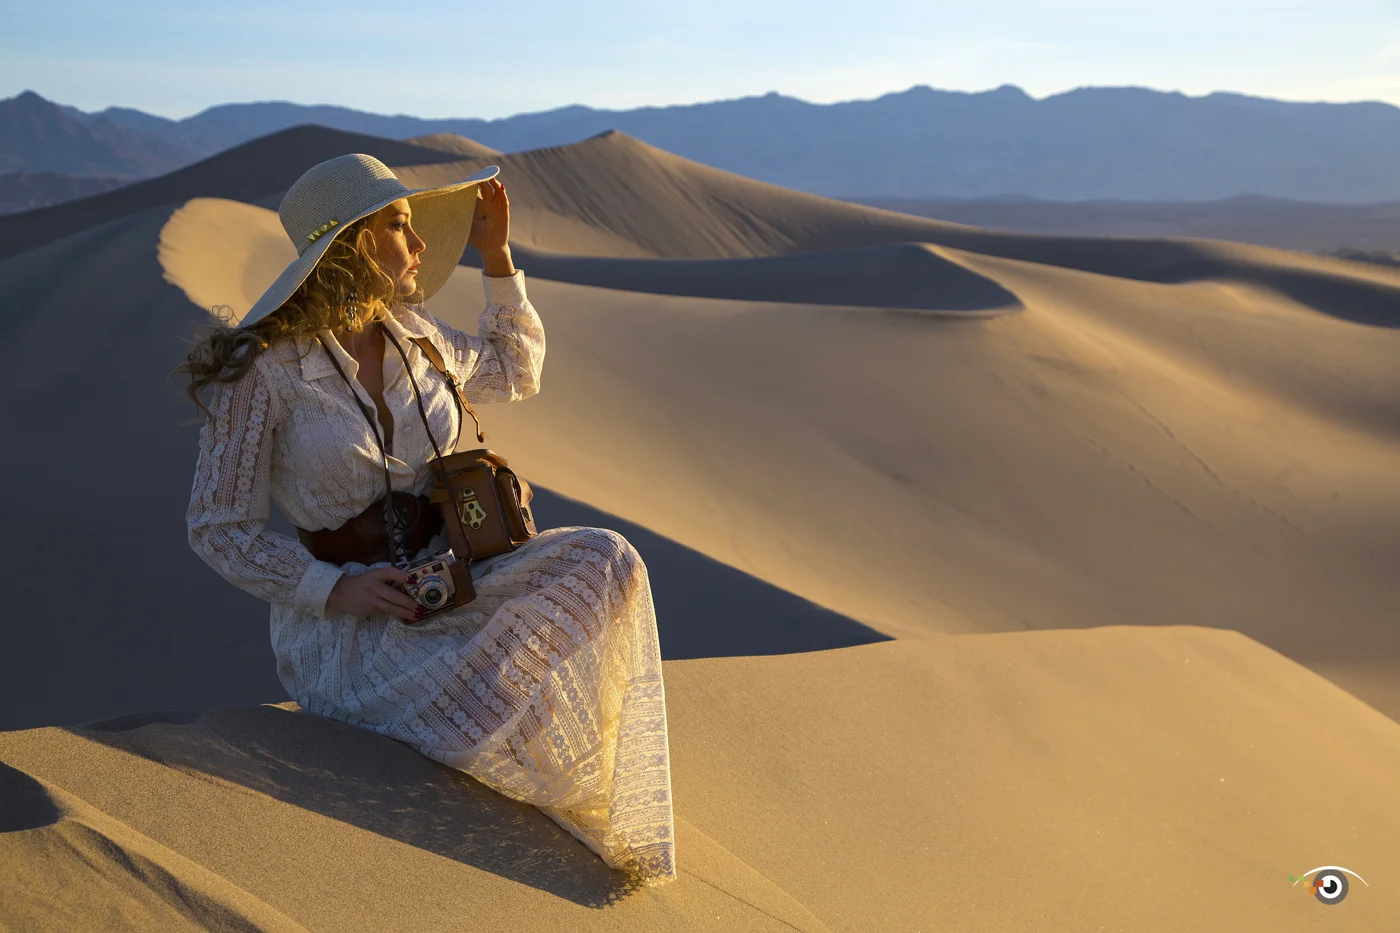
I took the opening photograph for this post on a Death Valley workshop that I was leading with my friend Hal Schmitt.

My gear:
Canon 5D Mark III
Canon 24-105mm IS lens.

The photograph below is the first shot I took during the shoot. Basically, it's a snapshot - a failed shot.

Here's what I did to nail the shot:
• Got down on the model's eye level and shot eye-to-eye – making more of a connection (for the viewer of the photograph) than in the failed shot. So the tip here: see eye-to-eye and shoot eye-to-eye.
• Directed the model to look more toward the sunrise - with the goal of having more light on her face.
• Asked the model to rearrange the props, so the scene looked more natural.
• Directed the model to hold her hat so that her face was perfectly separated from the background.
• Enhanced the color and contrast in Lightroom. I also cropped the photograph so the model was more off center.

As you can see, it does not take much to turn a failed shot into a nailed shot.

I hope to see you someday on one of my photo workshops . . . where I help the workshop participants nail the shots.

If you can't make a workshop, I have several on-line courses.

Explore the Light,
Rick

Today's Awesome Guest Blogger: Rob Dweck

“There is no bad light. There is spectacular light and difficult light. It’s up to you to use the light you have. It won’t always be spectacular and sometimes you may not get much light at all. Use whatever light you find.”
-Jay Maisel

I’m a smarter man than I was a few years ago. How do I know? A few years ago I would have argued with Jay Maisel about light. It might have gone something along the lines of “Of course there’s bad light. Do you know how many times I packed up early and cut short a shoot because of bad light? I’ve encountered bad light more times than I can even count, blah, blah, blah, whine, moan…” These days I know better than to argue about light with Jay Maisel. I also know better than to stop shooting because the light isn’t spectacular.

Each of the images in this post was taken in what I used to call bad light. By visualizing the final result and using the right tools in the field and in post processing, I was able to create and shape the light to get the result I wanted.

Opening image: Dragon Teeth

The top image was shot in what I’ll call challenging light. There were faint sunbeams in the sky and some of that light was reflecting off the water of the bay, but the light overall was uneven. In fact, it wasn’t until a year after shooting this image that I saw some potential and processed it. I used several curves layers in Photoshop to bring out the drama in the sky and then did lots of dodging and burning throughout the image, especially on the water.

Winter Storm – Merced River

Yosemite Valley is beautiful at any time, but during a snowstorm it is magical. Conveying that magic with photographs can be difficult for a couple of reasons. First, when snow is falling, the sunlight is diffused at best, and often completely blocked. Digital cameras have a tendency to underexpose the white snow, recording it as dull, unattractive gray. Slowing my shutter speed to .4 seconds made the snow appear brighter and also made the falling snow appear as streaks across the image. (Increasing the exposure compensation would have also worked, but since I primarily shoot in manual, I find it easier to adjust the shutter speed.)

When processing the image I wanted to re-create the feel of standing in the middle of the storm so I boosted the levels of the whites and bright mid-tones as high as possible without over exposing them. To create more depth, I deepened the shadows and mid-tones of the closest trees and the river in the lower part of the frame. I then lightened the trees and river towards the middle. Doing this emphasized the distance and the limited visibility in the storm.

Sundial

When faced with difficult light, sometimes a bit of patience is all that’s required. I hiked up to this location under overcast skies that began to break up when I reached the lake. Seeing that the clouds were moving fairly fast and allowing some light to seep through, I set up my camera in hopes that the light would eventually illuminate the peak across the lake. I was not disappointed and over the next couple of hours I watched the light danc across the scene as the clouds rolled by. By the time I packed up to leave it was under mostly blue skies.

In a small sliver of time the light went from difficult to dramatic and then back to difficult. The combination of patience and luck made it possible for me to create this image. I chose to convert it to black and white to emphasize the contrast of light and shadow without the distraction of color.

Cascade 7

I shot this last image on a recent outing to the Sonoma Coast after a storm. I headed out with the hopes of the storm clearing and getting to photograph one of those colorful sunsets for which California is famous. My hopes were dashed as the overcast skies lingered and fog rolled in and out.

The weather didn’t matter. Just because I didn’t get a dazzling sunset didn’t mean there weren’t opportunities for great images. I used a shutter speed of 30 seconds to smooth the water and create a pleasing S-curve leading the eye from the waterfall to the background. I darkened the foreground rock to enhance the contrast with the brightness of the water. (Remember one of the primary Sammonisms: Light illuminates, shadows define. Darkening the rock gave the water more definition.)  The sun may have been a no show, but I attempted to compensate by emphasizing the moodiness of the scene.

When you shoot landscapes, you have little control over the light that you’ll get. Even if you monitor the weather forecast, there’s a certain amount of unpredictability. The one thing you can control is how you deal with the light, or lack of it. Whether difficult or spectacular, a little imagination will allow you to make the most of the light you’re given. See what’s there and then imagine what it could be. A little creativity along with the right tools is all you need to make something beautiful out of any lighting situation.

Please stay in touch:
Website
Google+
Twitter

"Photo Failed It to Photo Nailed It!" #2: Add lights to add drama to a scene

model car.jpg

From time to time here on my blog I'll run a post: "Photo Failed It Photo To Nailed It!" The concept is twofold:

1) I'll share a pair of pictures, along with tips, that illustrate how you can nail a shot;

2) You'll see that with a little effort - and sometimes by using accessories - you can turn a snapshot into a great shot.

This post: Add lights to add drama to a photograph.

Above is a failed shot from the shoot. The picture is flat and boring for two main reasons: boring and flat light and a boring pose. What's more, the background is overexposed.

To nail the shot, I . . .
• took an exposure of the background (a painted background) and then set the exposure exposure compensation to -1.
• used two Westcott Ice Lights – one positioned near the windshield and one positioned over the sunroof - to add shadows to the scene. Shadows are the soul of the photograph.
• directed the model and then moved in closer. The closer you are to the subject, the more intimate the photograph becomes.
• added props (sunglasses and cell phone).
• tilted my camera for the "dutch" effect.
• applied the Duplex filter in Nik Color Efex Pro. (All the plug-ins I use are listed on my Save on Plug-ins page.)

My camera/lens: Canon 5D Mark III and Canon 24-105mm IS lens.

As you can see, it did not take a lot of effort to nail the shot.

If you like model/people photography, I have a few 2015 photo workshops that you may enjoy.

Explore the light,
Rick

12.19.14 Rick's Quick Fix Friday: Capture Awesome Sunrises/Sunsets

Happy Friday! I hope you get to see some great sunsets over the weekend. If you do, here are five quick tips to help you get great shots.

Starburst Effect. When the sun is in the frame, set your aperture to f/22 to get the starburst effect. The wider the lens, the more pronounced the starburst effect. Also, make sure your lens is totally clean. Even a tiny speck of dust can look like a big blobg in a picture when you are shooting into the sun. Location: Spearfish, South Dakota.

No Filters. When shooting into the sun, remove all filters from your lens, even your skylight filter. When a filter is on your lens, the sunlight passes through the filter and may (depending on the angle of the sun) bounce off the front element of your lens and back onto the filter, creating a ghost image of the sun in your frame - which you see here. Location: Key West, Florida.

RS 4.jpg

Foreground Element.  When ever possible, use a foreground element to add a sense of scale to your photograph.  Also, the more “layers” you have in a scene, the greater the sense of depth. Here there are three layers: bird in the foreground, birds in mid-frame, and the mountains/sun in the background. Location: Bosque del Apache, New Mexico.

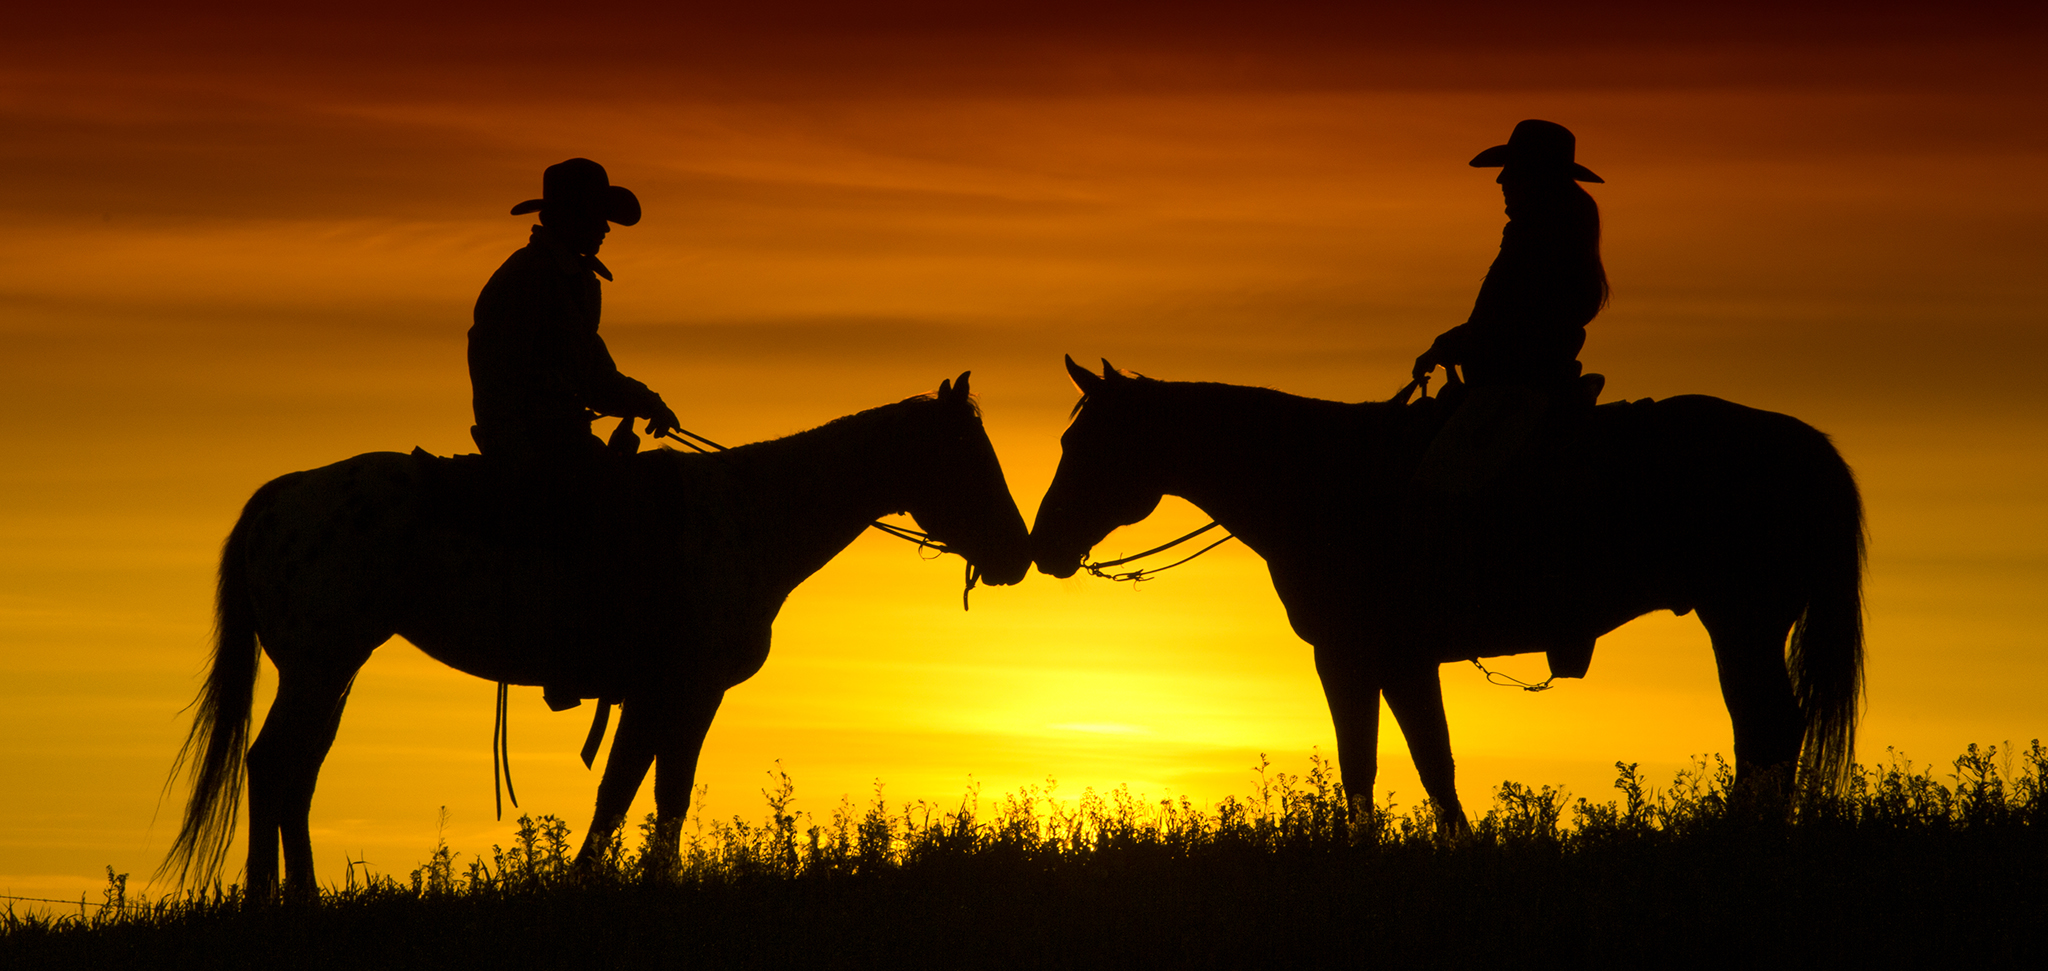
Silhouettes. When photographing someone against a sunrise or sunset, have him or her look directly left or right so you can see his or her profile. If they look at the camera, you will not be able to recognize them. Location: Cape Cod, Massachusetts.

Expose for the Highlights. In high-contrast situations, it’s important to expose for the highlights. Make sure your camera’s highlight alert feature is activated and avoid “blinkies.” Also check your histogram and make sure you don’t have a big spike on the right. Location: Spearfish, South Dakota.

Need help finding the best light this weekend? Check out my Photo Sundial app (screen grabs above) on my iPhone and iPad apps page. A Bosque app is there, too.

Have a fun-in-the-sun and creative weekend.

Explore the light,
Rick

P.S. If you like photographing horses, I have a few horse photography workshops in 2015.