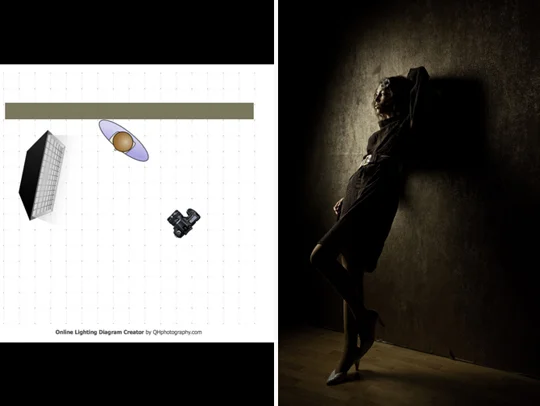
Canon 5D Mark III image, processed in Photoshop.
I've been teaching photographers how to make better digital images with their digital SLRs for about 15 years. We shoot from sunrise to sunset and process our images on site. My workshops are designed for serious photographers, but we also have good fun.
Recently, my wife Susan has been shooting with her iPhone on the workshops. While I share my DSLR techniques, Susan shares her pictures, showing the students new iPhone apps and accessories.

Canon 5D Mark III, original image.
For those of you who have not been on my workshops, I thought it would be fun to do a post with one of my before-and-after pair of images and one of Susan's before-and-after pair of images. I think you can see why her pictures and techniques are popular :-)
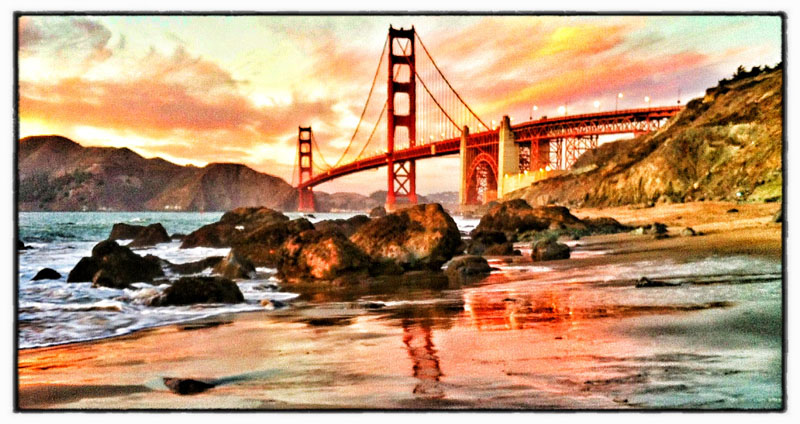
iPhone image, processed in Nik's Snapseed.
The message of this post: all photographers are welcome on my workshops . . . so if your spouse is not as serious as you are, drag him or her along for the fun.
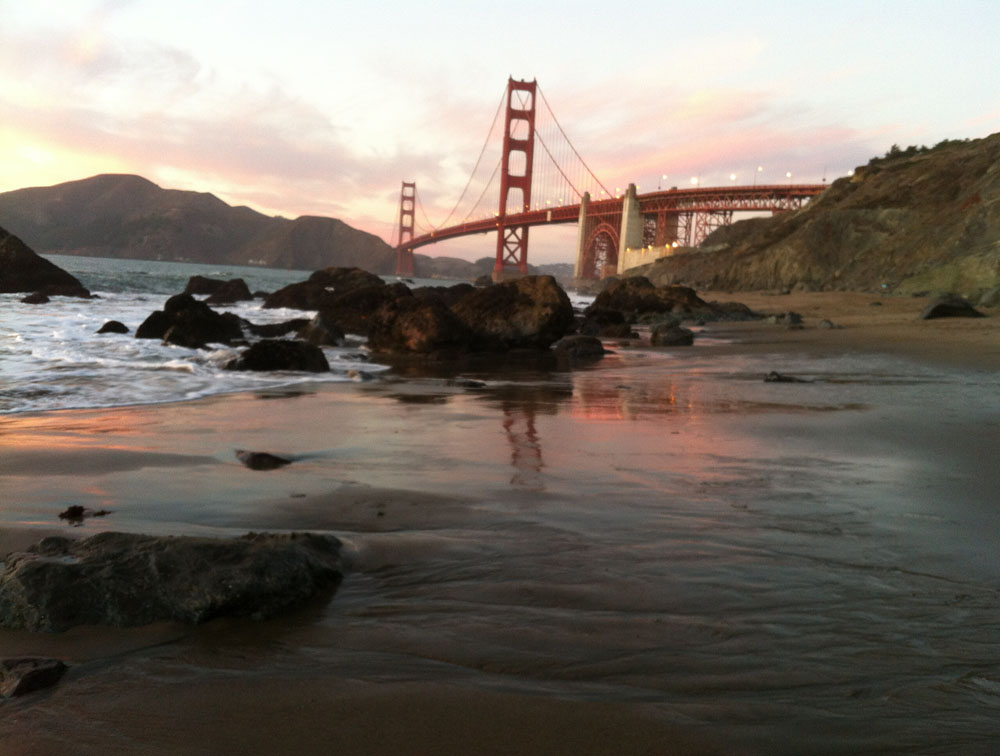
Original iPhone image.
We hope to see you on a workshop in 2013. All of 'em are listed on my Workshops page.
If you can't make a workshop, I teach 24/7 and 365 - via my on-line Kelby Training classes.
Explore the light,
Rick
P.S. Yes, the DSLR photographers play with plug-ins, too. They are listed on my Plug-in page.
This post sponsored by Adorama - a great place for great gear at great prices. Click here to check out their holiday specials on Canon lenses and Speedlites.